通知チャネルタイプの拡張
NocoBaseでは、SMS通知やアプリのプッシュ通知など、必要に応じて通知チャネルタイプを拡張できます。
クライアント
チャネルタイプの登録
クライアントのチャネル設定画面とメッセージ設定画面は、通知管理プラグインのクラ�イアントが提供するregisterChannelTypeインターフェースを使って登録します。
サーバー
抽象クラスの継承
サーバー開発の核となるのは、抽象クラスBaseNotificationChannelを継承し、sendメソッドを実装することです。sendメソッドの内部には、拡張プラグインが通知を送信するためのビジネスロジックを記述します。
サーバーの登録
次に、通知サーバーのコアが提供するregisterChannelTypeメソッドを呼び出し、開発したサーバー実装クラスをコアに登録します。
完全な例
ここでは、通知拡張プラグインの例を挙げて、拡張プラグインの開発方法を詳しく説明します。 あるプラットフォームのSMSゲートウェイを利用して、NocoBaseにSMS通知機能を追加することを想定してみましょう。
プラグインの作成
- プラグイン作成コマンド
yarn pm add @nocobase/plugin-notification-exampleを実行します。
クライアント開発
クライアント側では、ChannelConfigForm(チャネル設定フォーム)とMessageConfigForm(メッセージ設定フォーム)の2つのフォームコンポーネントを開発する必要があります。
ChannelConfigForm
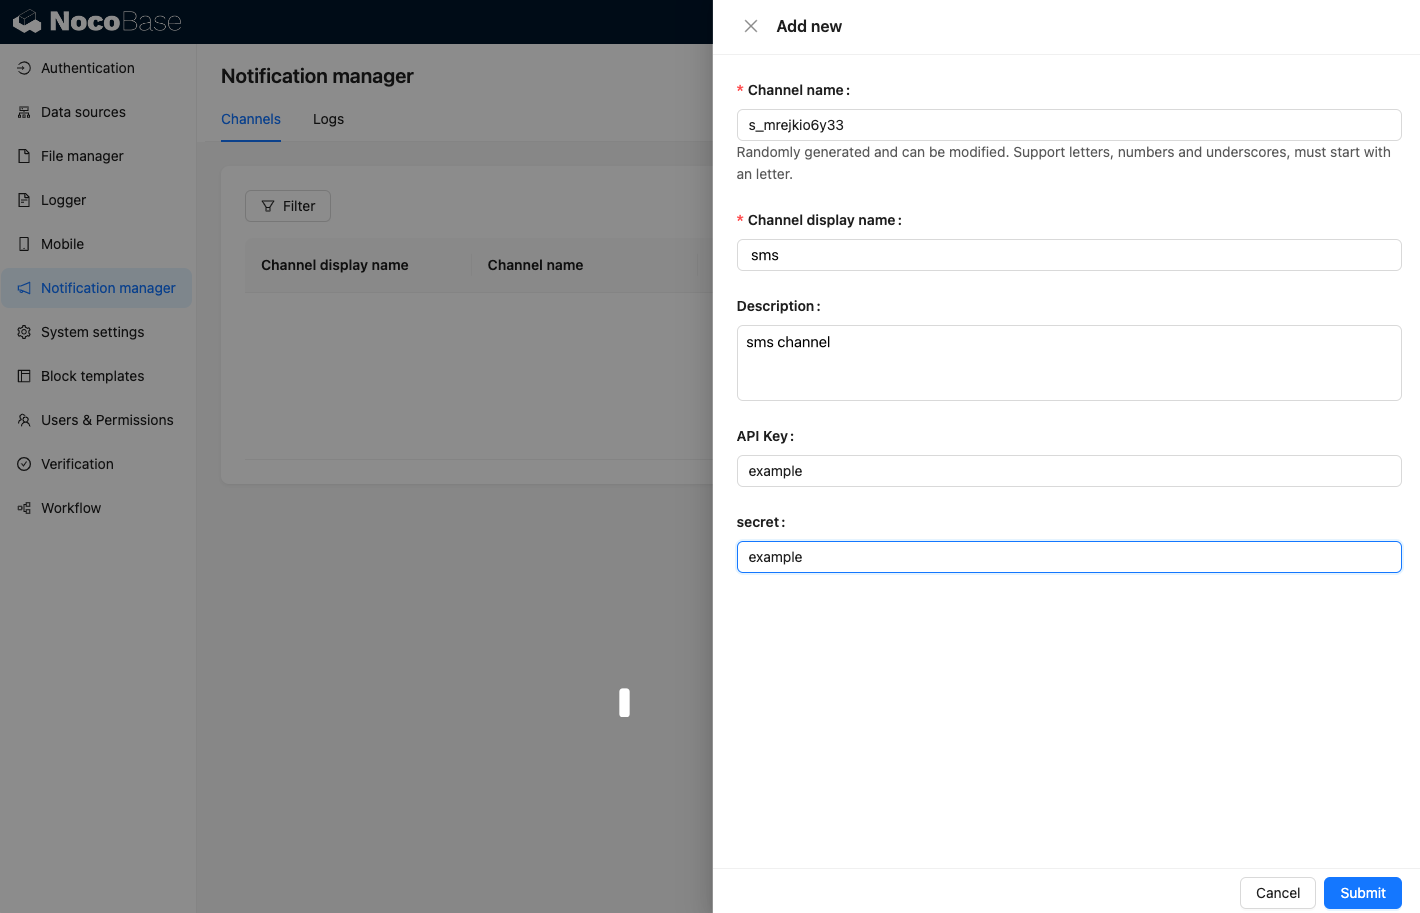
あるプラットフォームでSMSを送信するにはAPIキーとシークレットが必要なので、チャネルフォームの内容には主にこの2つの項目が含まれます。src/clientディレクトリにChannelConfigForm.tsxという名前のファイルを新規作成し、以�下の内容を記述します。
MessageConfigForm
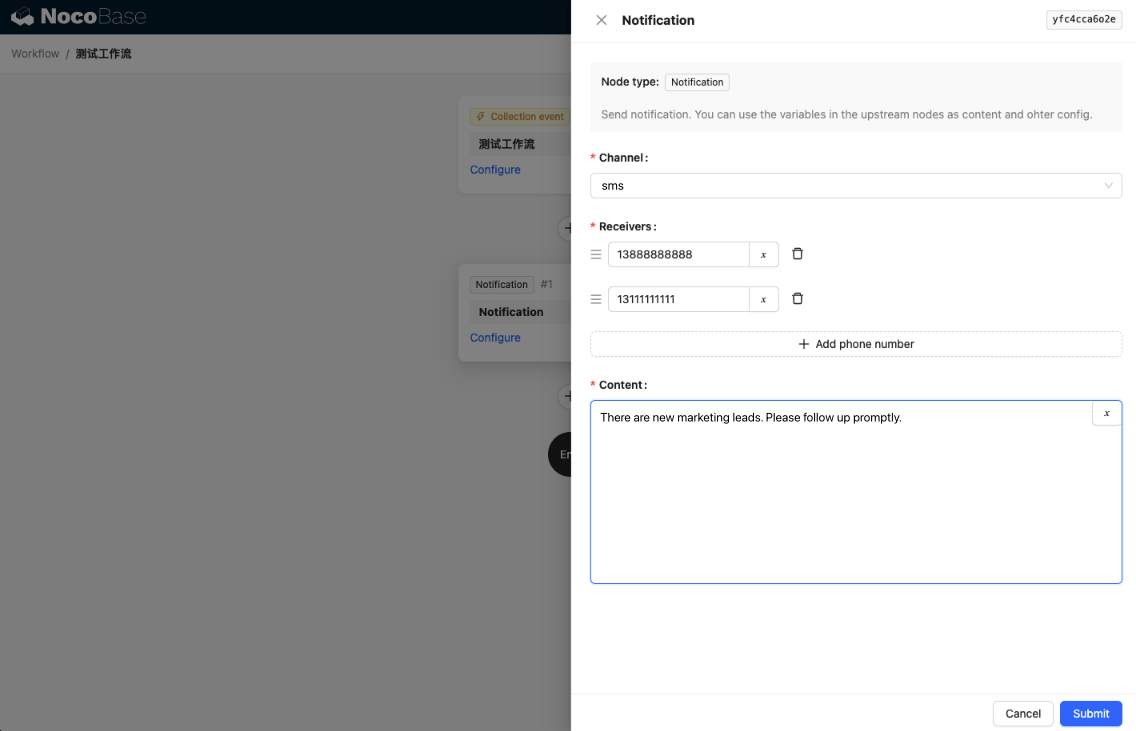
メッセージ設定フォームには、主に受信者(receivers)とメッセージ内容(content)の設定が含まれます。src/clientディレクトリにMessageConfigForm.tsxという名前のファイルを新規作成します。このコンポーネントはvariableOptionsを引数として受け取ります。現在、コンテンツフォームはワークフローノードで設定され、通常はワークフローノードの変数を消費する必要があります。具体的なファイル内容は以下の通りです。
クライアントコンポーネントの登録
フォーム設定コンポーネントの開発が完了したら、通知管理コアに登録する必要があります。プラットフォーム名をExampleと仮定すると、編集後のsrc/client/index.tsxファイルの内容は以下のようになります。
これで、クライアント側の開発は完了です。
サーバー開発
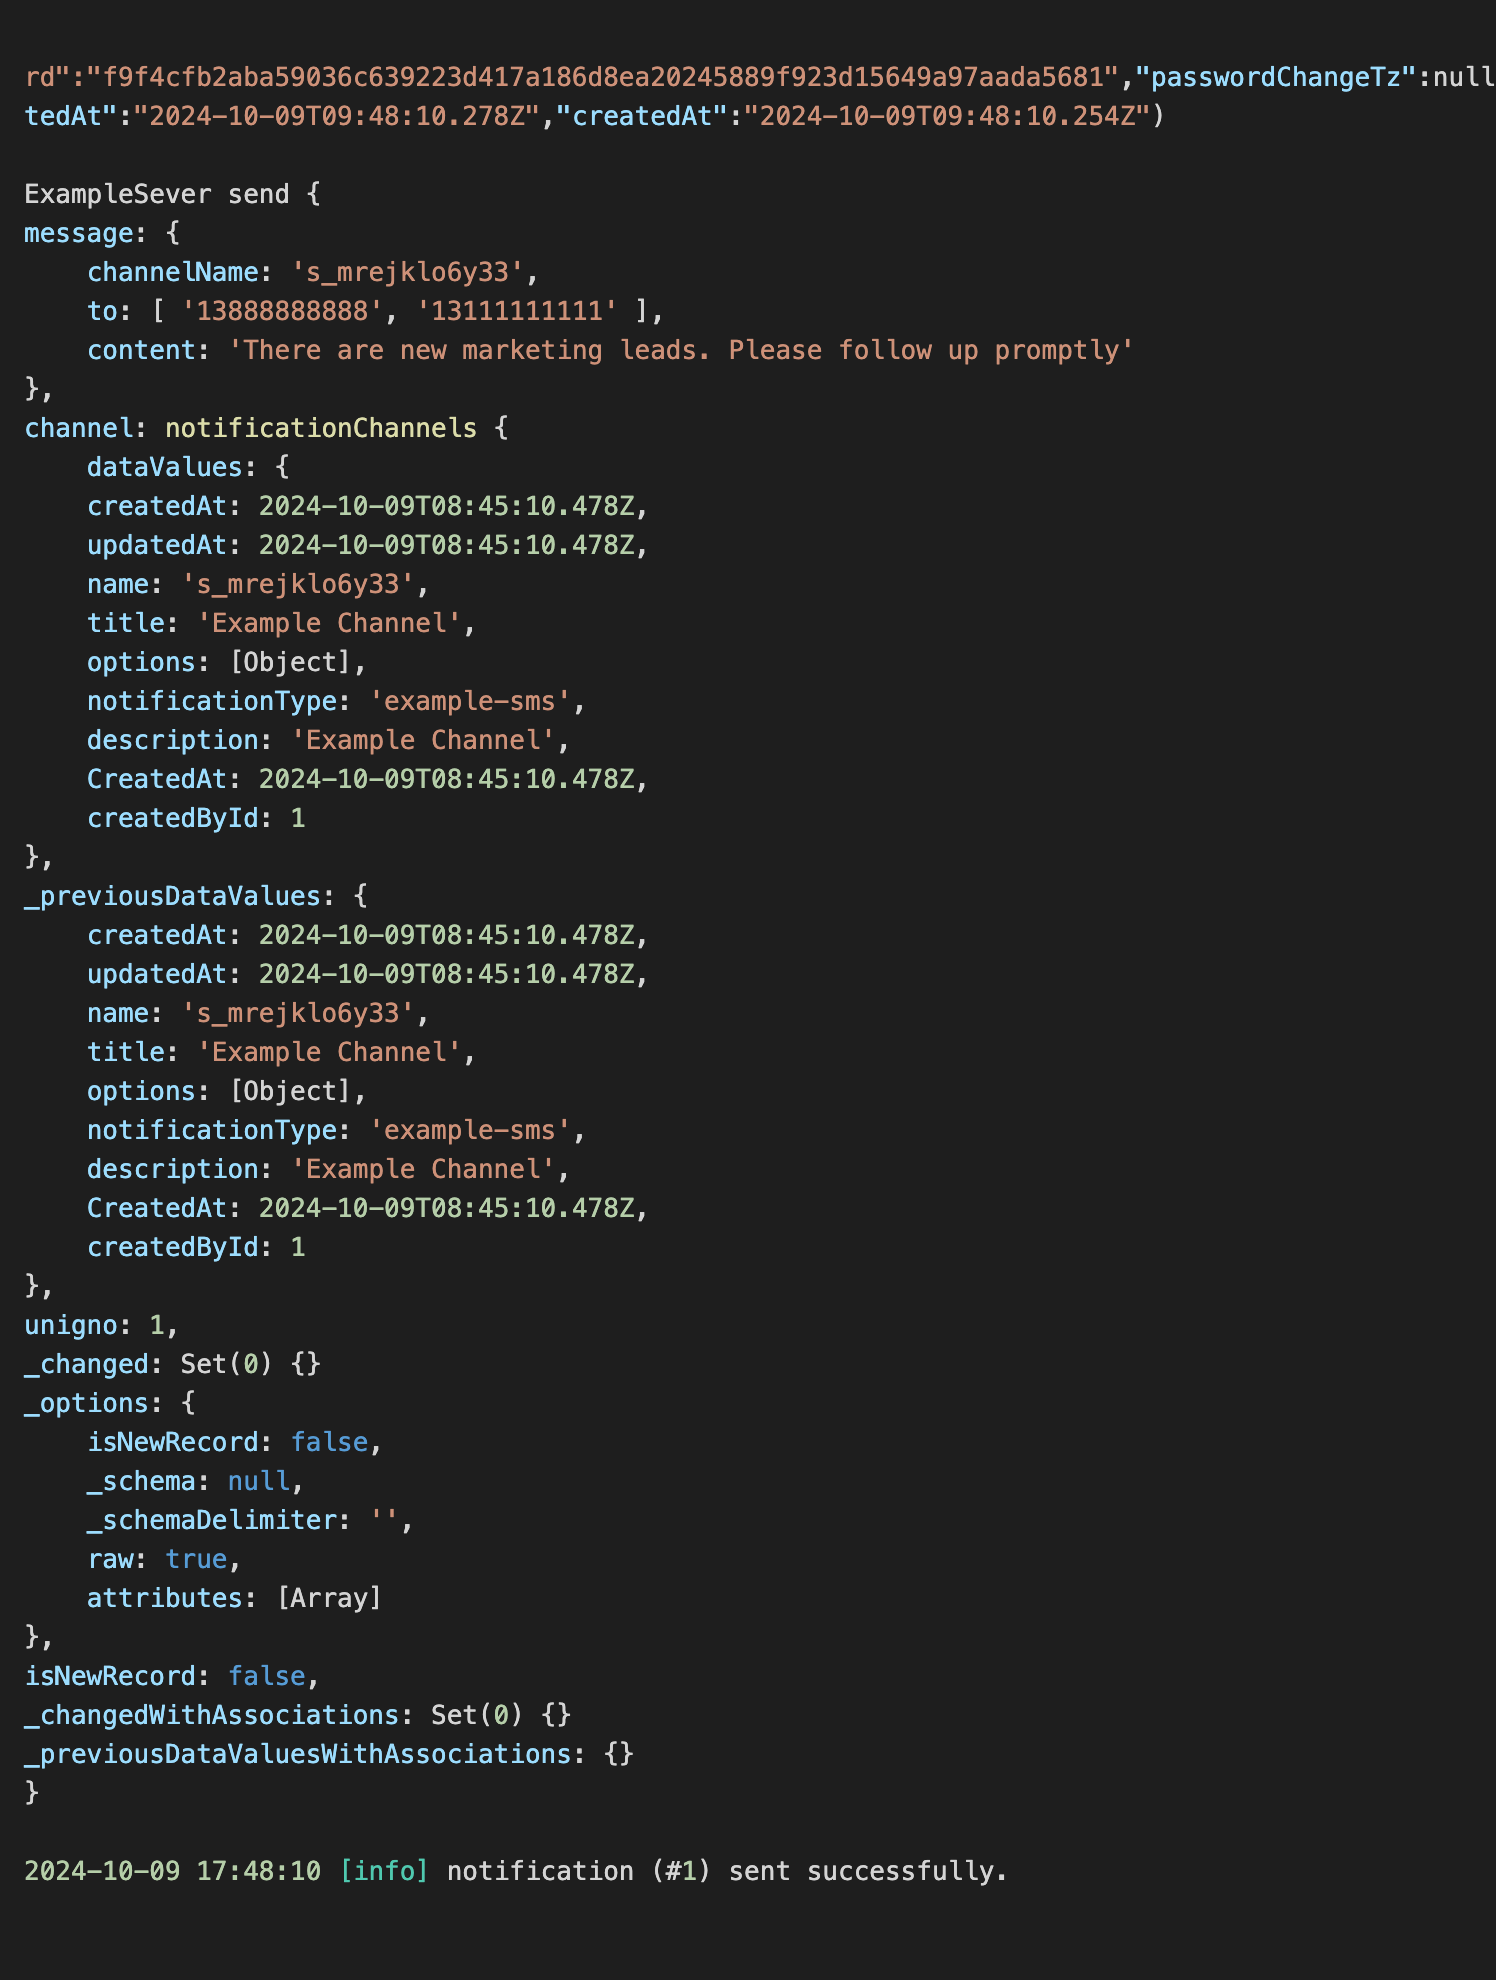
サーバー開発の核となるのは、抽象クラスBaseNotificationChannelを継承し、sendメソッドを実装することです。sendメソッドの内部には、拡張プラグインが通知を送信するためのビジネスロジックを記述します。ここでは例として、受け取った引数をシンプルにコンソールに出力します。src/serverディレクトリにexample-server.tsという名前のファイルを新規作成し、以下の内容を記述します。
次に、通知サーバーのコアが提供するregisterChannelTypeメソッドを呼び出して、サーバー拡張プラグインを登録します。編集後のsrc/server/plugin.tsファイルの内容は以下のようになります。
プラグインの登録と起動
- 登録コマンド
yarn pm add @nocobase/plugin-notification-exampleを実行します。 - 有効化コマンド
yarn pm enable @nocobase/plugin-notification-exampleを実行します。
チャネル設定
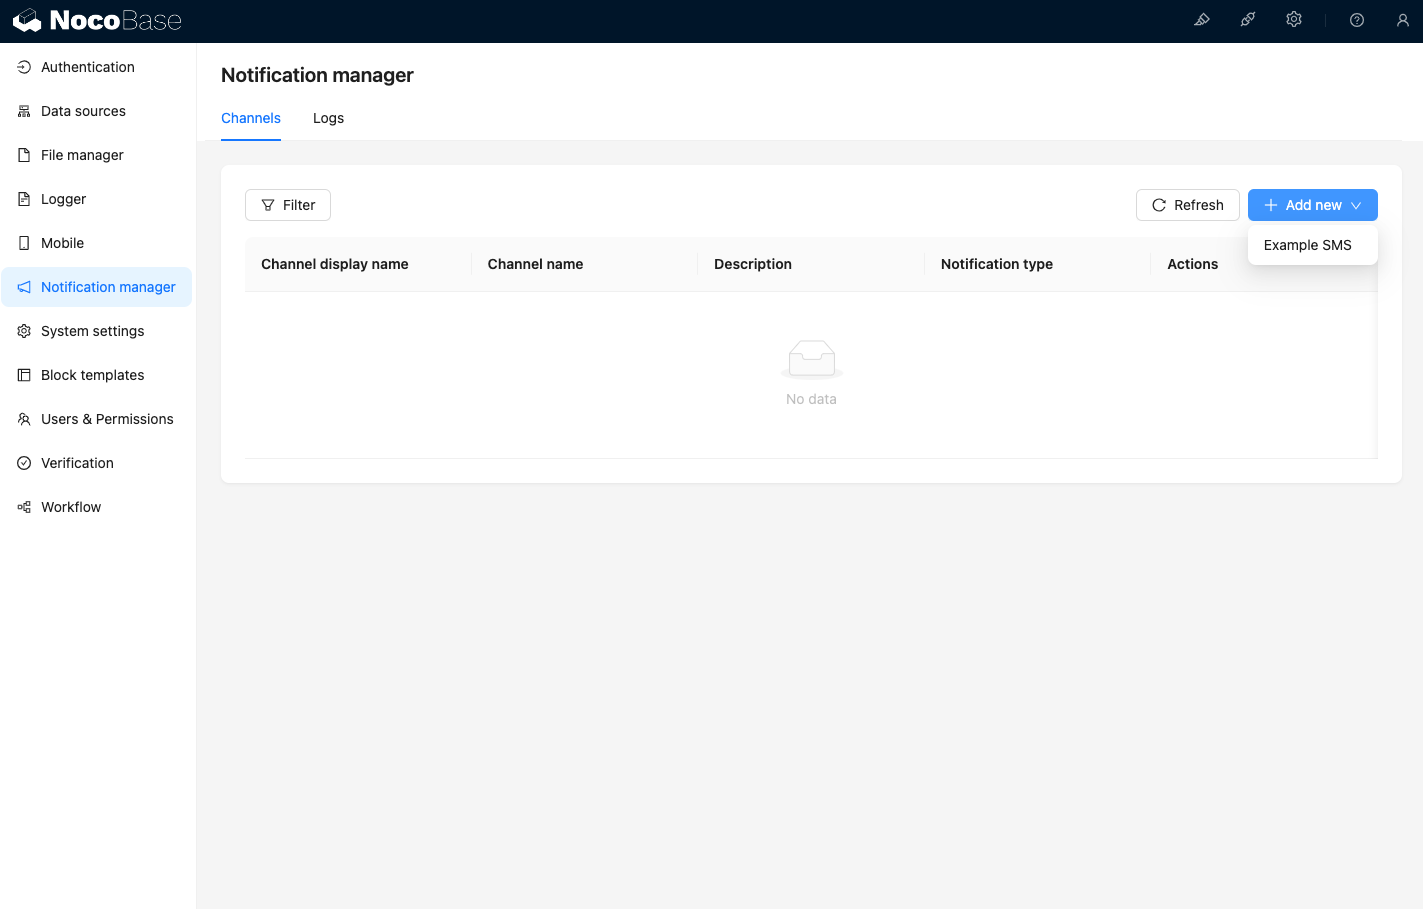
ここで通知管理のチャネルページにアクセスすると、Example SMSが有効になっていることが確認できます。
新しいサンプルチャネルを追加します。
新しいワークフローを作成し、通知ノードを設定します。
ワークフローの実行をトリガーすると、コンソールに以下の情報が出力されるのが確認できます。