
Create a NocoBase application in an empty directory, then work with an agent to add customer management. Record customers, assigned sales reps, and follow-up dates, with role-based access. By the end, you can sign in, use the feature, and continue developing it.
Prepare the environment
- Node.js 24 or later, and pnpm 11.
- On Windows, use WSL. Run the commands below in a POSIX shell such as Bash.
The steps below use SQLite, which needs no separate database server. To use another database, see Create an app with a different database.
Choose either to have an agent create the application or to run the commands yourself.
Create and start the application
Create with an agent
Install the app creation Skill and select your agent when prompted:
npx skills@latest add nocobase/skills-v3 --skill nocobase-create-app -gIf your agent is already open, start a new session so it can use the newly installed Skill. Then open the agent in an empty directory, such as my-app, and send:
Create a NocoBase 3 application for local development in this empty directory, using the default template and SQLite.
Start it and tell me the URL and the initial sign-in details.
The agent creates the application, generates configuration and starts it, then gives you the URL and initial sign-in details.
Run the commands yourself
Run the following where you want to keep the application. The creation tool makes a new my-app directory and installs dependencies:
PNPM_CONFIG_MINIMUM_RELEASE_AGE=0 pnpm create @nocobase/app@beta my-app --template-tag=betaNocoBase 3 is in beta. PNPM_CONFIG_MINIMUM_RELEASE_AGE=0 allows pnpm to install newly published versions for this command only.
Enter the directory, generate configuration, check it and start the application:
cd my-app
pnpm nocobase config init --dialect sqlite
pnpm nocobase config check
pnpm dev
config initgenerates the localconfig.ymland application secrets. SQLite needs no separate database installation. Keepconfig.ymlout of Git.config checkloads configuration as startup would and suggests fixes if it finds problems.pnpm devstarts the development server and prints aLocal:URL when ready. Keep this terminal running; closing it stops the application.
Sign in
Open the application URL and sign in with the default administrator: username nocobase, password admin123. Where you get the URL depends on how you created the application:
- With an agent: use the URL the agent gives you.
- With manual commands: use the
Local:URL printed in the terminal.
The URL includes an application path, such as /main/. Keep that path when opening it.
After signing in, you reach the home page. It lists built-in capabilities and example requests you can give an agent:
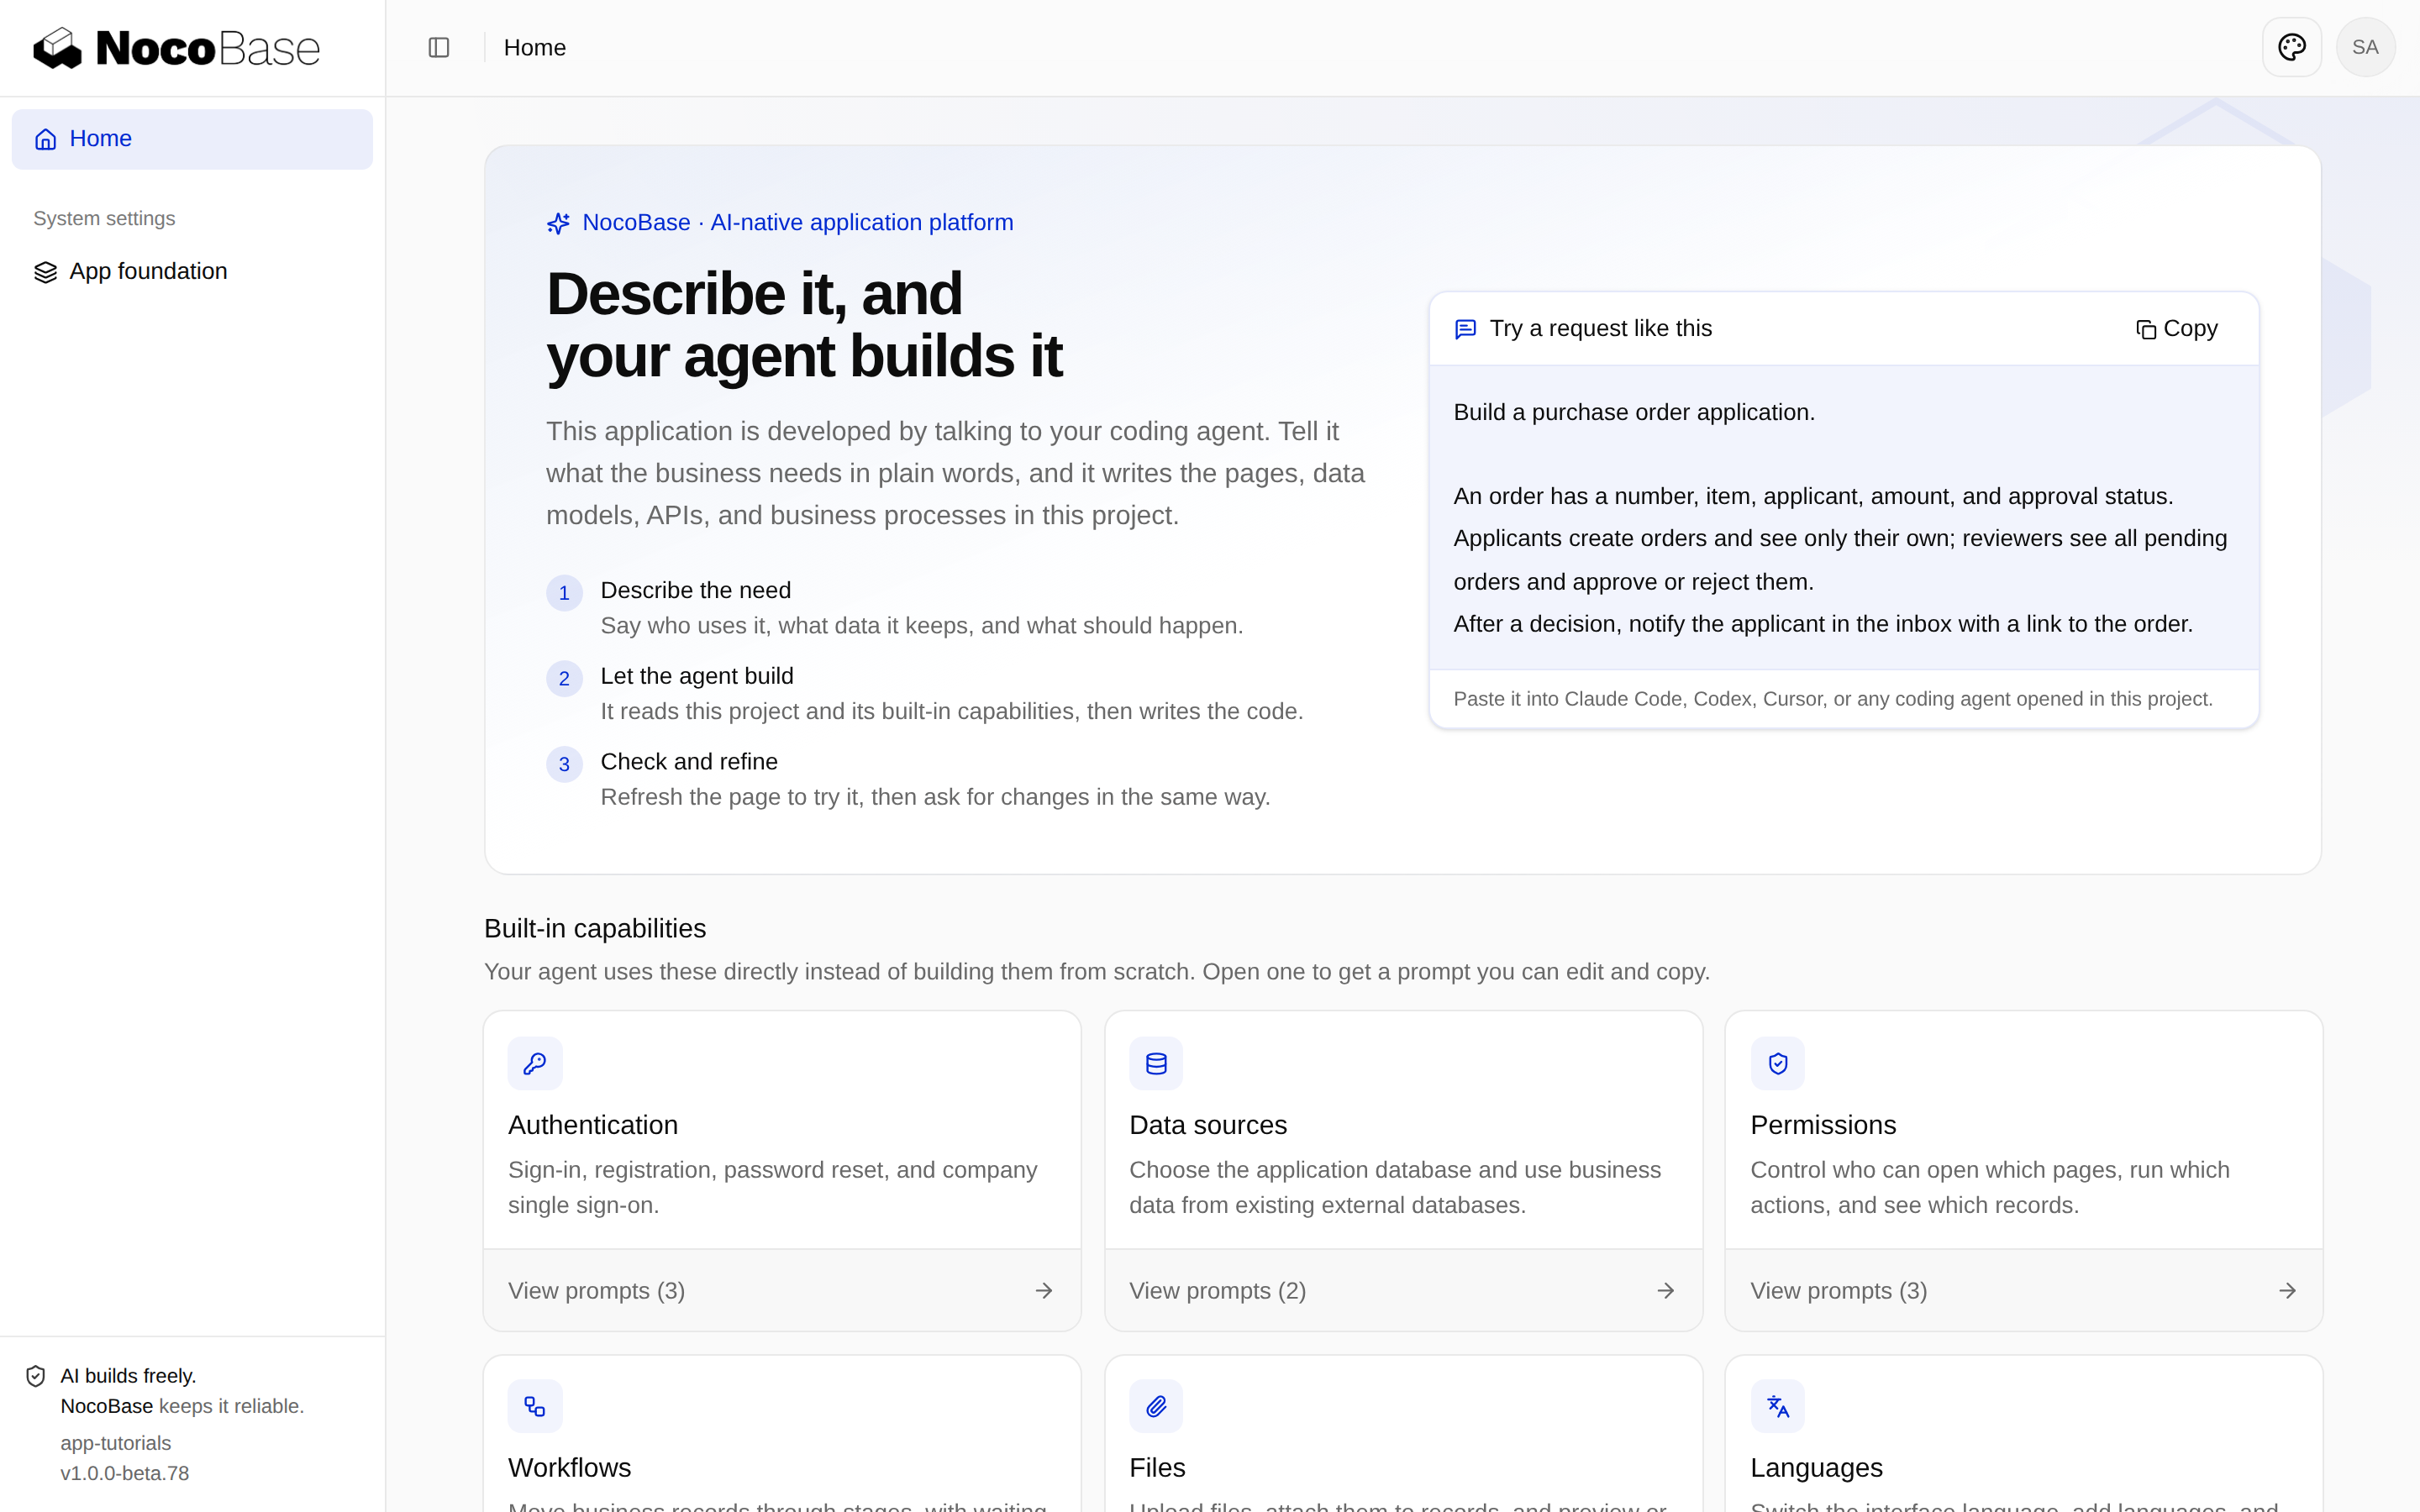
The screenshot is from an example application using default template 1.0.0-beta.78. The interface may differ with your installed version.
Describe your first business requirement
Open the agent in the root directory of the application you just created.
Send this to the agent:
Build customer management with a name, contact details, notes, sales owner and next follow-up date. Customer statuses are Lead, Following up and Won.
Support creating, viewing, editing and deleting customers, searching by name and filtering by status.
Sales managers can manage all customers. Sales reps can only view their own customers and update their status. Read-only users can view all customers but cannot make changes.
Describe only the business: what to record, which actions are available and who can perform them. The agent follows the project's Skills to handle user and permission management, translations, tests and its completion report.
Confirm the design
Before implementation, the agent presents a design for you to confirm, covering the page structure, main interactions and decisions it needs from you. Answer its questions and confirm the design so it can begin development.
Check features and permissions
When development is complete, the agent runs tests, checks the application in a browser and takes screenshots. It then provides a report of what it did and anything it could not verify. If verification requires signing in, it asks you to sign in yourself.
Open the URL the agent provides. Customers appears in the sidebar. You can create customers, assign sales owners and follow-up dates, update statuses, search and filter:
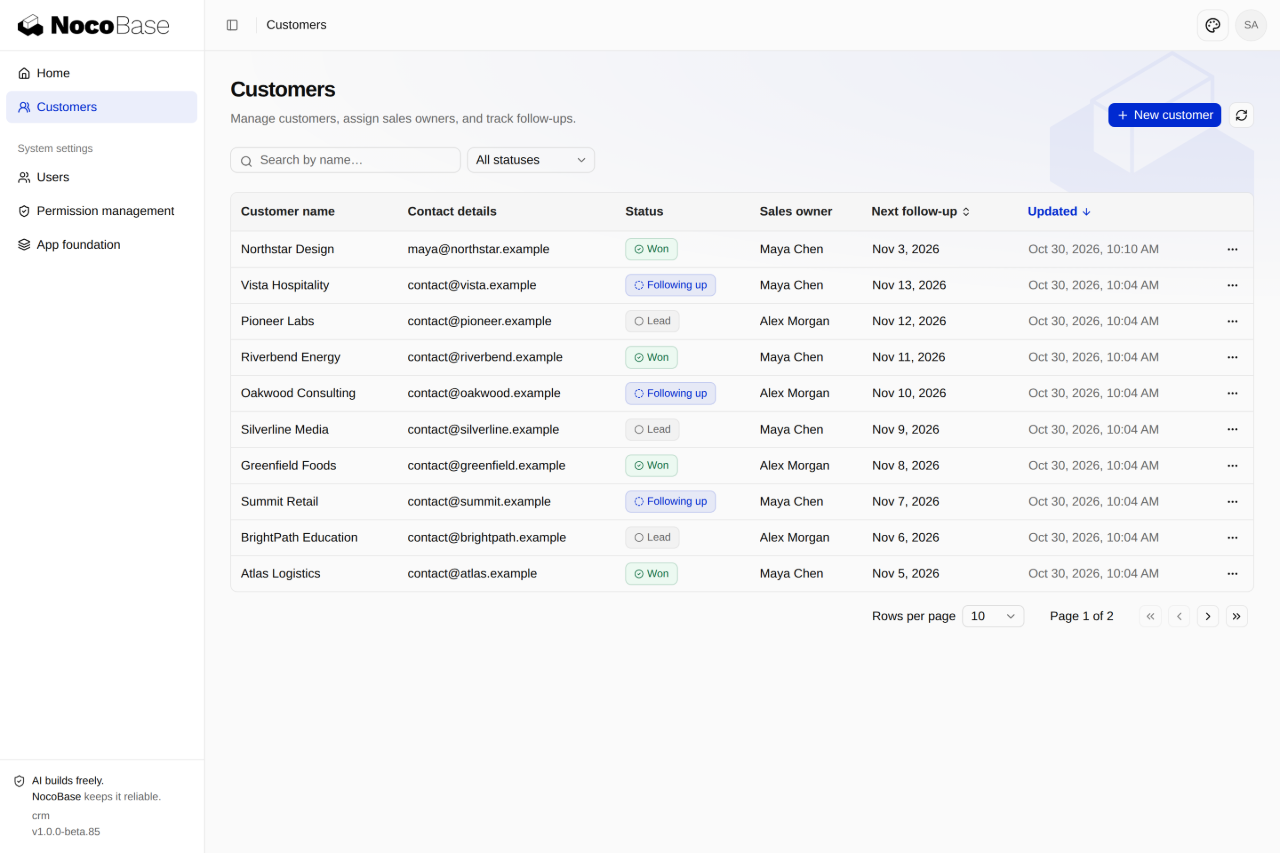
The screenshot comes from the example application. The same request may produce different layouts each time.
The agent also enables user and permission management. Try what a sales rep can do:
- Add a user in System settings → Users and assign the sales role in Permission sets. The example application calls it
Sales rep. - Create a customer and select this user as the sales owner.
- Sign in with that account. The list should show only customers owned by this user. The user can update their status but cannot edit their details or delete them.
Also check with sales-manager and read-only accounts: managers should manage all customers; read-only users should see all customers but cannot create, edit, or delete them. Complete any unverified checks listed in the report before adding more features.
Refine and continue developing
If the result is wrong or you want something different, tell the agent what you did, what happened and what you expected:
I signed in with an account assigned only the sales rep role, but I can still see customers owned by other people.
Sales reps should only see their own customers.
You can also request interaction changes, such as opening customer details when you click a name, then deciding whether to edit.
Next, add customer follow-up records in the agent session at the application root:
Add follow-up records to customers. After each contact, a sales rep records the date, method (phone, visit, or email), and notes.
Show follow-up records in the customer details, newest first.
Sales reps can only add follow-ups for their own customers. Sales managers can view all records. Read-only users can only view them.
Existing customers don't need historical follow-up records added.
Confirm the design, then check the result as a sales rep, manager, and read-only user. Split larger requests into independently usable features, such as follow-ups, opportunities, quotes, and sales reports. Verify each before moving on.
Ask the agent to save lasting conventions, for example: “Use the company's time zone for all dates from now on, and save this in the project conventions.” These rules live in .agents/rules/, indexed by AGENTS.md for future sessions.
See the CRM example source and its README. Consult Project structure to locate code, or the Learning path for development, deployment, and collaboration.