

AI Agent Integration Guide
NocoBase fully supports AI Agent collaboration — you can use natural language to complete data modeling, page building, workflow orchestration, permission configuration, and even custom plugin development. Whether you use Claude Code, Codex, Cursor, or other AI tools, you can work with NocoBase through these two foundational components:
- NocoBase CLI — A command-line tool for initializing, connecting to, and managing NocoBase applications in your local workspace. It helps you prepare NocoBase applications, save CLI env configurations, and provides daily management commands such as start, stop, view logs, upgrade, and clean up — enabling AI Agents to connect and use NocoBase.
CLI supports two common initialization methods:
- Connect to an existing NocoBase application so that AI Agents can use it directly.
- Install a new NocoBase application via Docker, npm, or Git, and save it as a CLI env.
- NocoBase Skills — Domain knowledge packages that enable AI Agents to understand NocoBase's configuration system and development conventions. They cover data modeling, UI configuration, workflow management, permission configuration, plugin development, and more. NocoBase CLI automatically installs Skills during initialization (
nb init), so no manual installation is needed.
Once you install CLI and complete initialization, your AI Agent can directly operate your NocoBase application.
Prerequisites
Before getting started, make sure the following environment requirements are met:
- Node.js >= 22
- Yarn 1.x
- We recommend using AI Agents powered by leading large models such as Claude or GPT. Results depend heavily on the model used — for the best experience, choose the latest flagship model available.
Install a New NocoBase and Connect AI Agent
If you already have a running NocoBase instance, you can skip to the next section: Connect AI Agent to an Existing NocoBase.
If you don't have a NocoBase application yet, you can use CLI to install and initialize a new NocoBase application, then connect AI Agent to it.
Step 1: Install CLI
Step 2: Initialize
Configuration files and application data are stored in your home directory by default. See NB_CLI_ROOT environment variable for details.
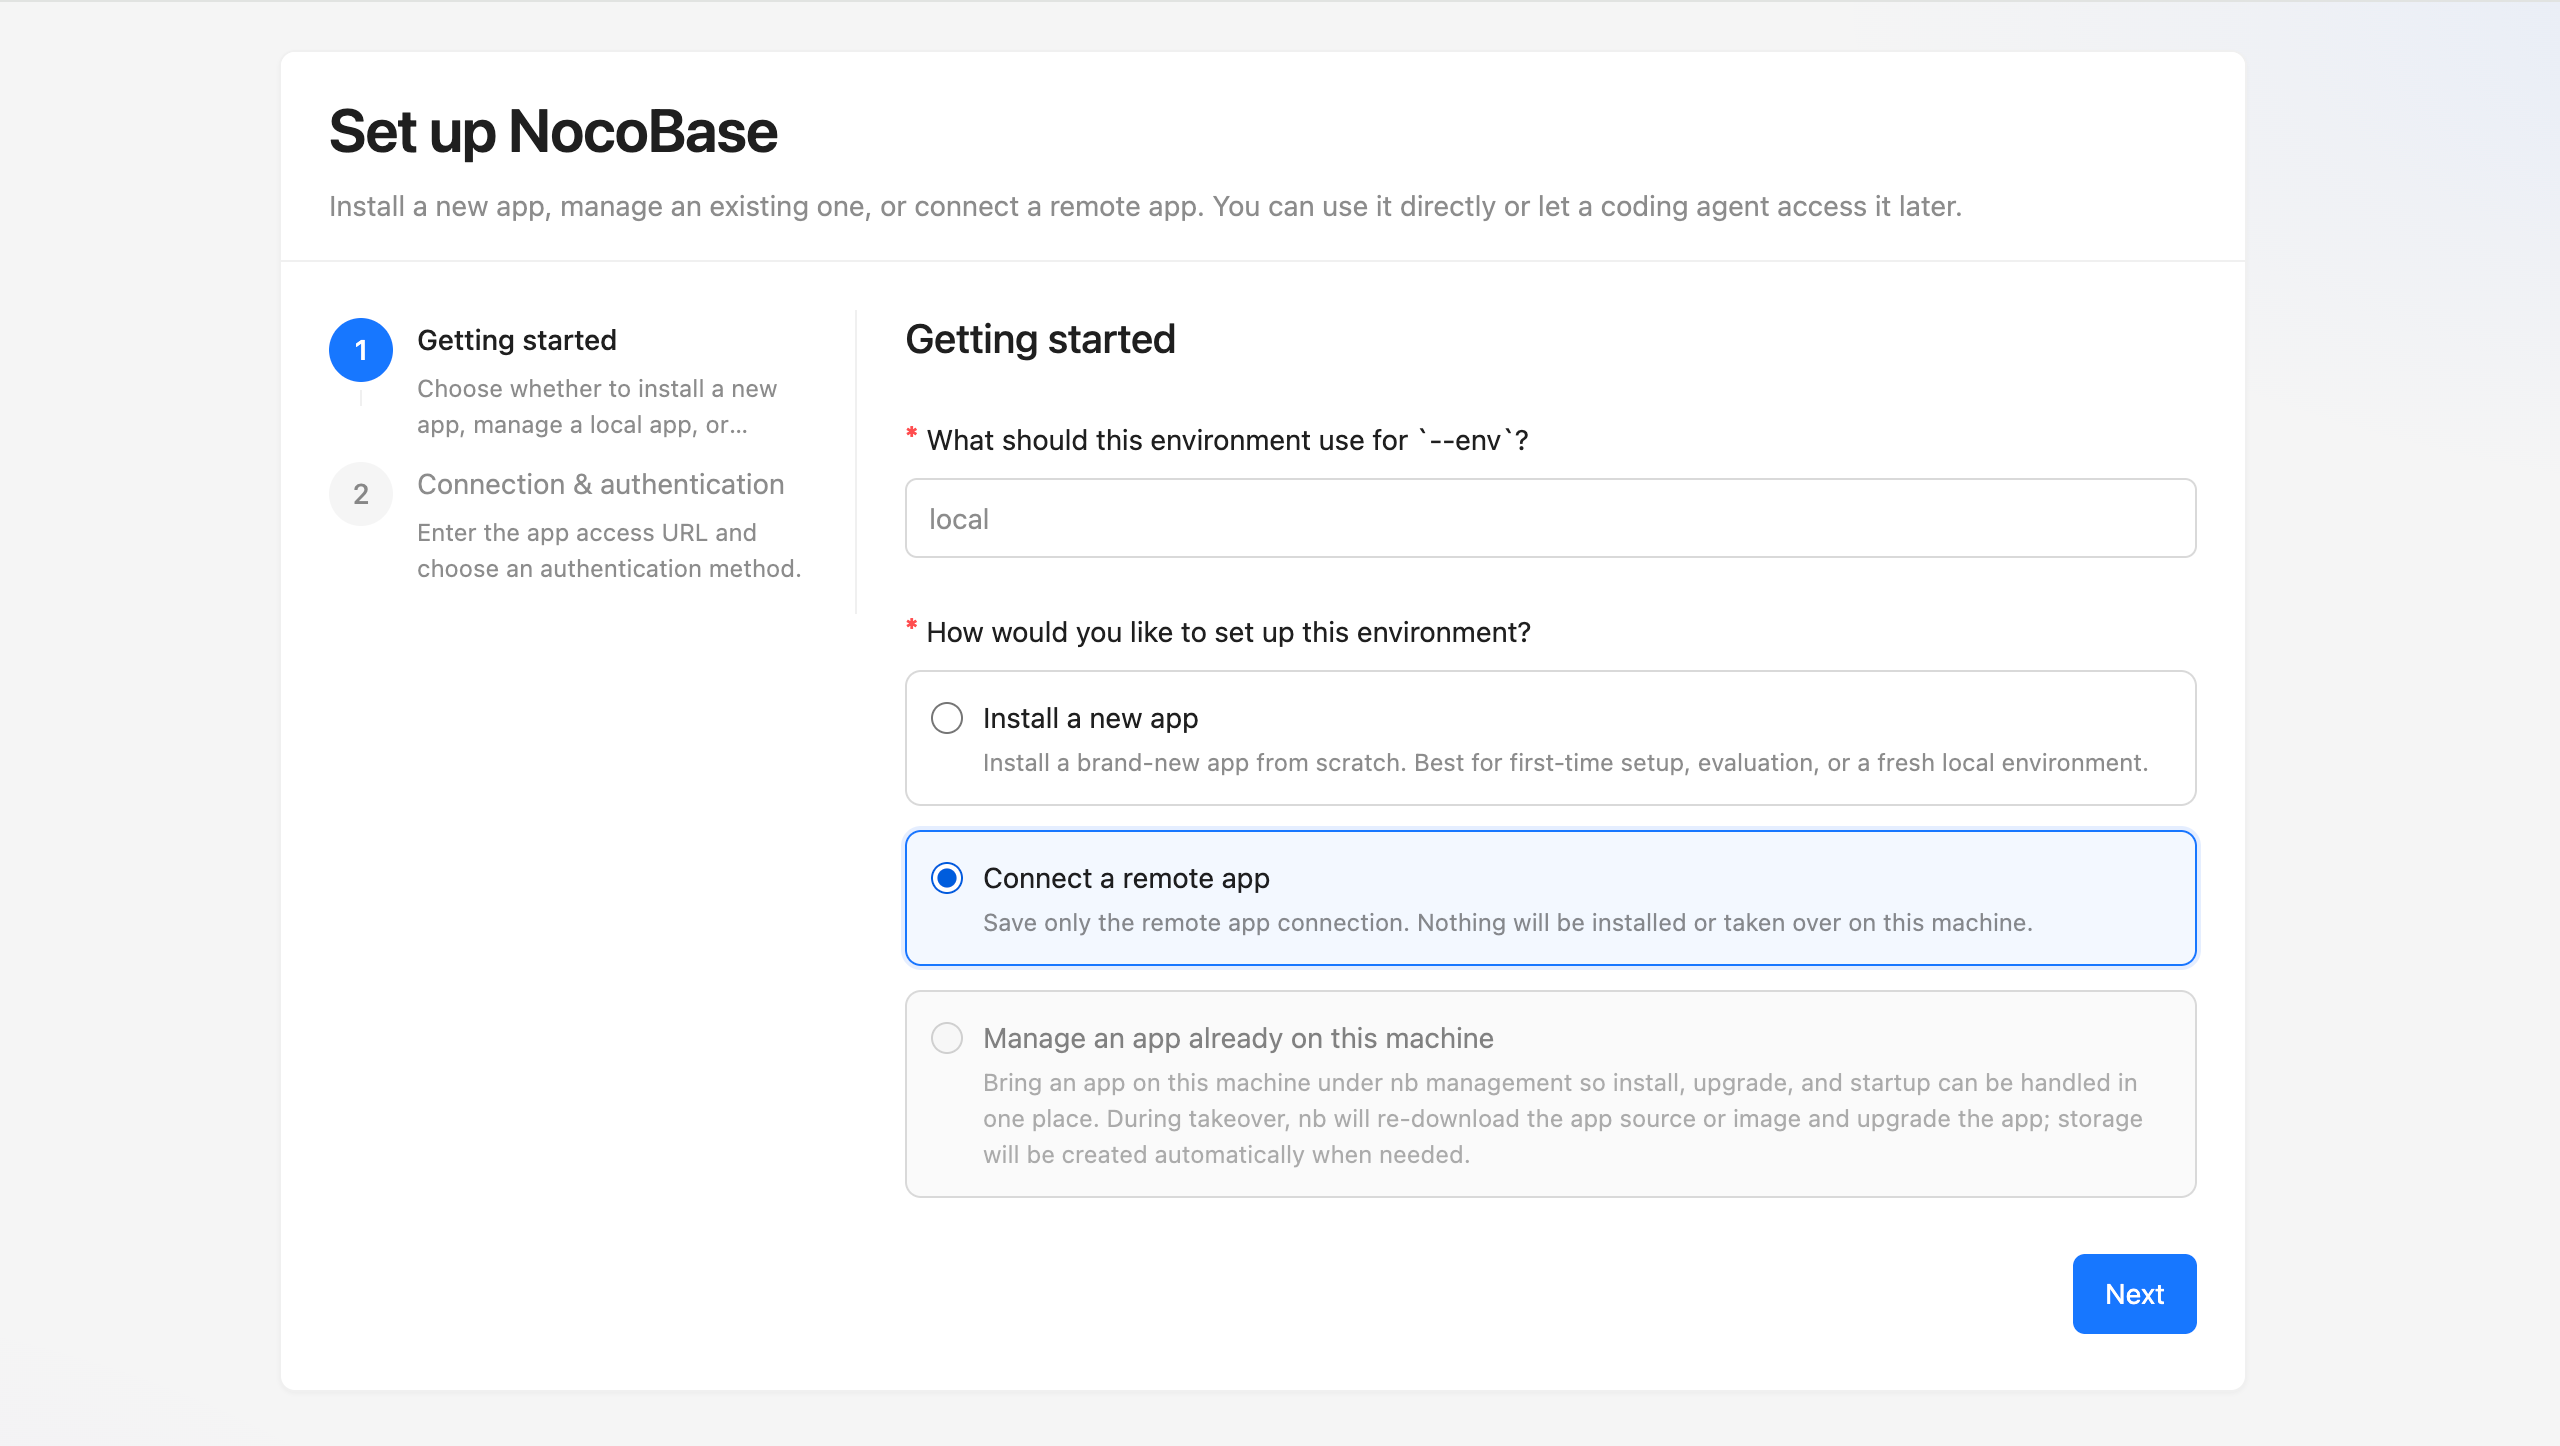
The browser will automatically open a visual configuration page, guiding you through 6 steps:
- "Getting started" — Choose whether to install a new app, manage a local app, or connect a remote app.
- "App environment" — Set the app basics, storage location, and runtime port.
- "App source and version" — Choose how to get the app and which source and version to use.
- "Configure the database" — Use built-in or custom.
- "Create an admin account" — Set up the first admin.
- "Connection & authentication" — Enter the app access URL and choose an authentication method.

After installation is complete, open your browser and visit http://localhost:13000 (default port), then log in with the admin account you just set up.
(If you prefer working in the command line, you can also run nb init to enter the interactive wizard, or nb init --env=app -y to use default configuration with one command.)
Step 3: Let AI Agent Start Working
Start a new or restart the AI Agent session, and you can let the AI Agent start operating NocoBase. CLI configuration is stored in a global directory (default ~/.nocobase/), accessible from any directory.
Connect AI Agent to an Existing NocoBase
If you already have a running NocoBase instance, you can connect AI Agent to it directly. Since AI capabilities are evolving rapidly, the minimum required version is NocoBase 2.1.0, and we recommend updating to the latest version.
Step 1: Install CLI
Step 2: Initialize and Connect
Configuration files are stored in your home directory by default. See NB_CLI_ROOT environment variable for details.
The browser will automatically open a visual configuration page. In the first step "Start Configuration", select "Remote Connection", then:
- Enter API Address — Input the API address of your existing NocoBase instance (e.g.,
http://localhost:13000/api) - Select Authentication Method — Choose an authentication method (OAuth is recommended for quick setup)
No need to configure installation method, database, or admin account — the wizard will skip those steps.
Step 3: Let AI Agent Start Working
Start a new or restart the AI Agent session, and you can let the AI Agent start operating NocoBase. CLI configuration is stored in a global directory (default ~/.nocobase/), accessible from any directory.
What's Next
Production Installation and Deployment
If you're preparing to deploy NocoBase to production, this order usually works best:
- Install using CLI - the complete installation flow. This is the right place when you want to install CLI from scratch, initialize env, and confirm the app is already running on your server
- Production deployment overview - the next step after the app is running. This mainly covers autostart, reverse proxy, domain setup, and HTTPS
Manage Application Environments
If you need to manage existing NocoBase instances (such as test or production environments), or switch between multiple environments, see Environment Management — covering environment checks, adding environments, upgrades, and troubleshooting.
Start AI Building
Describe your requirements in natural language, and AI helps you complete data modeling, page building, and workflow orchestration — replace manual configuration with conversation. See AI Building Quick Start.
Continue with AI Plugin Development
If you need to develop custom plugins, AI can help too — from scaffolding generation to component code and business logic, covering the full plugin development process. See AI Plugin Development.
Use AI Employees
Collaborate with AI employees directly in the NocoBase interface — data analysis, report generation, translation, decision support, without leaving your business system. See AI Employees.
NocoBase CLI Command Reference
If you already have a NocoBase application running, or have successfully completed initialization and want to continue developing, debugging, or managing your application, see NocoBase CLI Command Reference for full parameter documentation of all nb commands.
Related Links
- AI Building — Build NocoBase applications from scratch with AI
- AI Plugin Development — Develop NocoBase plugins with AI assistance
- AI Employees — Collaborate with AI in the business interface
- Environment Management — Environment checks, adding environments, upgrades, and troubleshooting
- NocoBase CLI Command Reference — Full parameter documentation for all commands
- Installation Methods and Version Comparison — Different installation methods and version channels for NocoBase