Google Configuration
Email managerEnterprise Edition+Prerequisites
For users to be able to integrate Google Gmail into NocoBase, the system must be deployed on a server that supports access to Google services. The backend will call the Google API.
Register Account
- Open https://console.cloud.google.com/welcome to enter Google Cloud
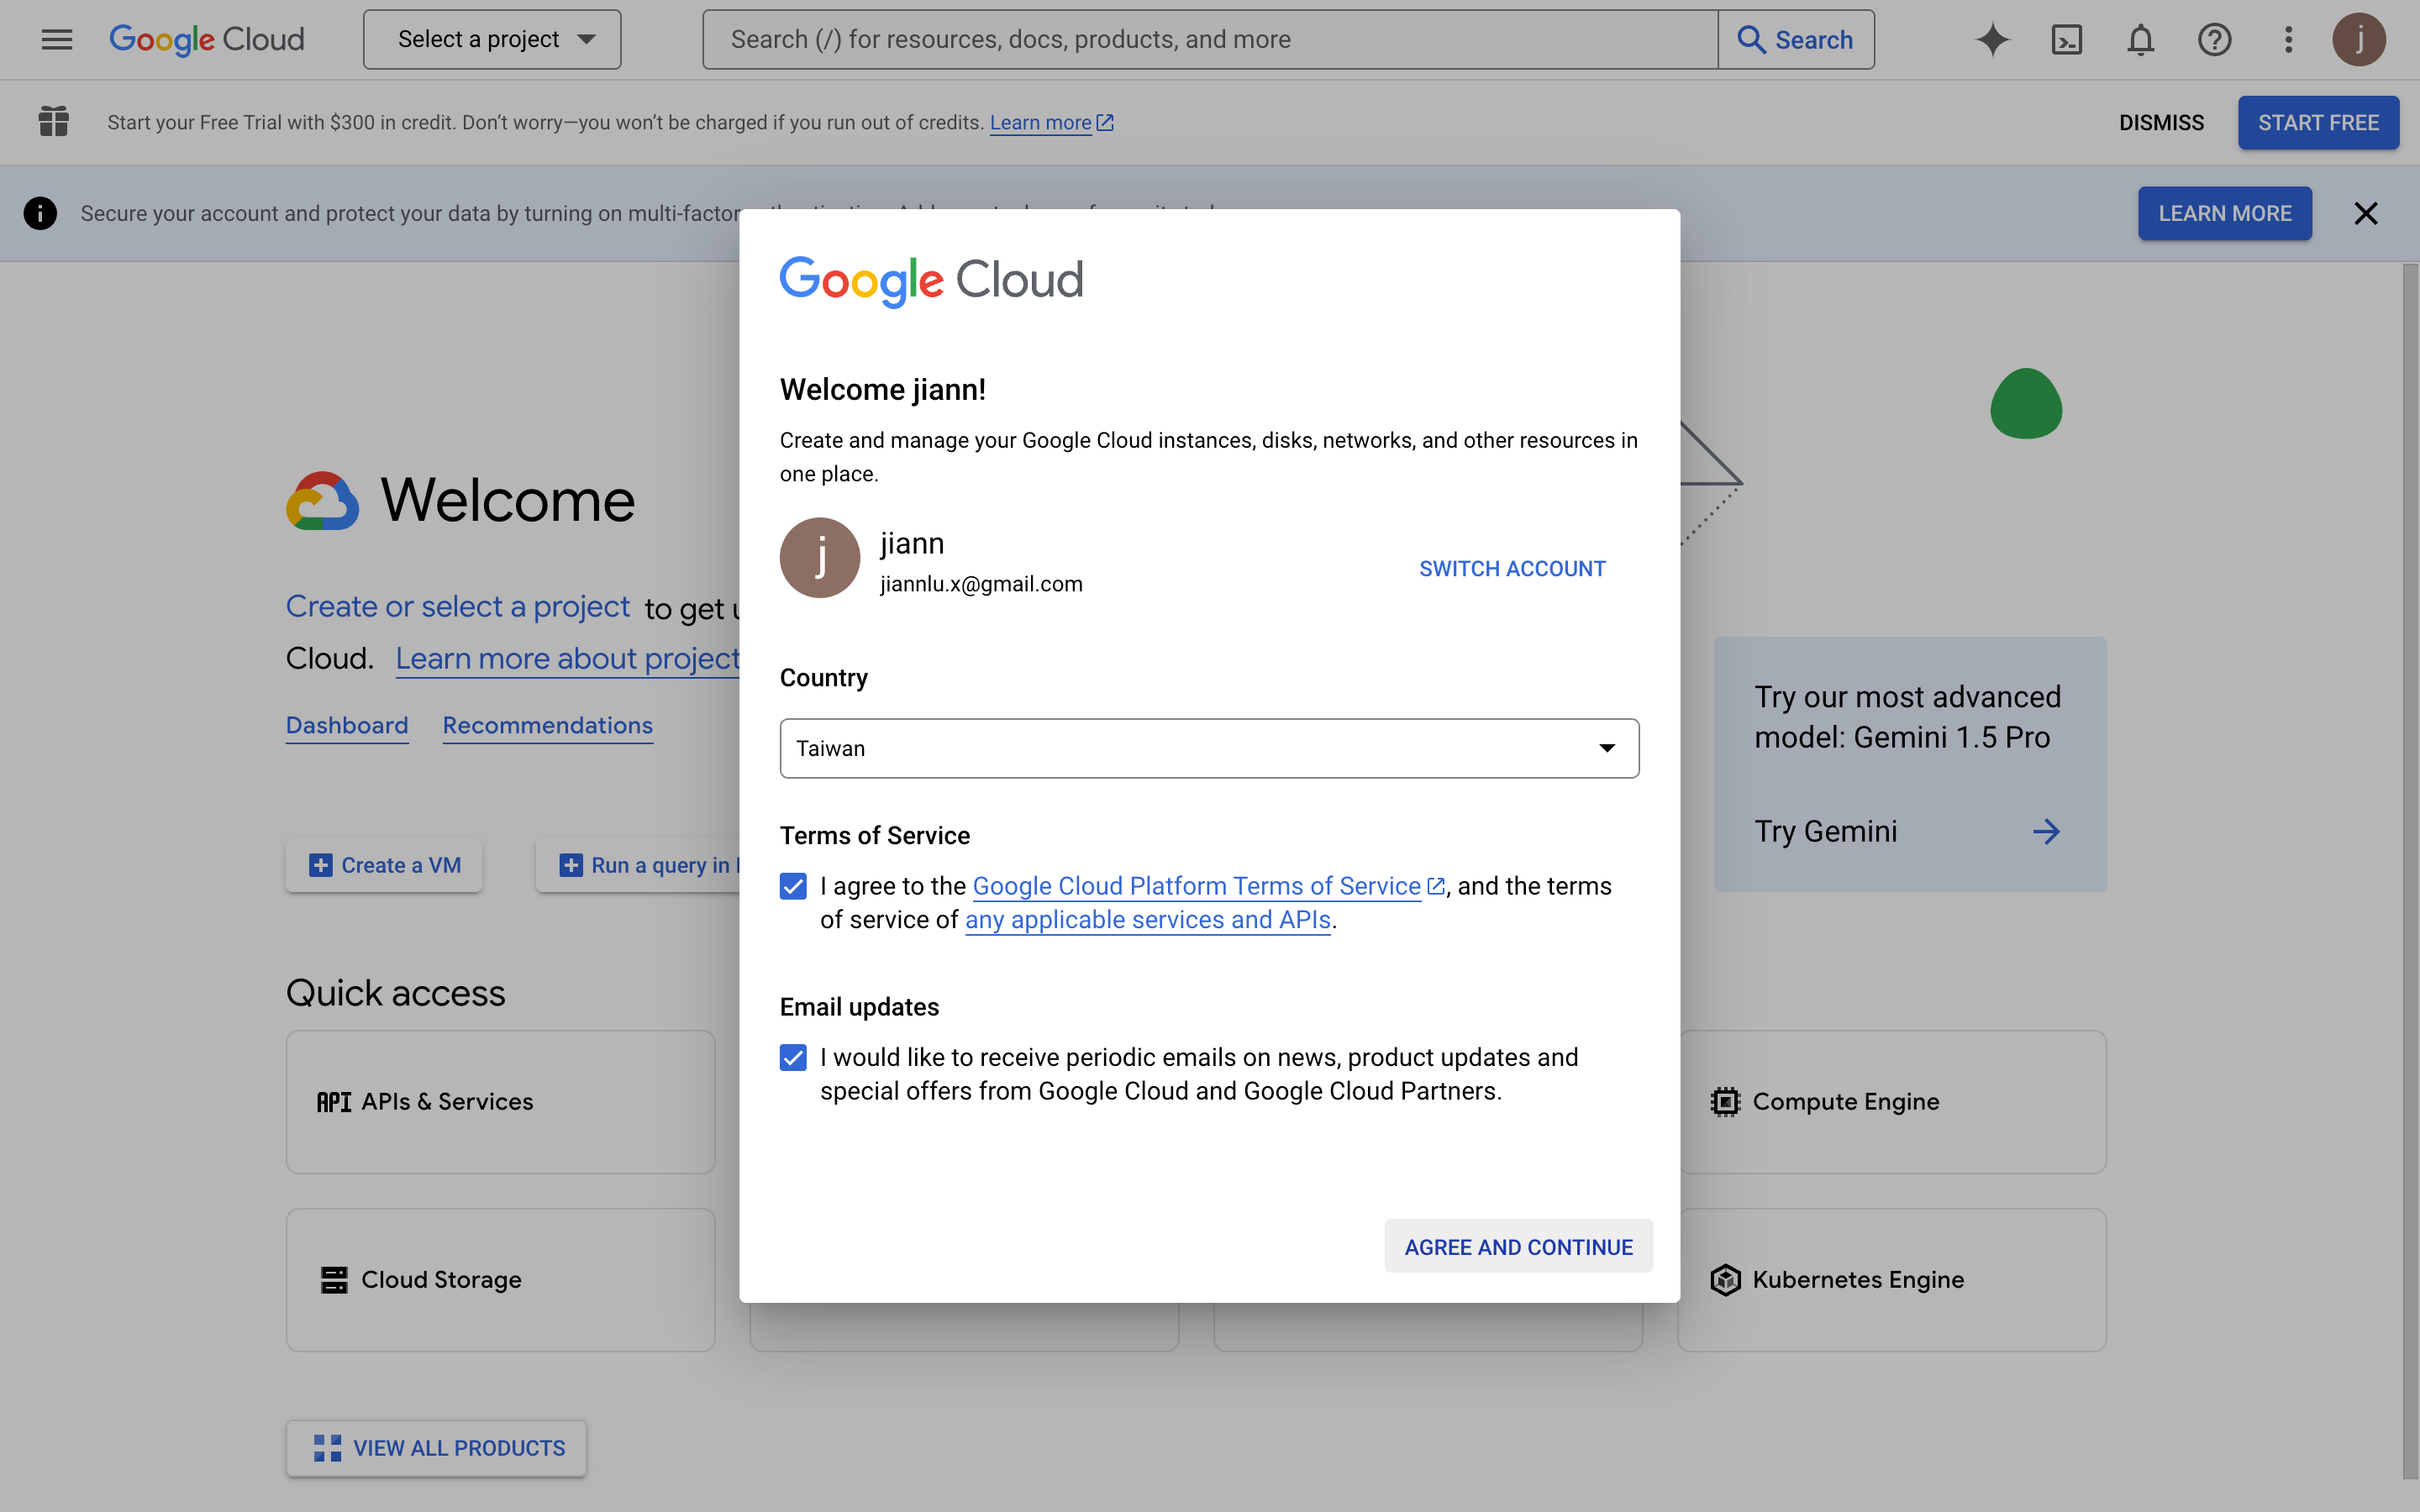
- On first entry, you need to agree to the relevant terms
Create App
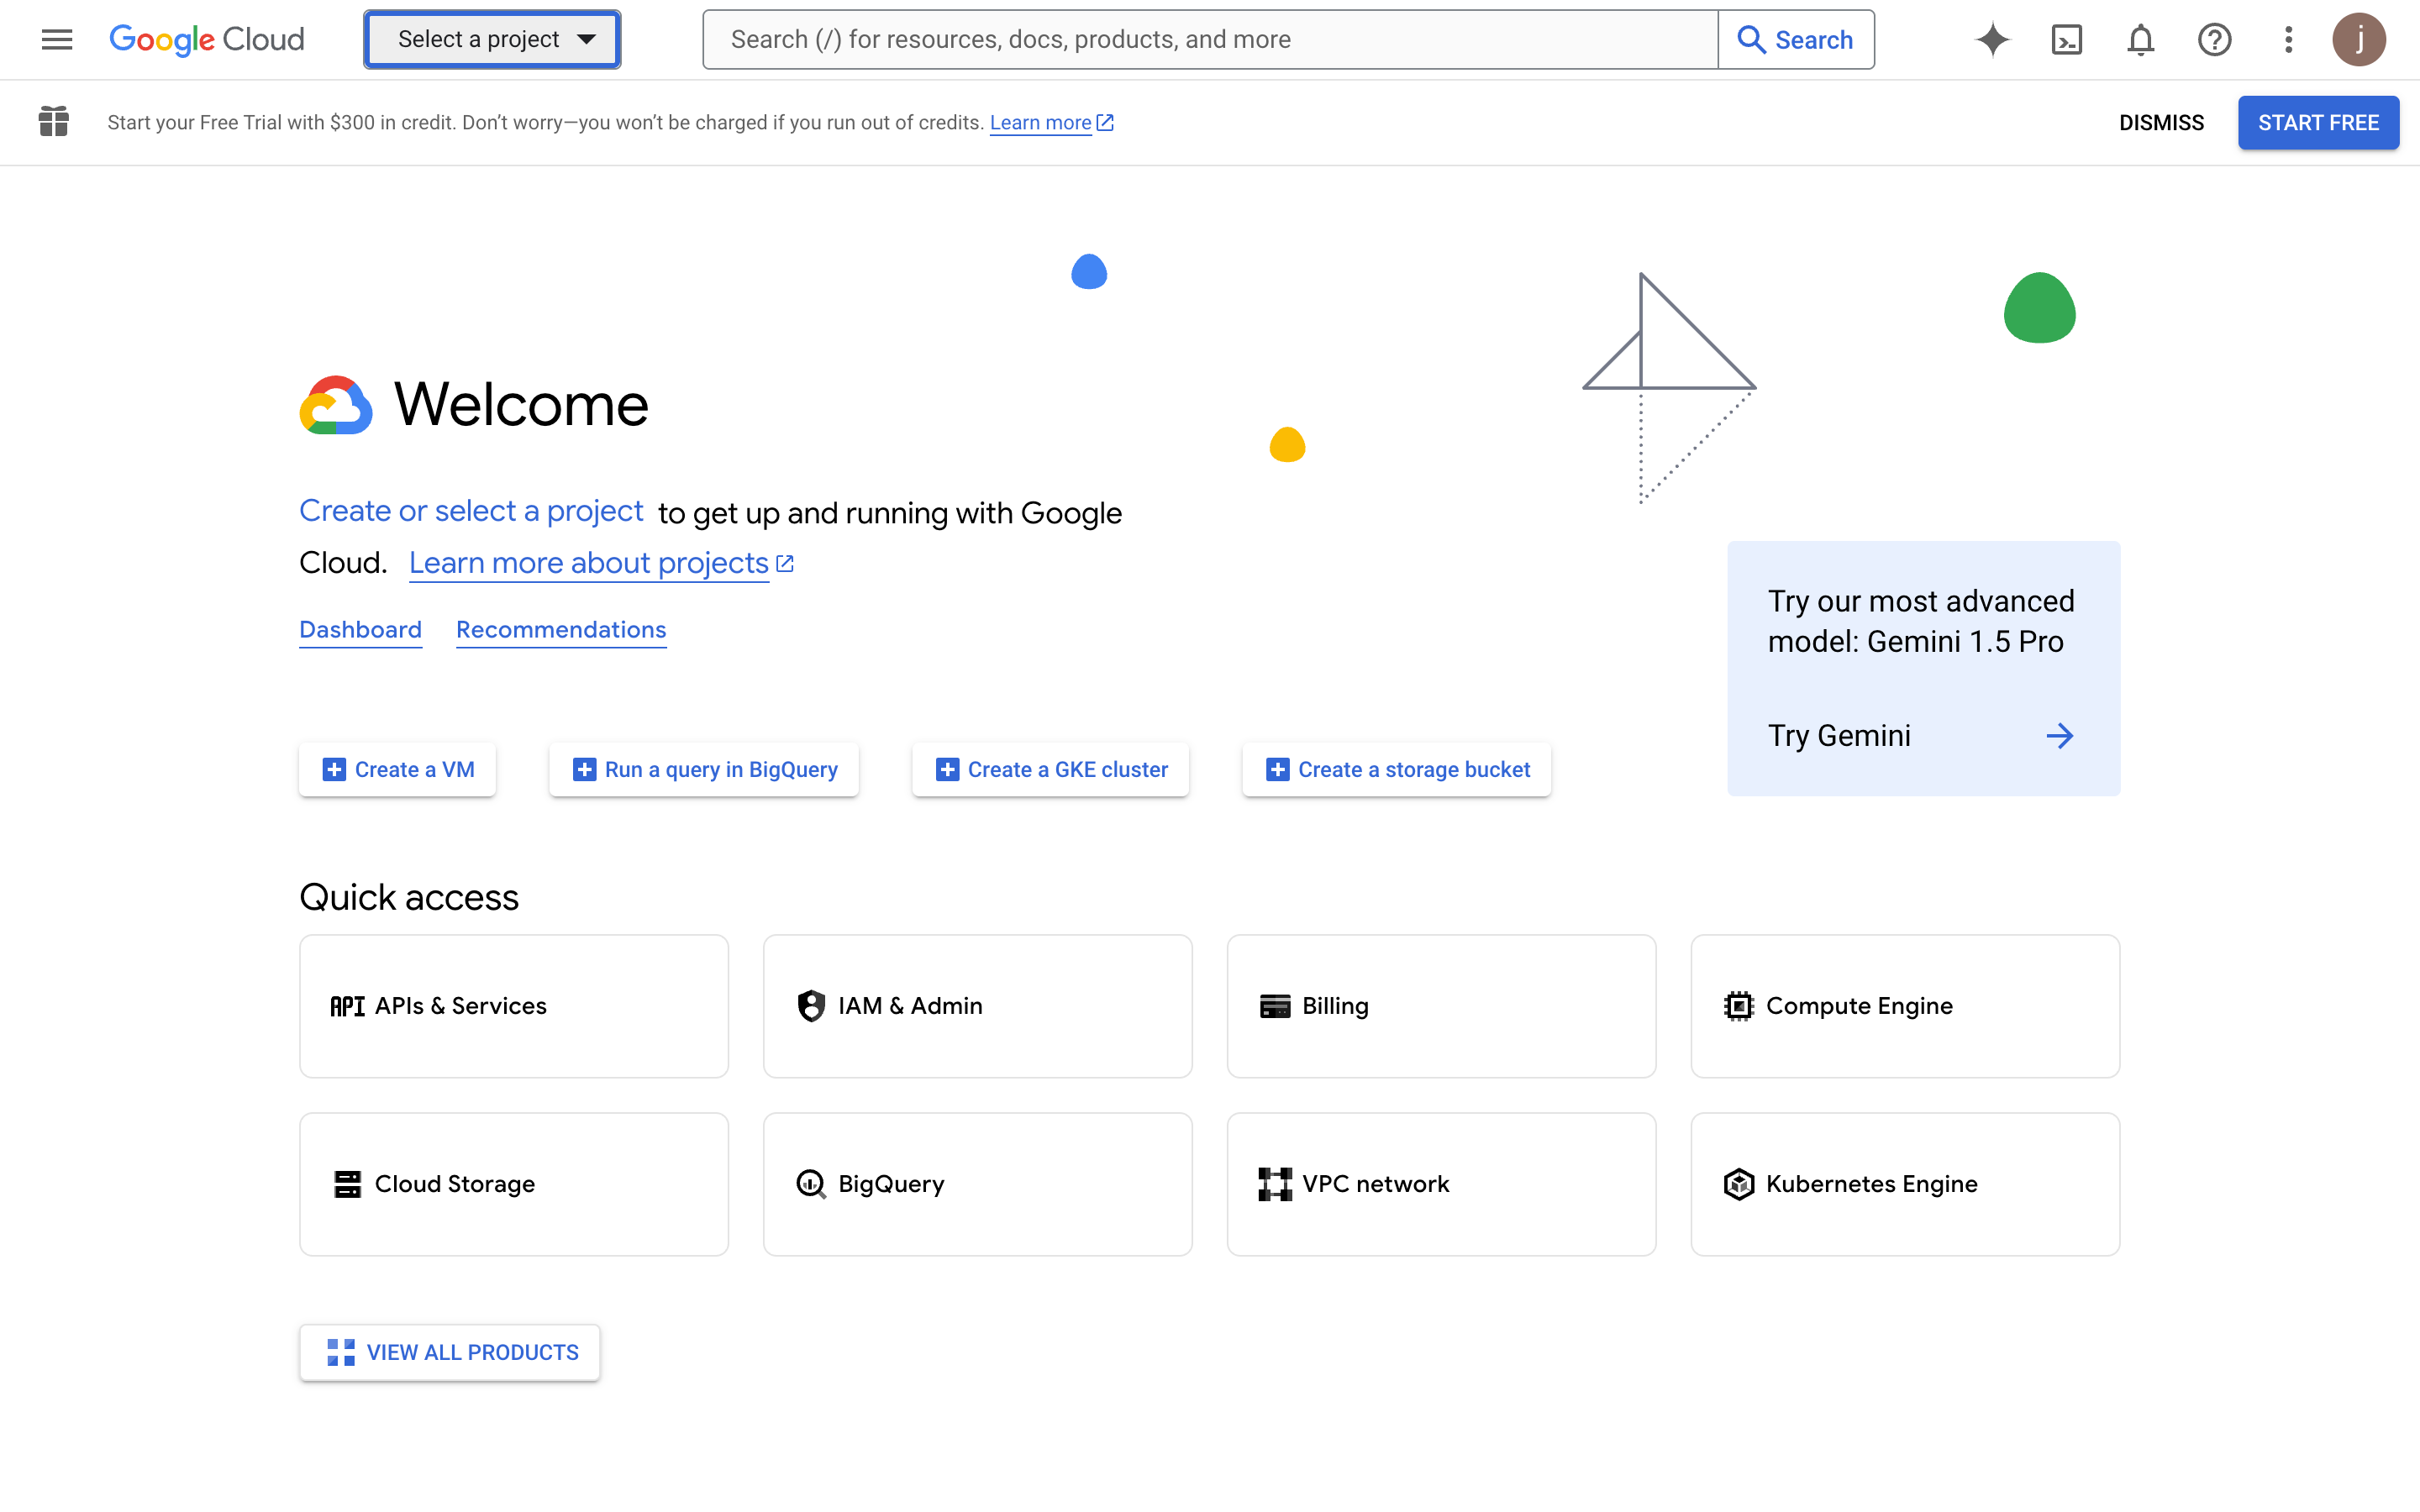
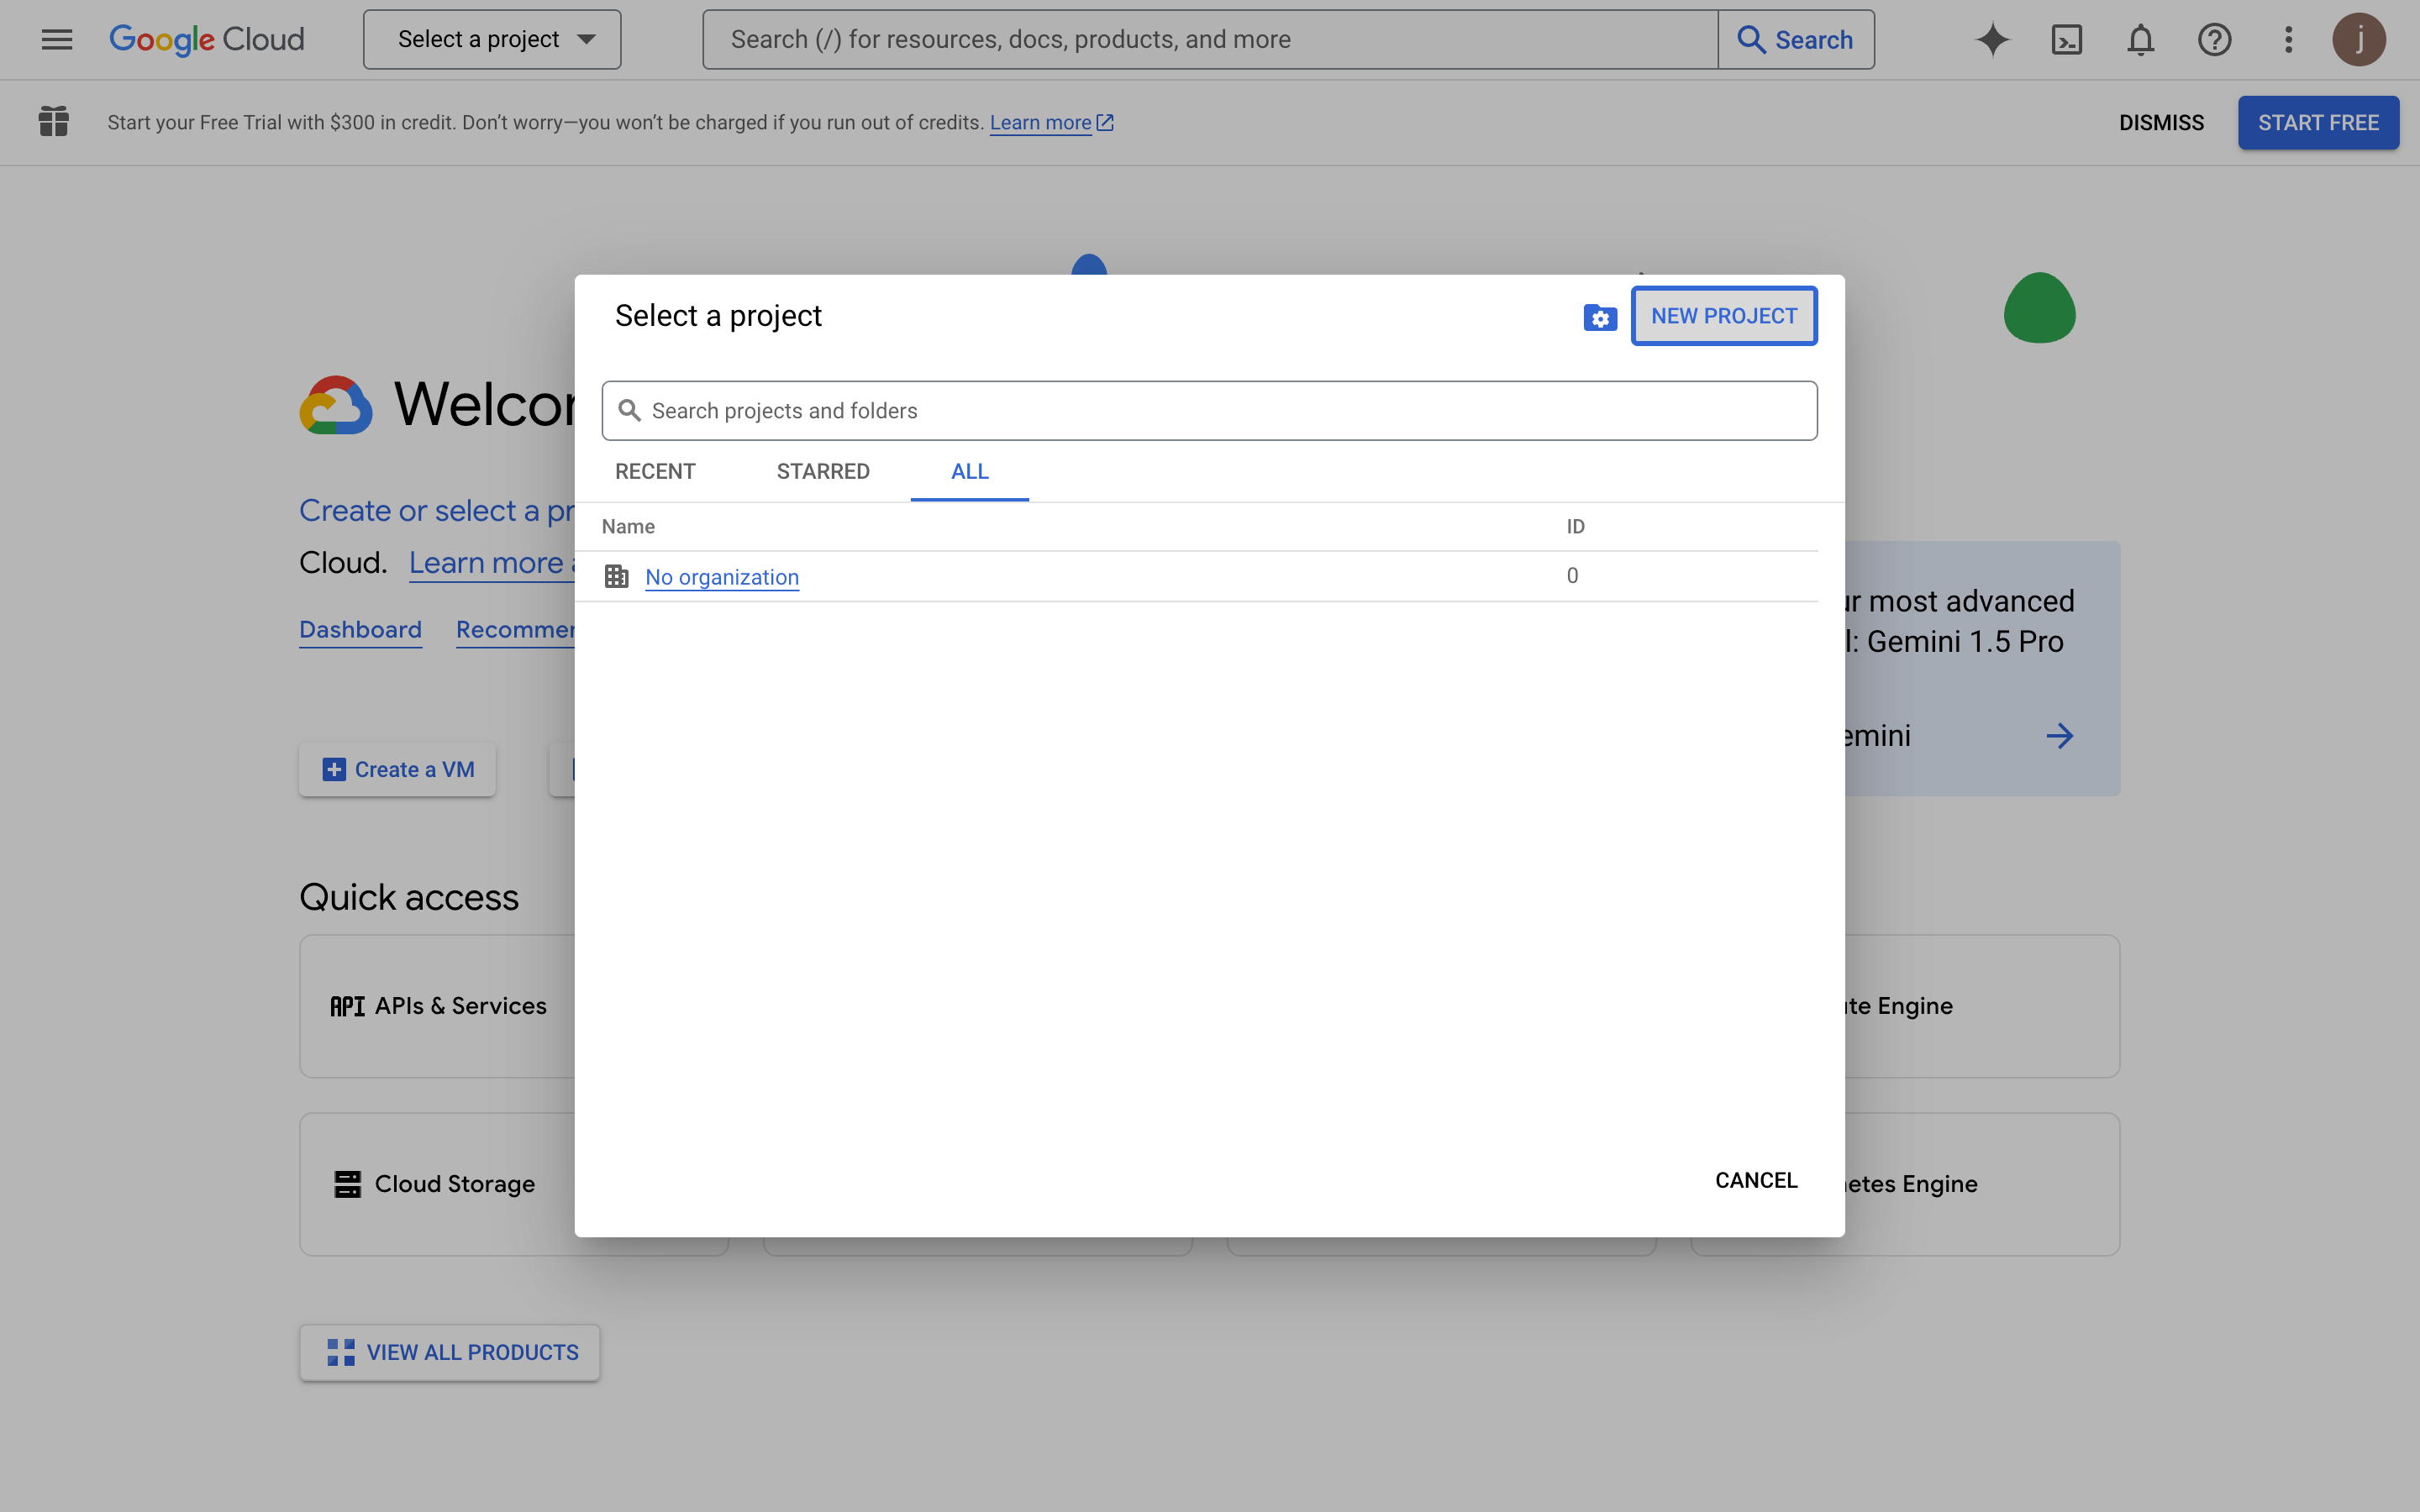
- Click "Select a project" at the top
- Click the "NEW PROJECT" button in the pop-up layer
- Fill in the project information
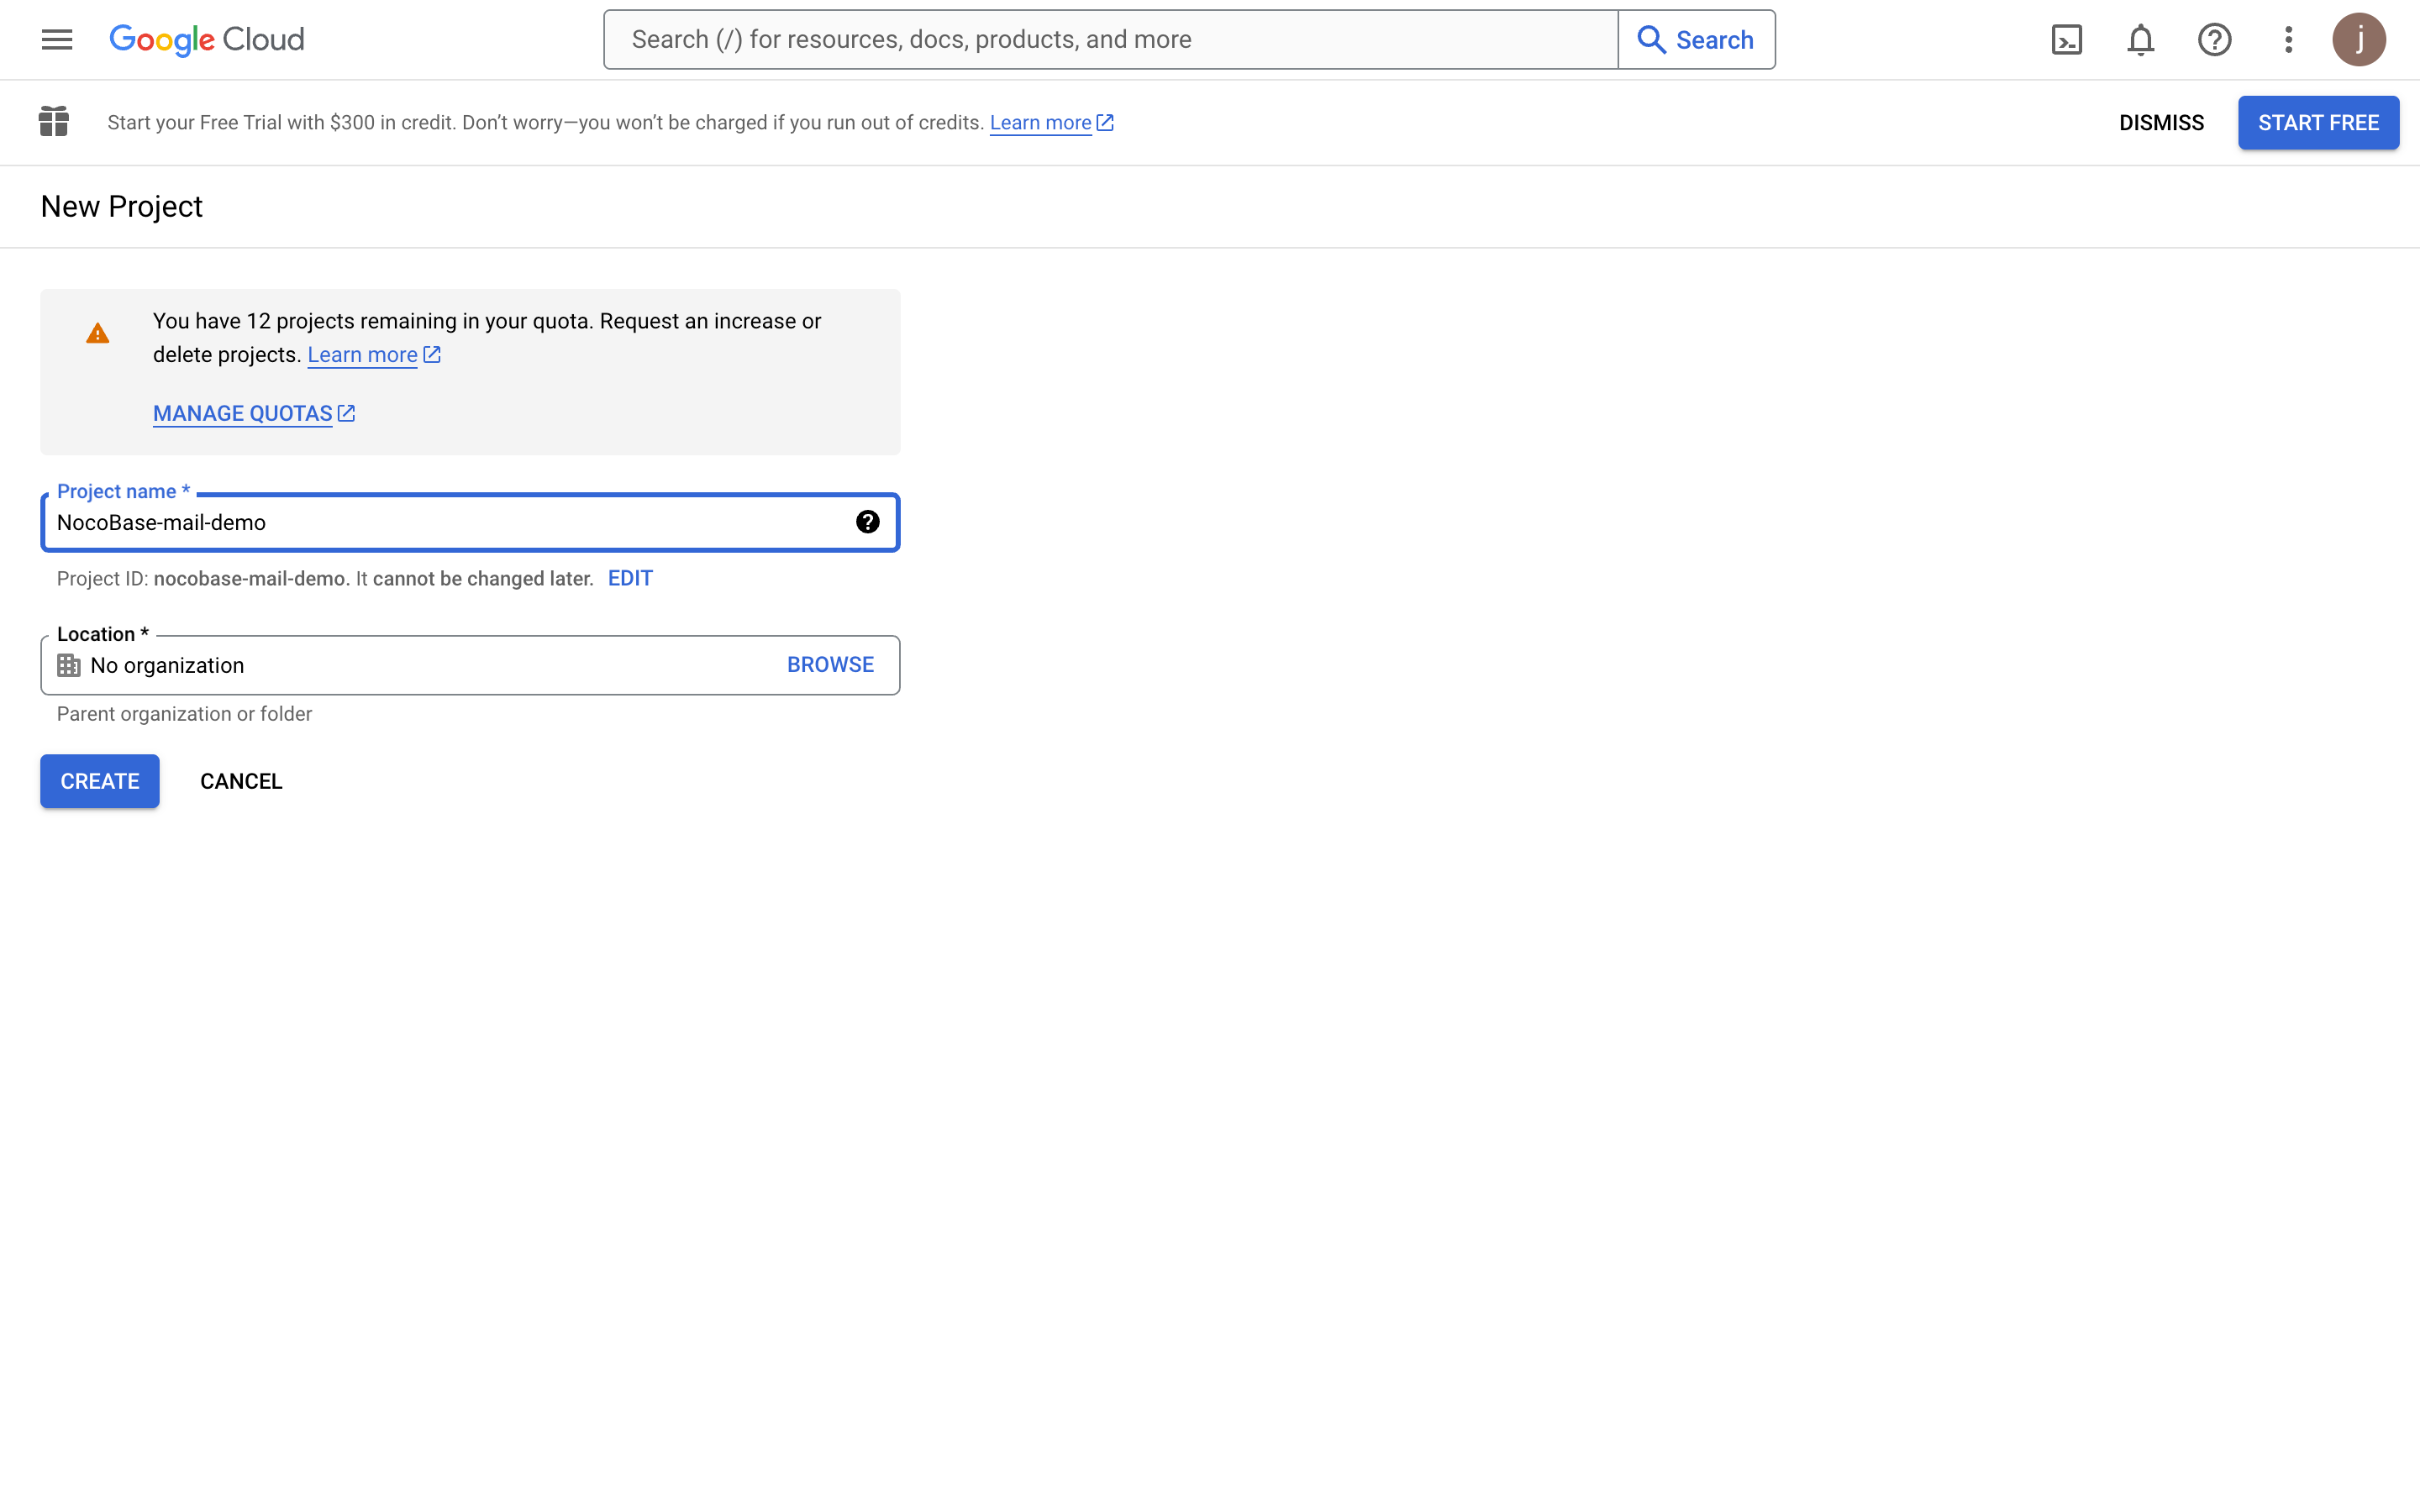
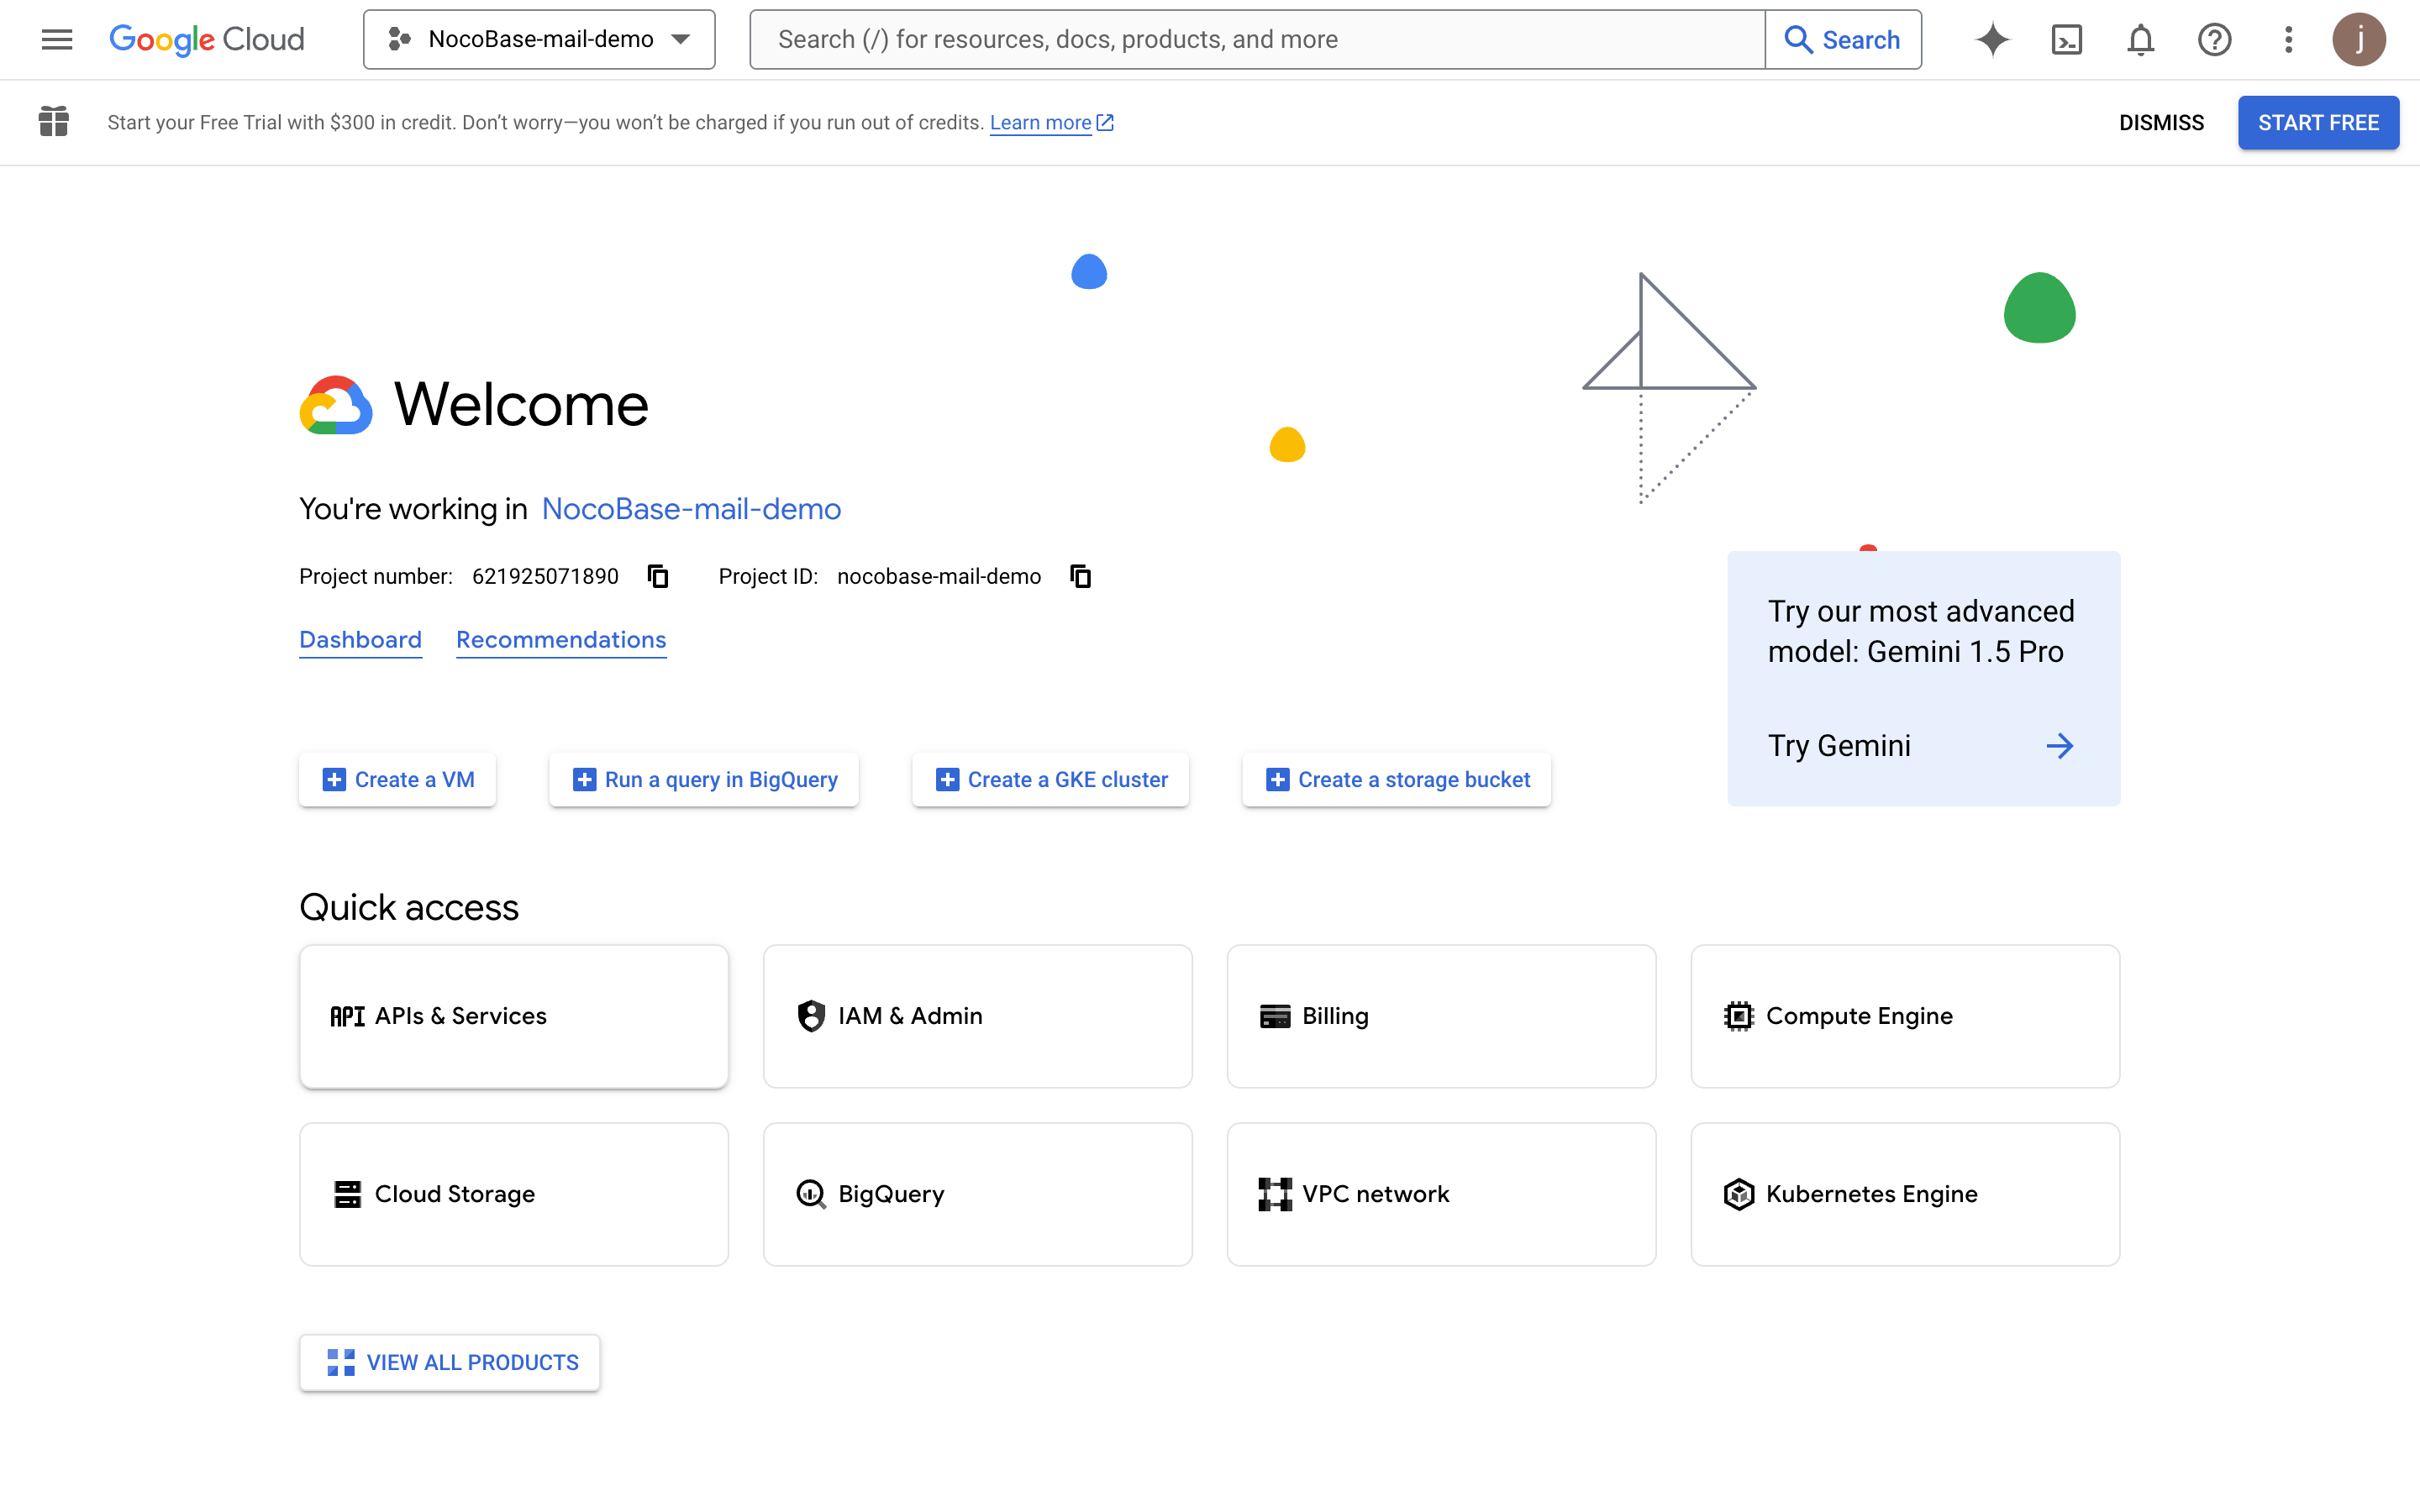
- After the project is created, select the project

Enable Gmail API
- Click the "APIs & Services" button
- Enter the APIs & Services panel

- Search for mail
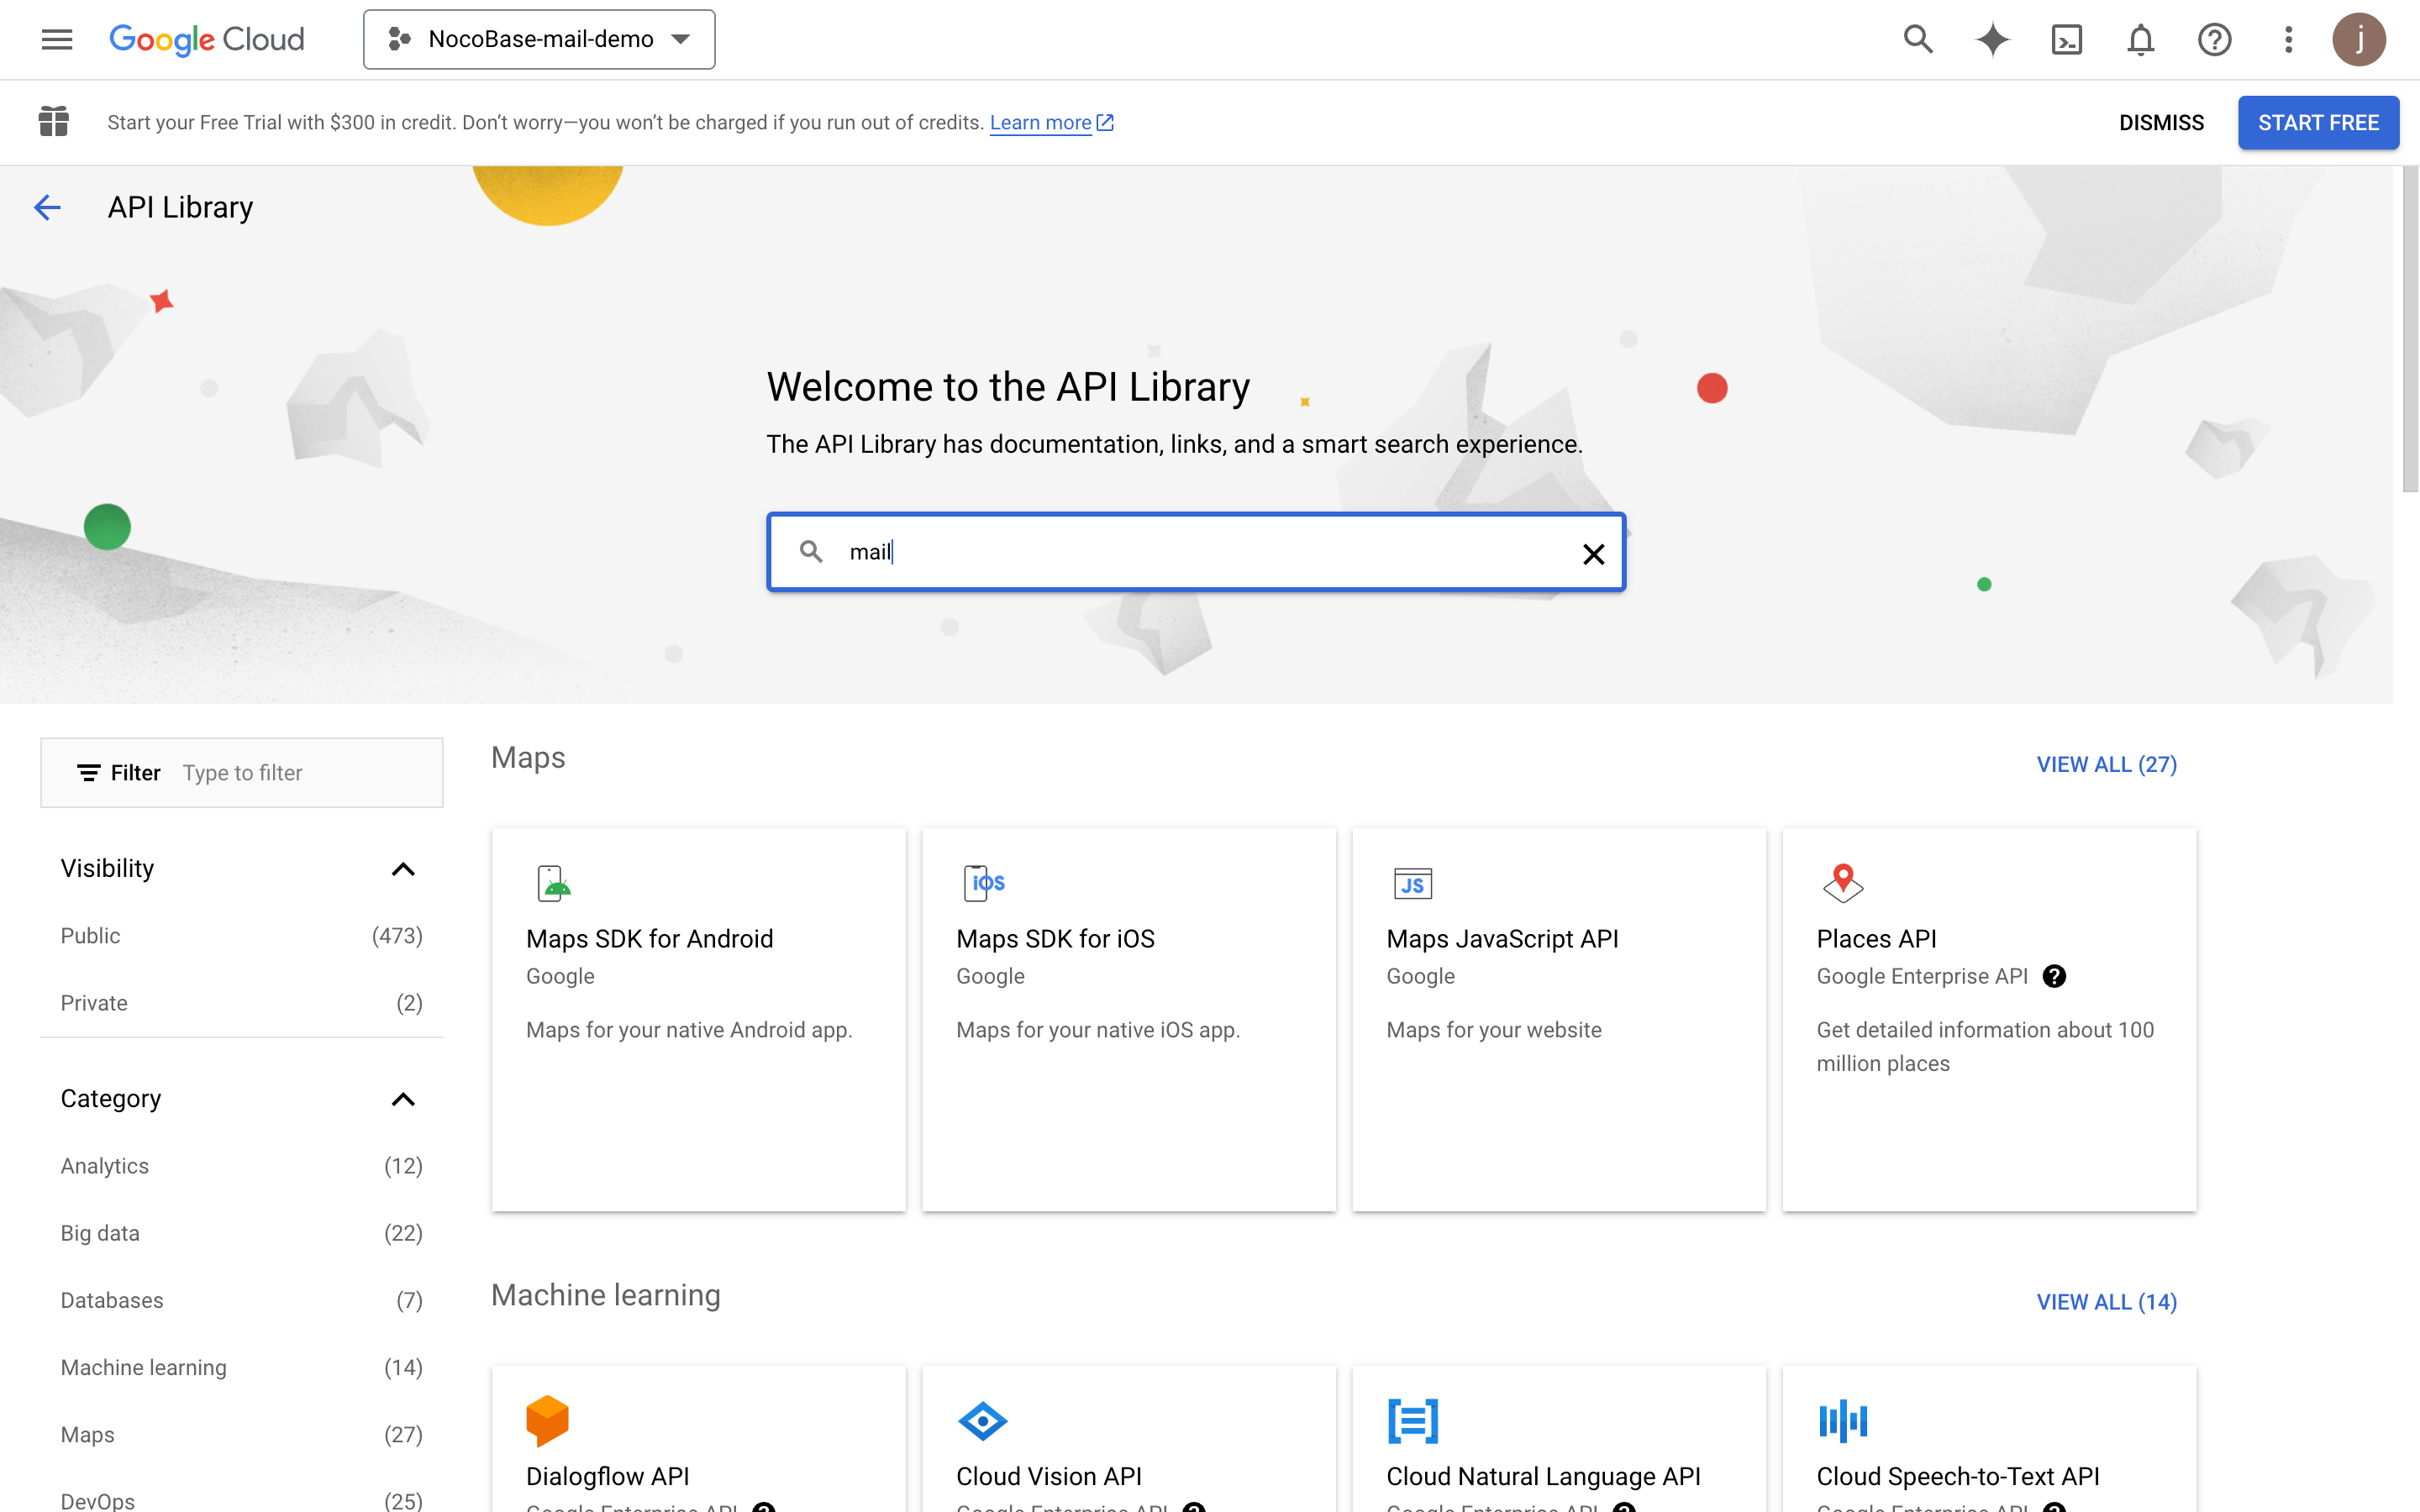
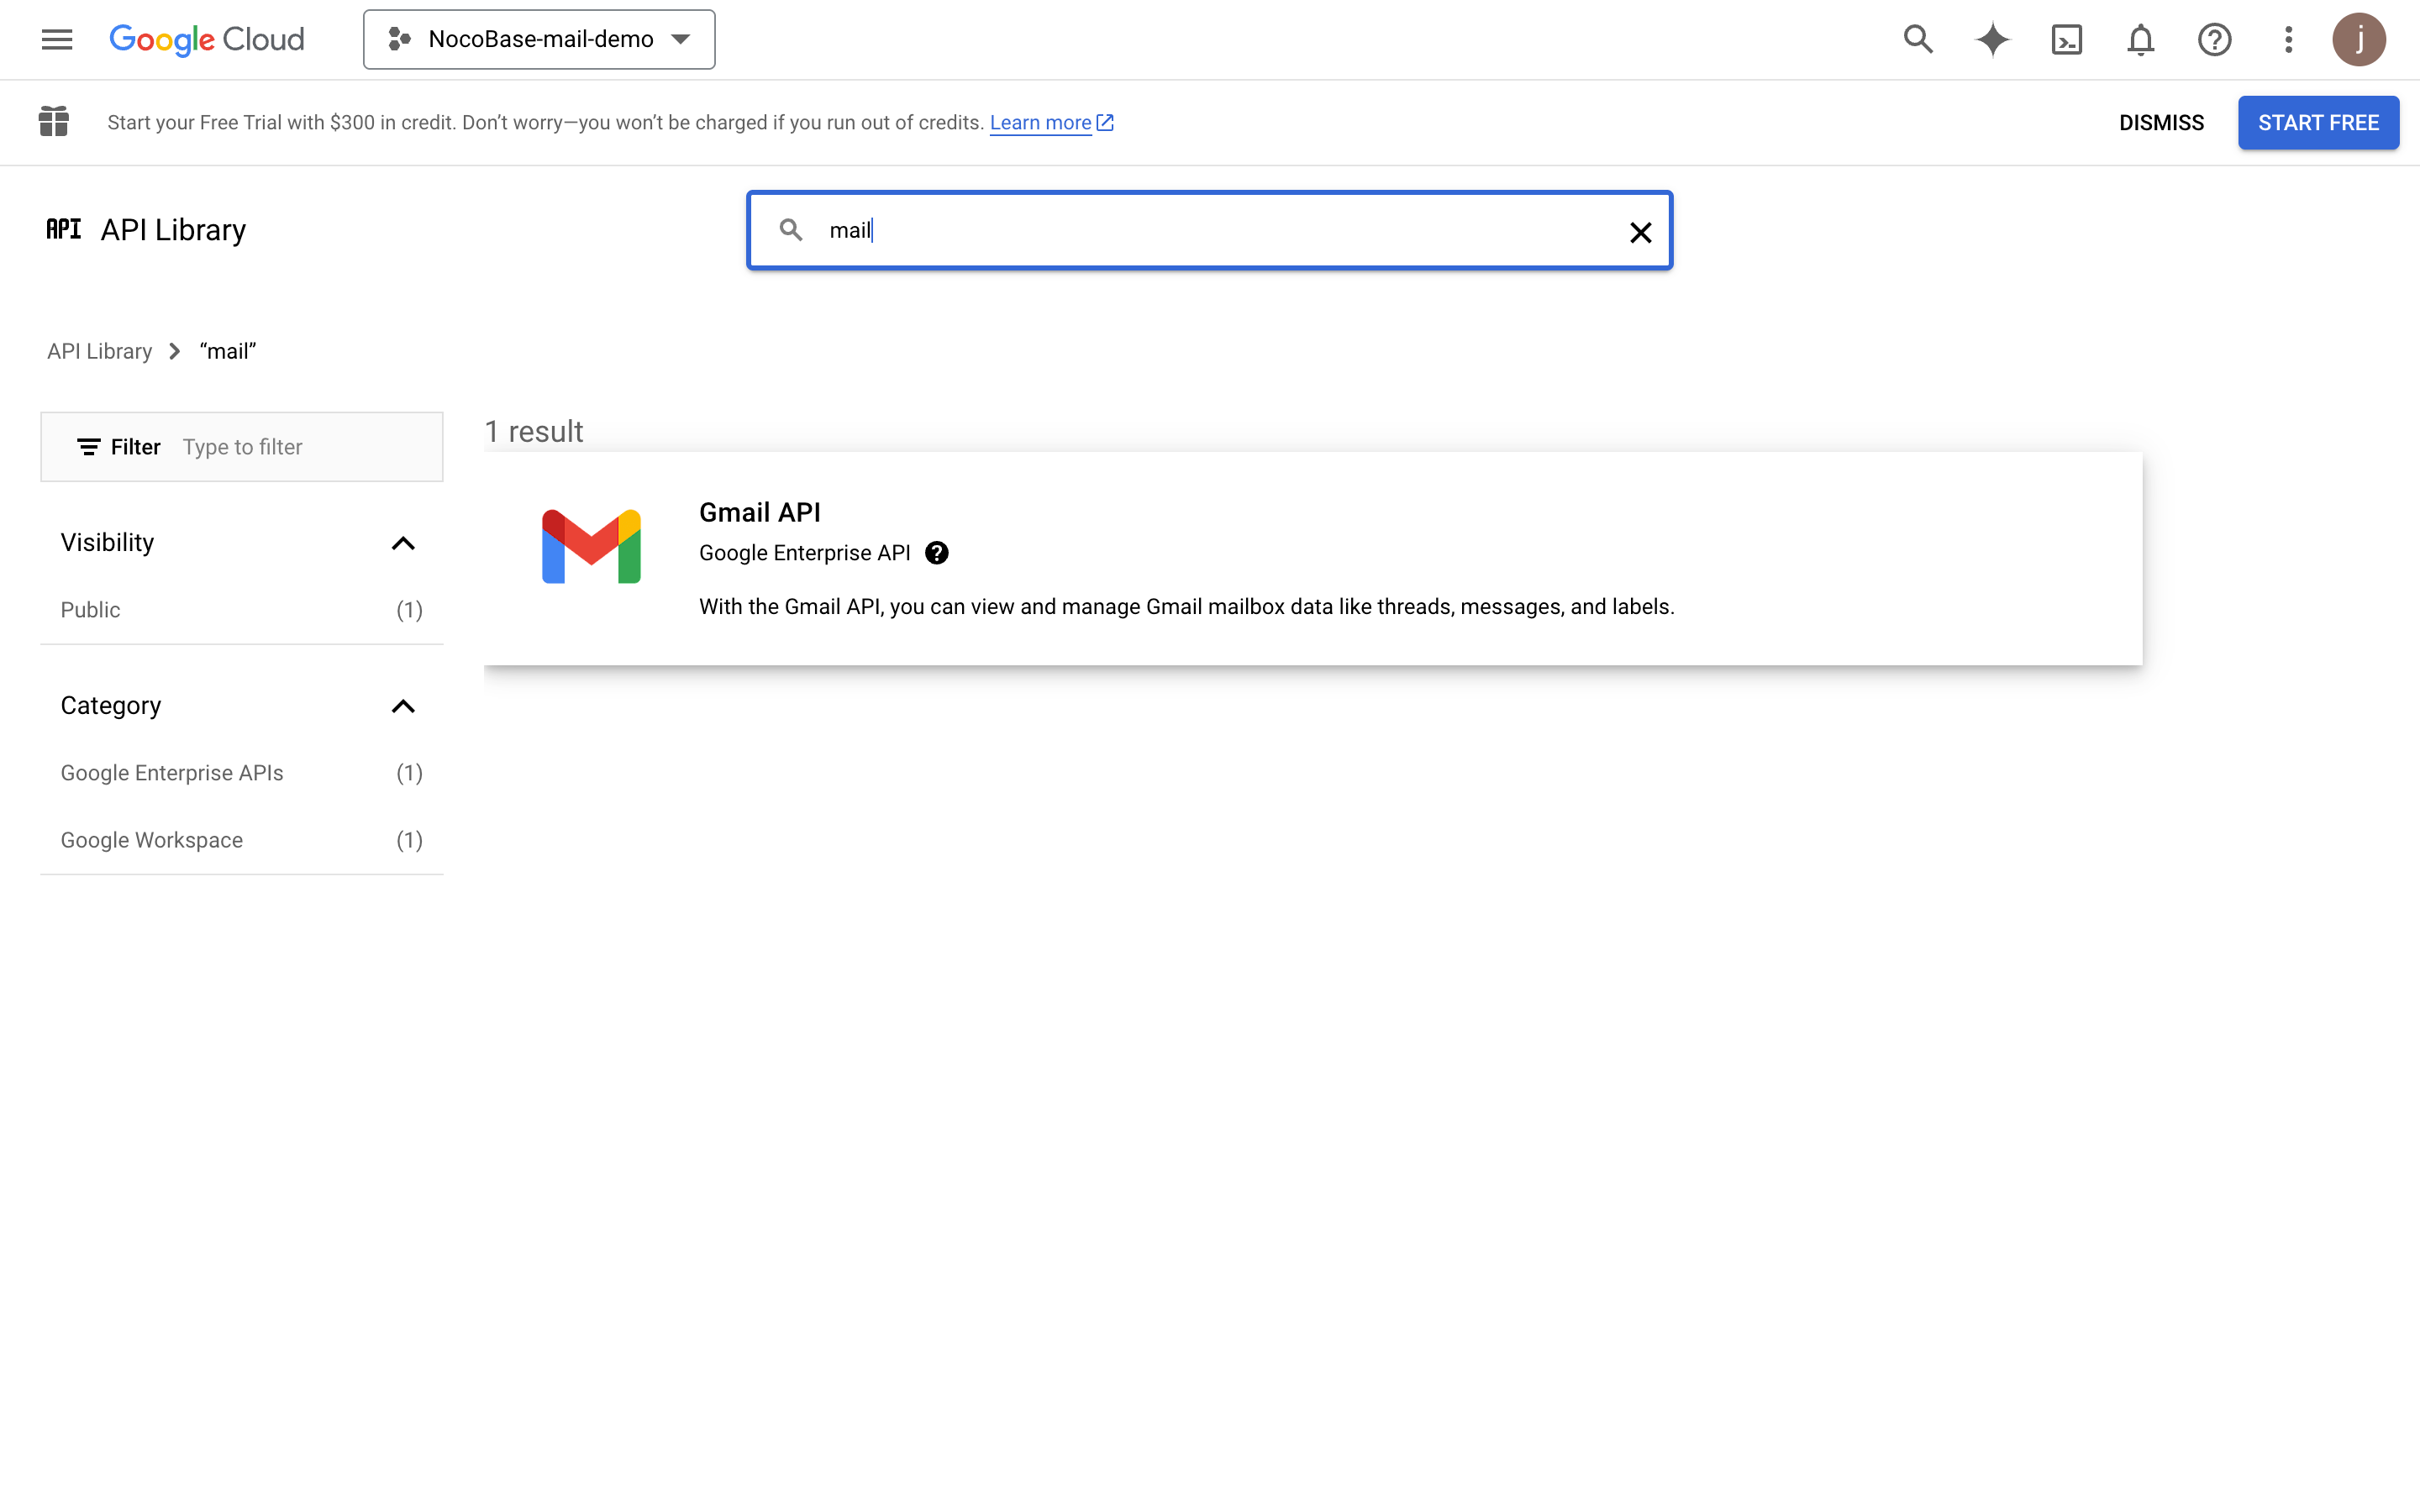
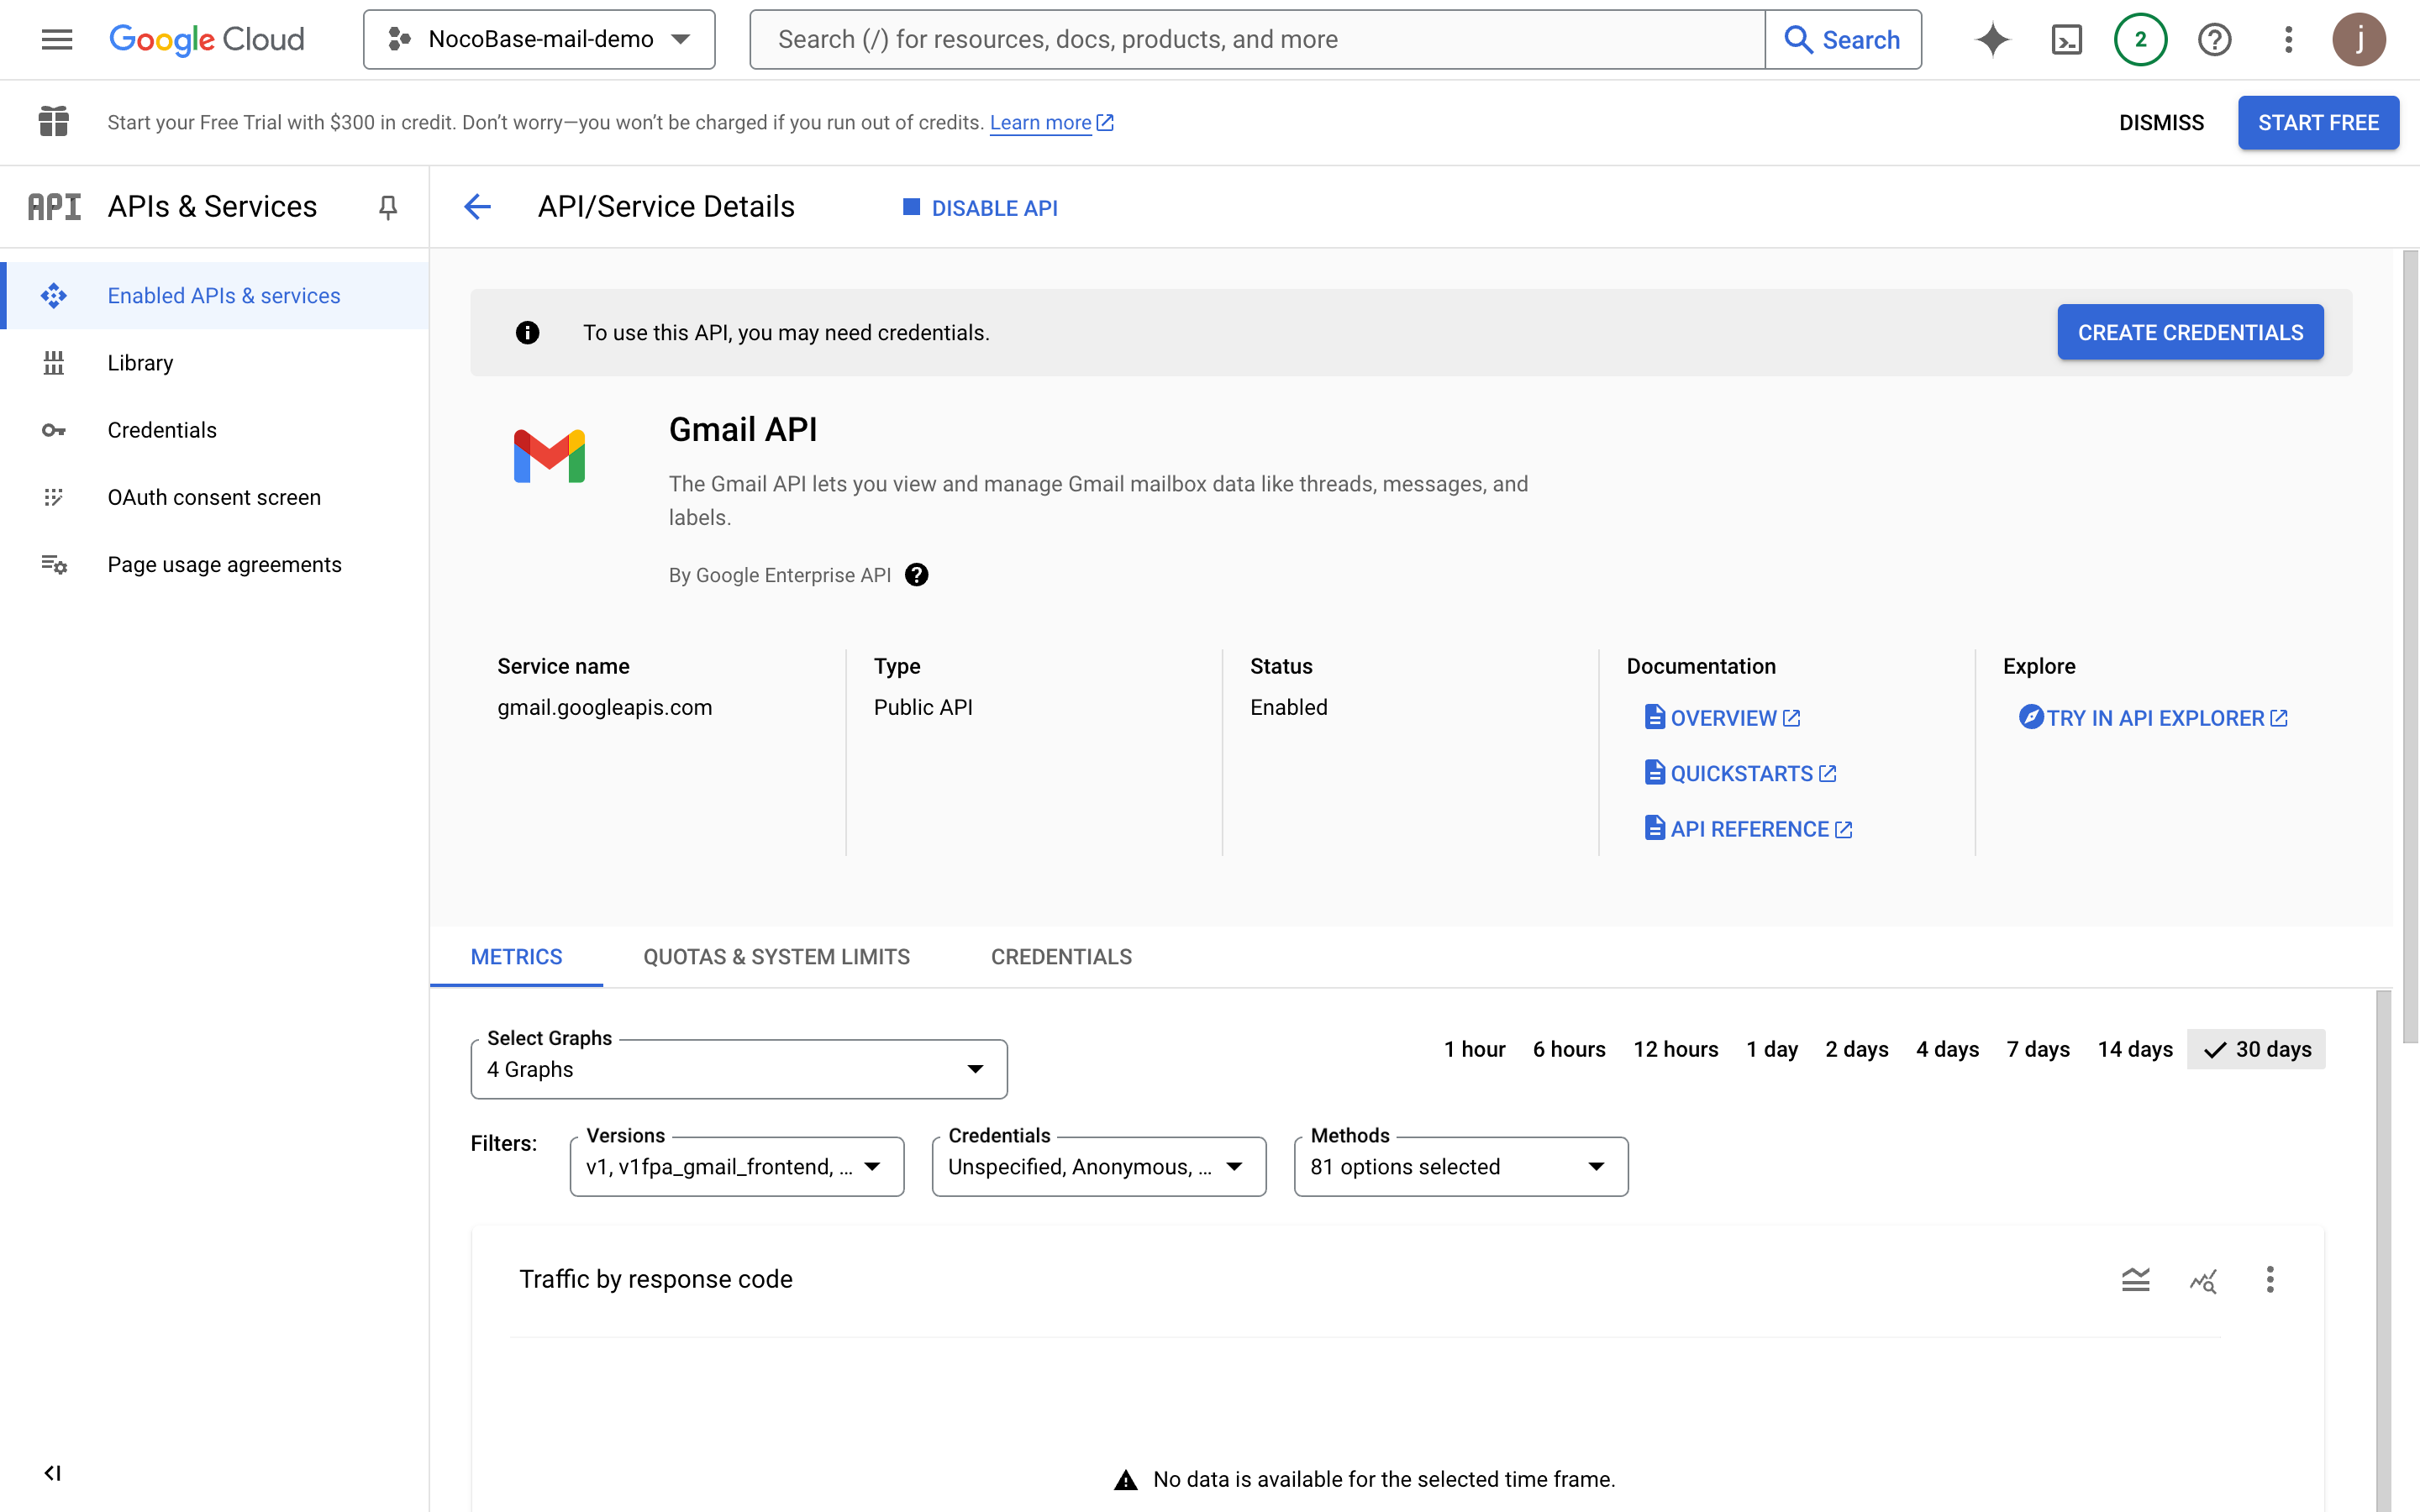
- Click the ENABLE button to enable Gmail API

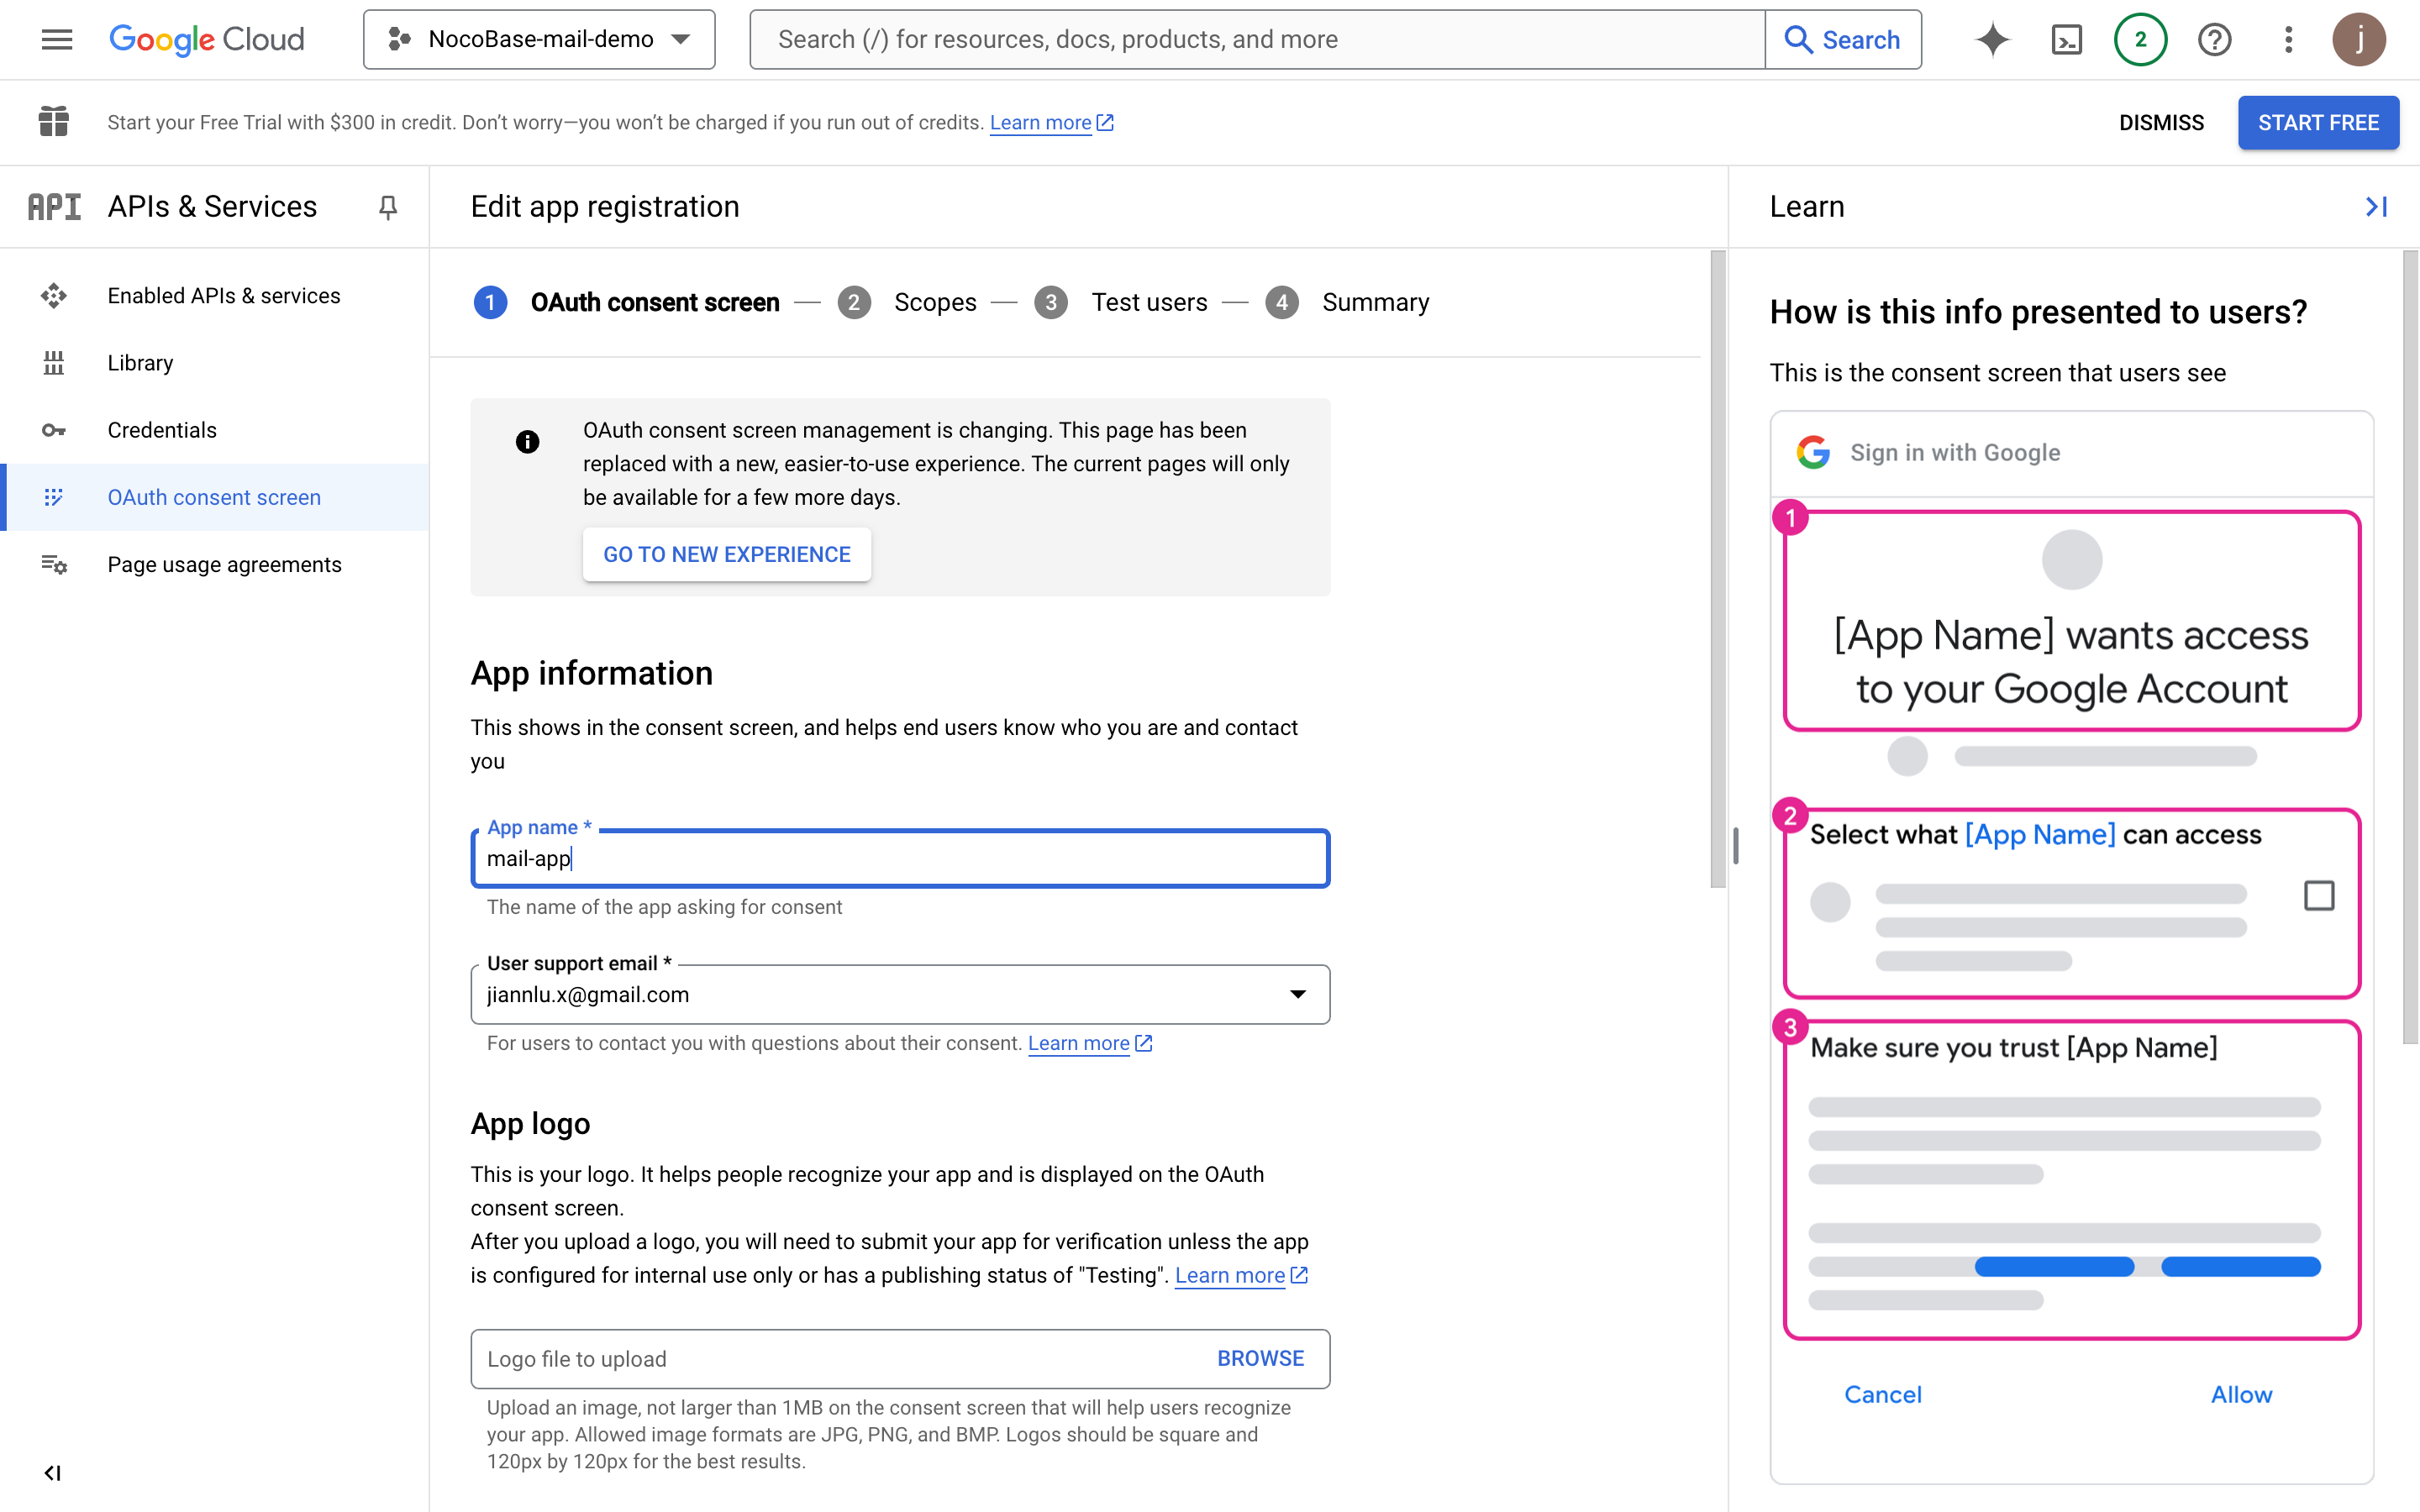
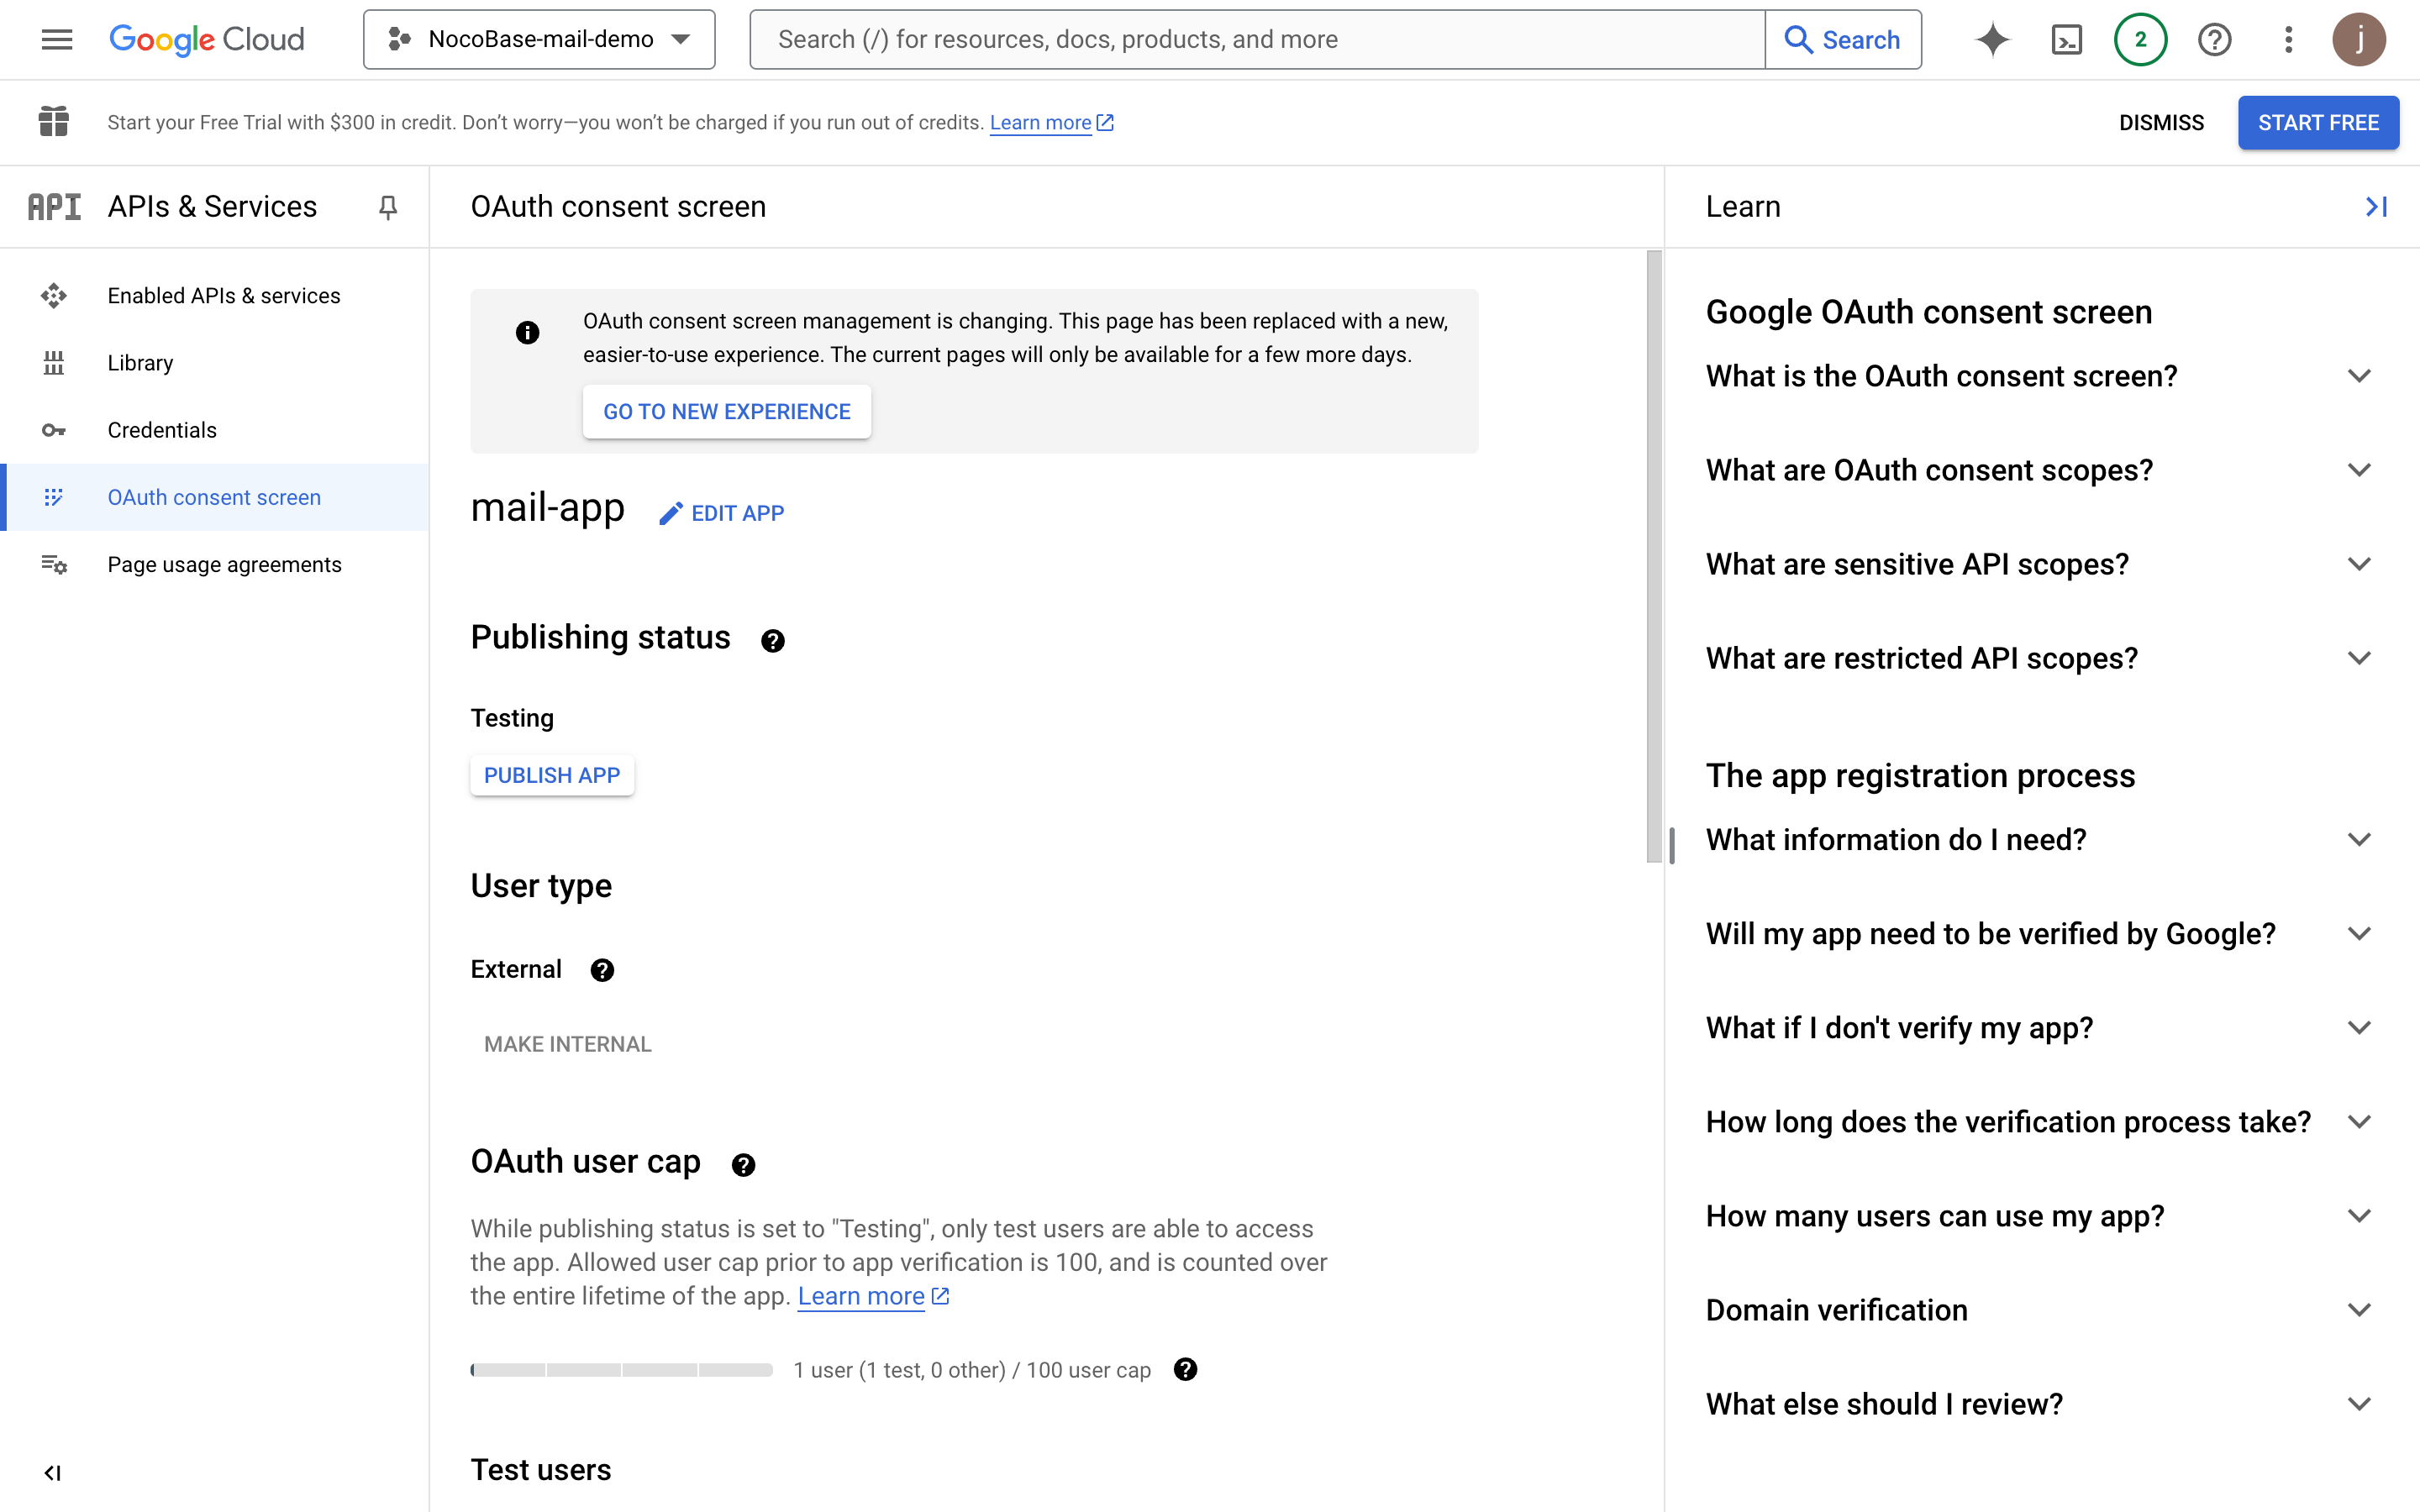
Configure OAuth Consent Screen
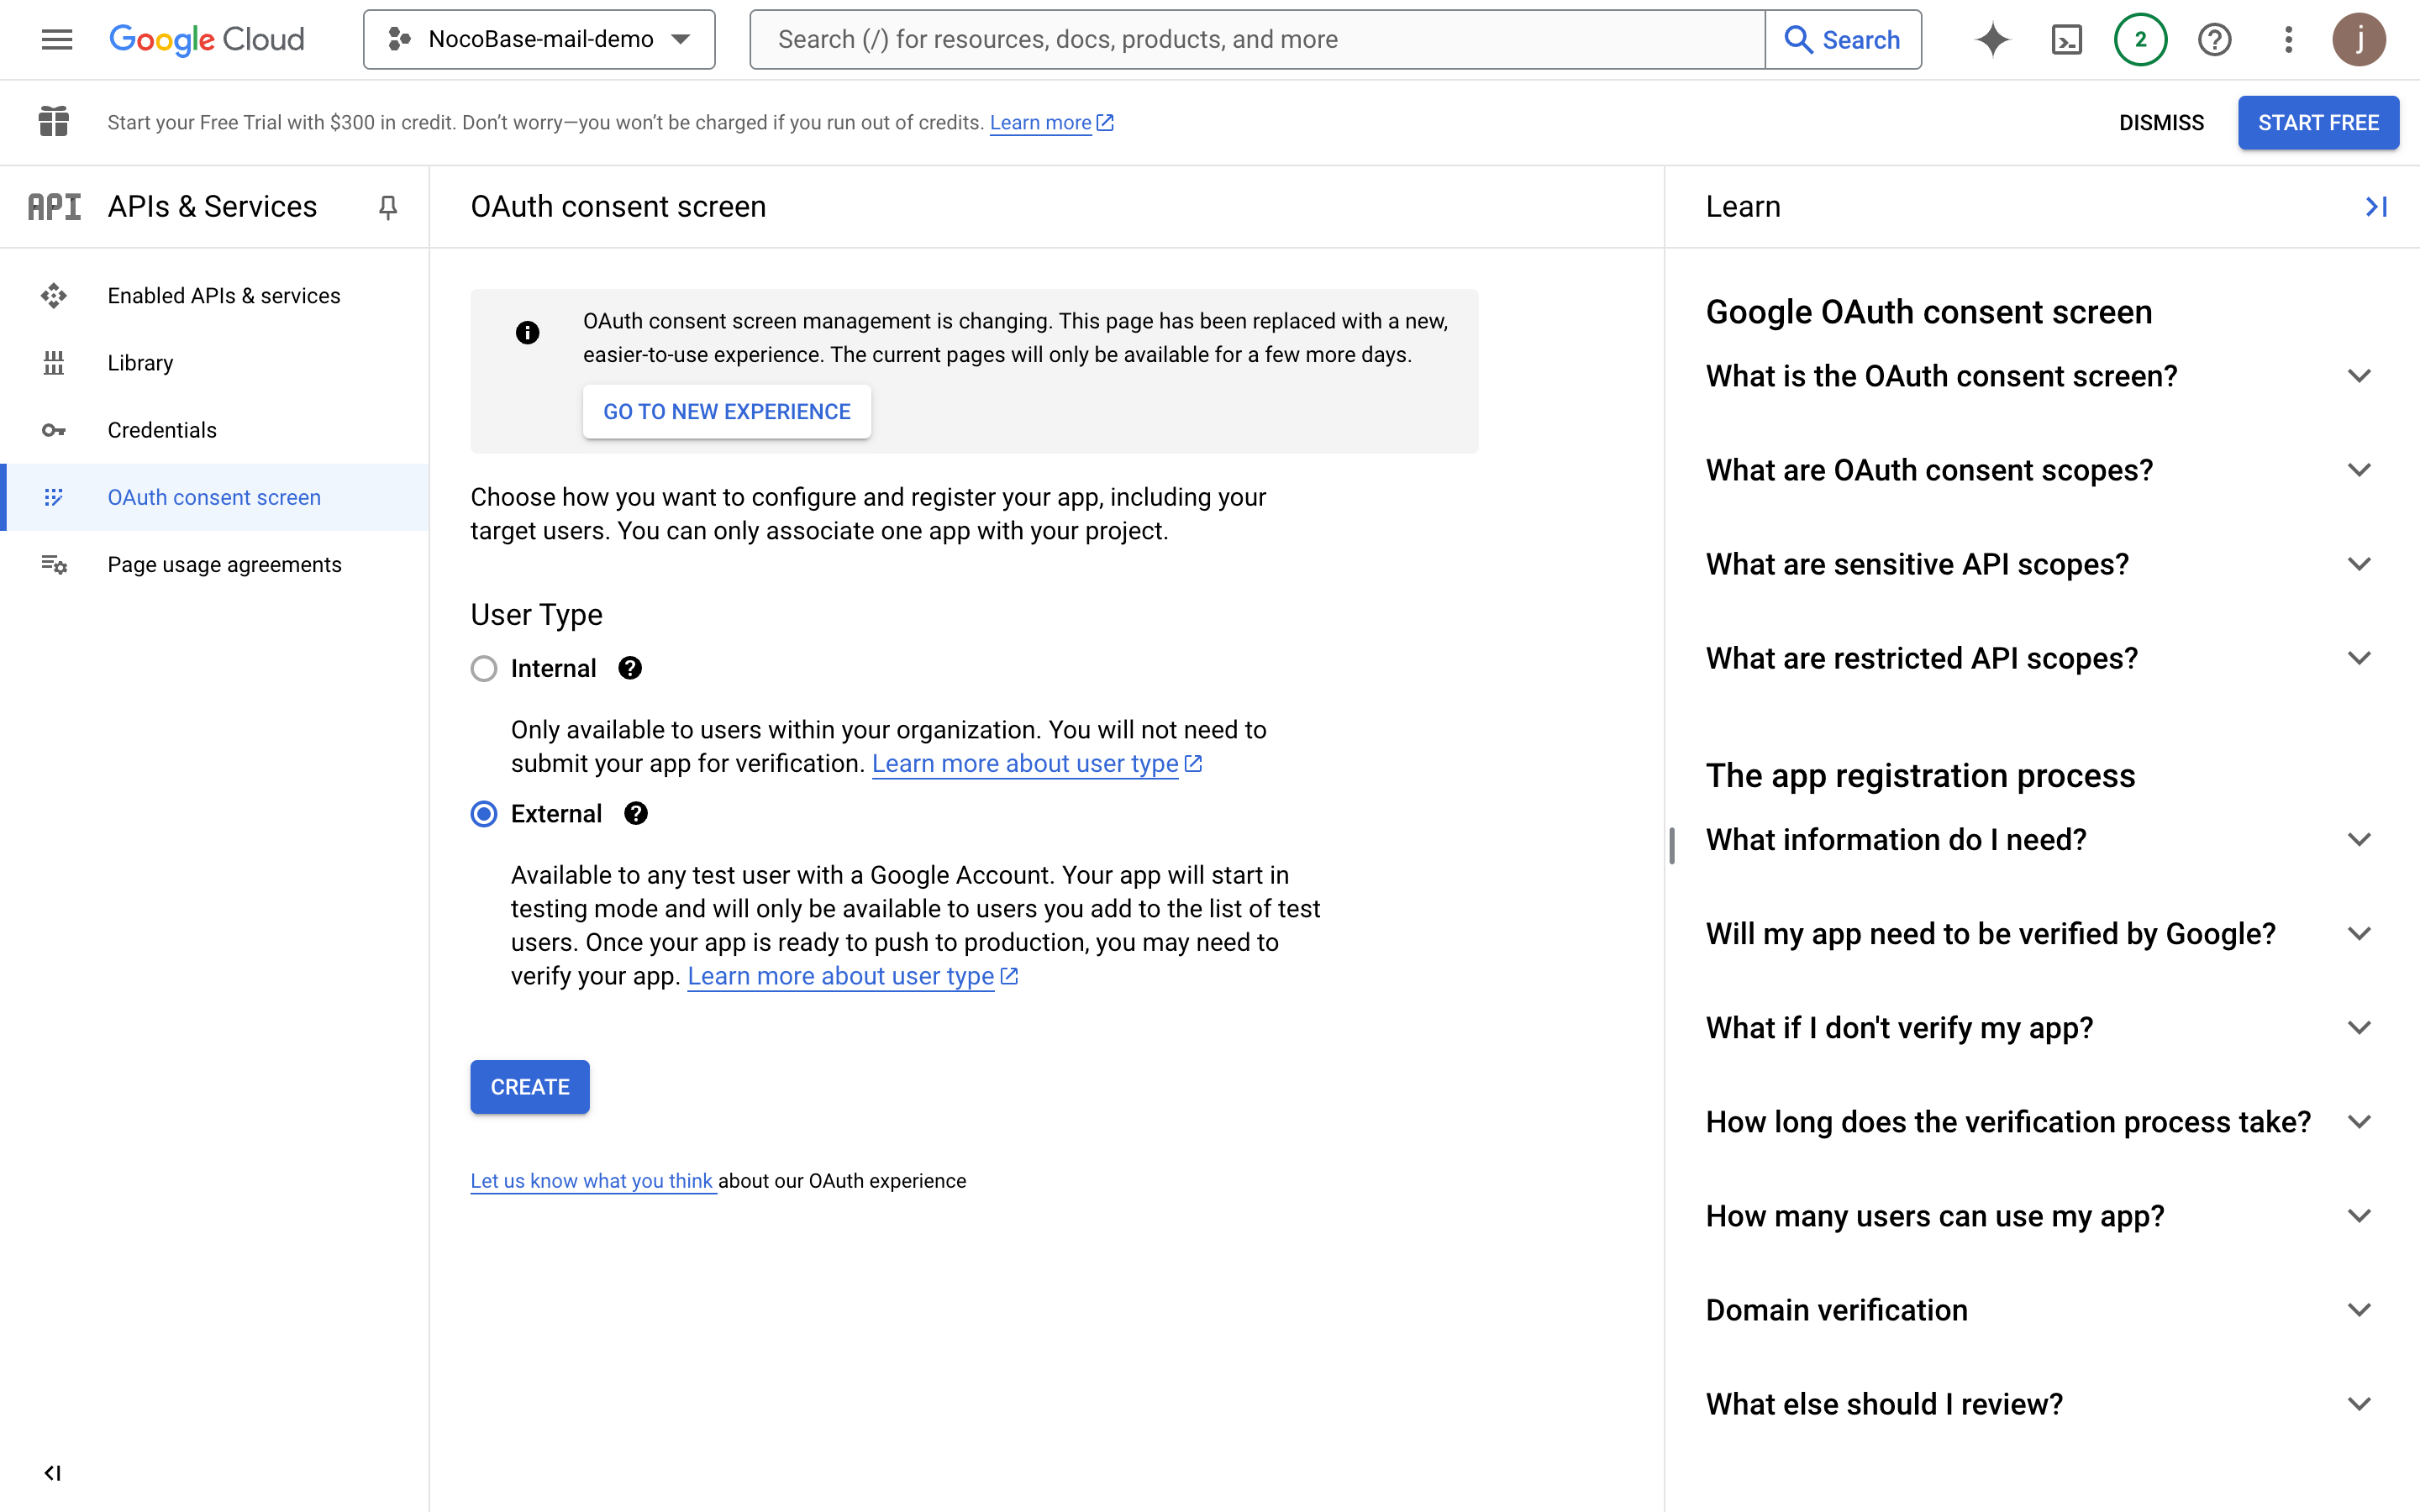
- Click the "OAuth consent screen" menu on the left
- Select External
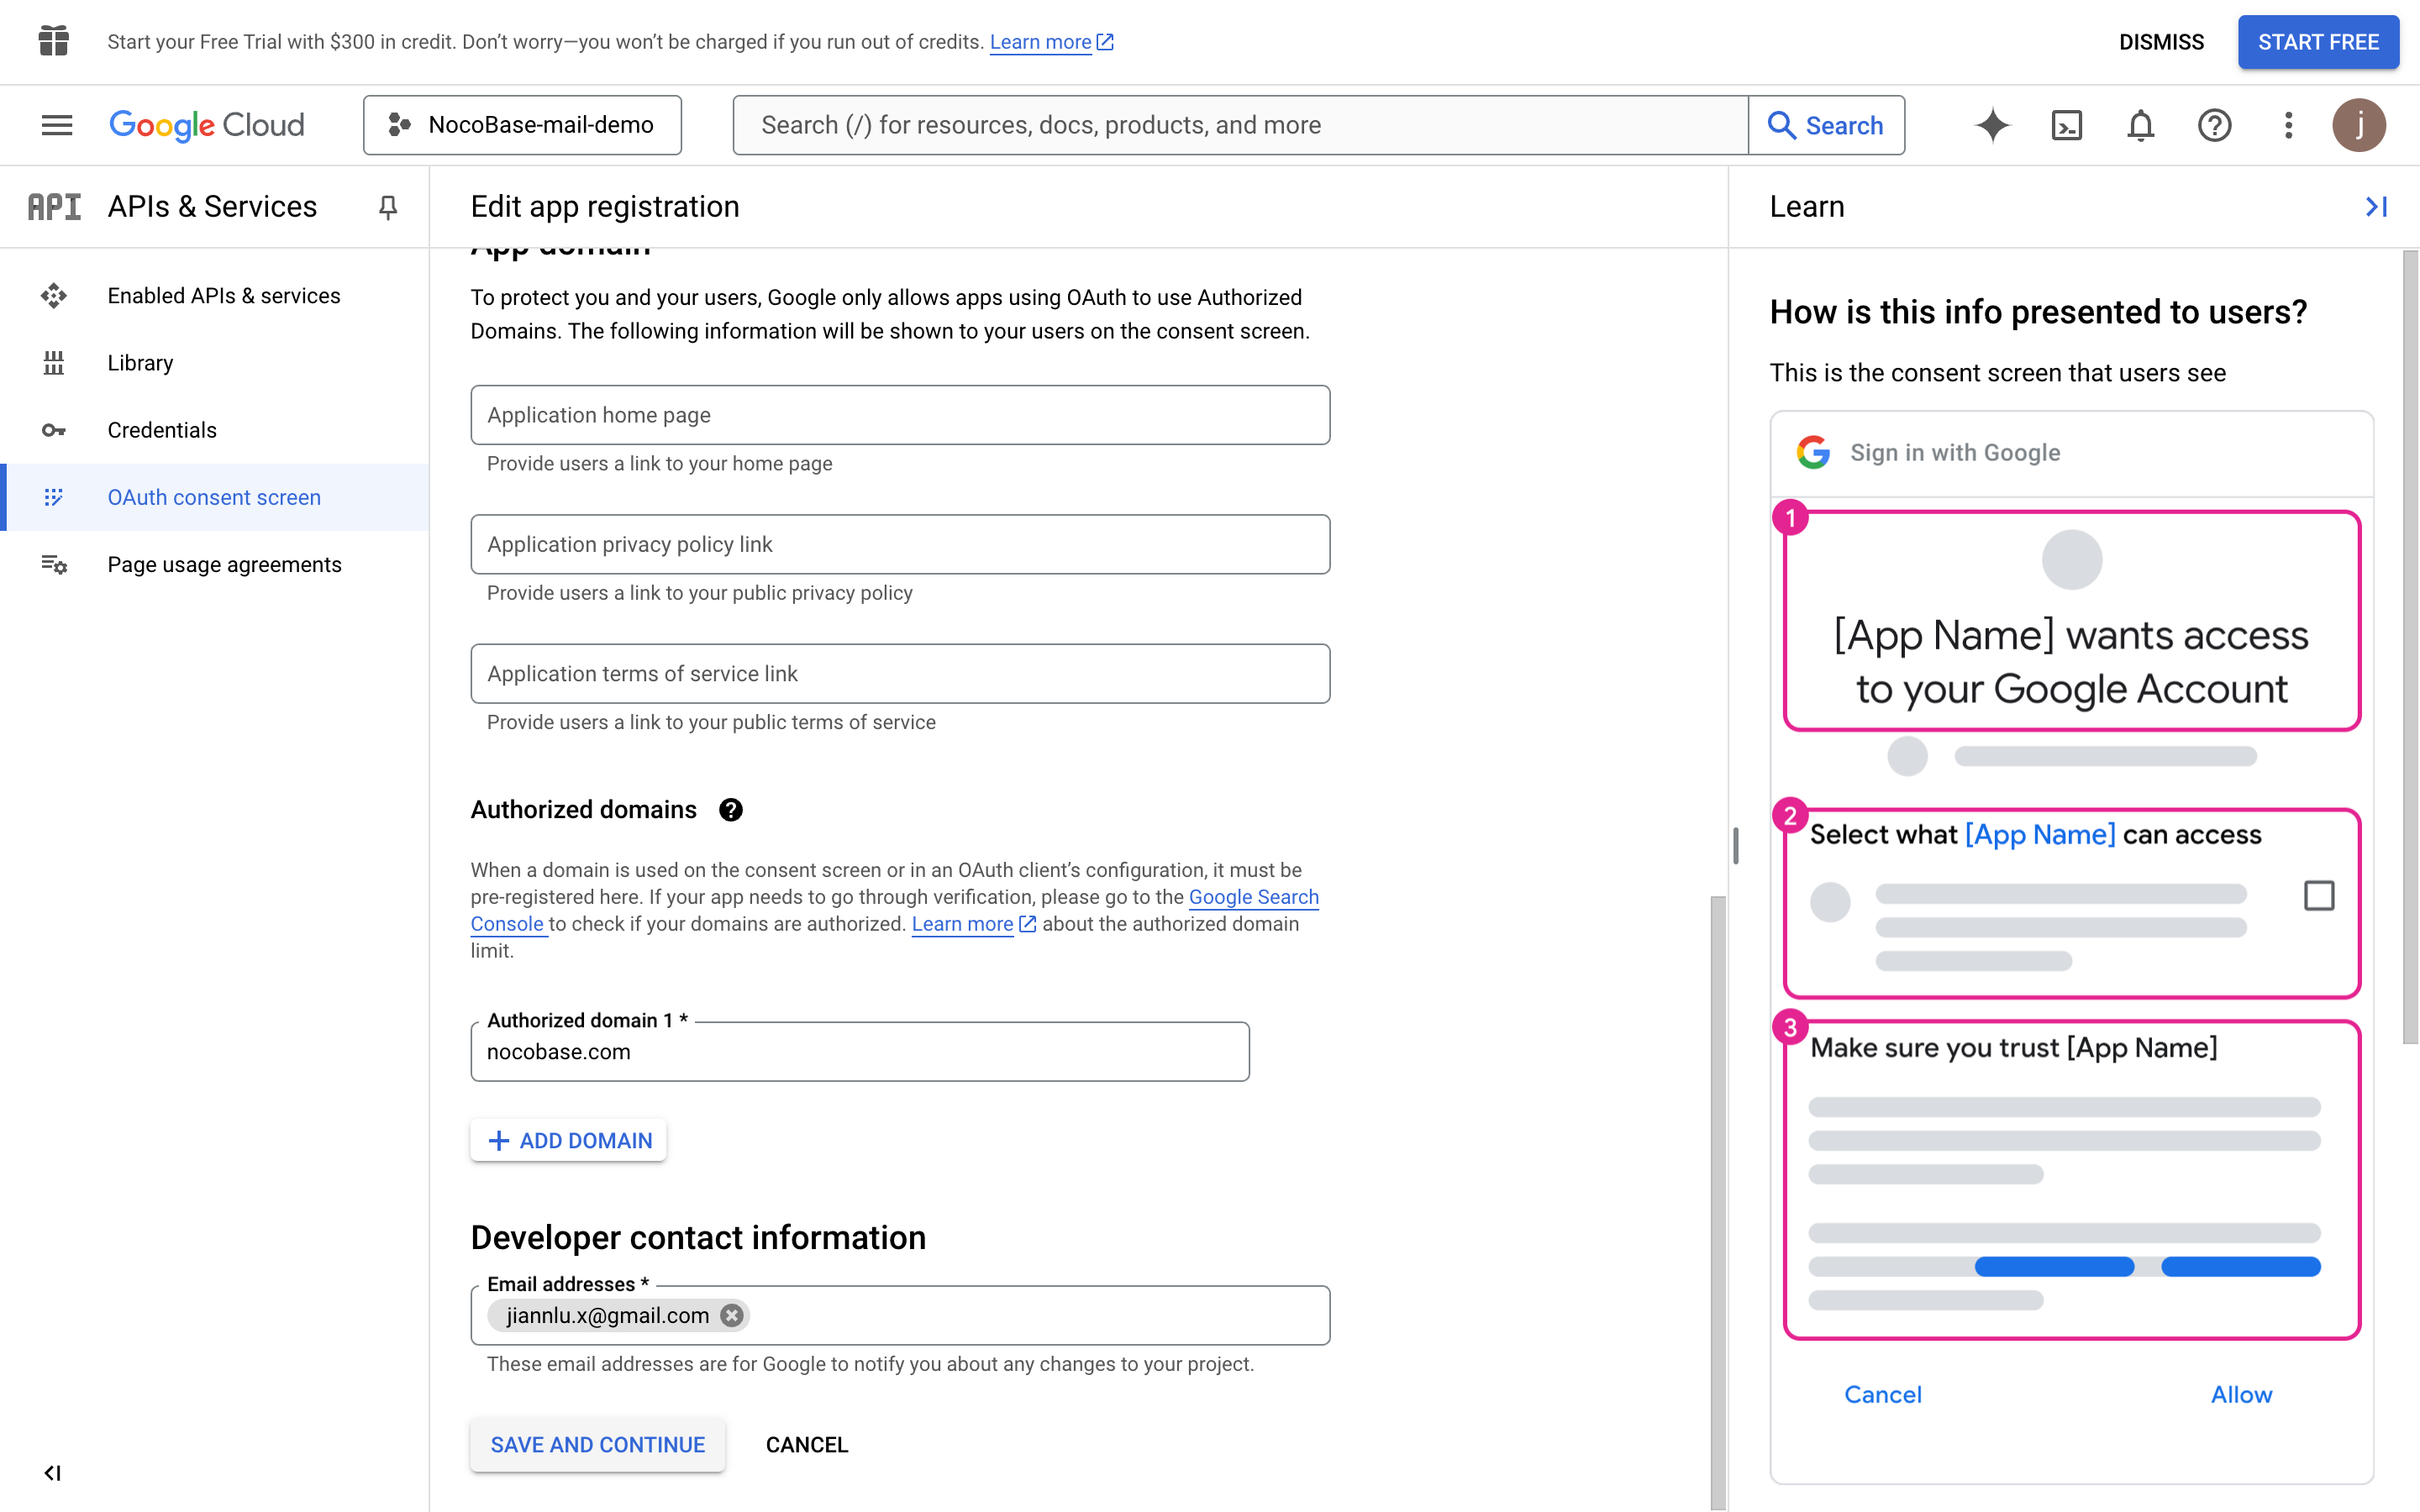
- Fill in the project information (for display on the subsequent authorization page) and click save
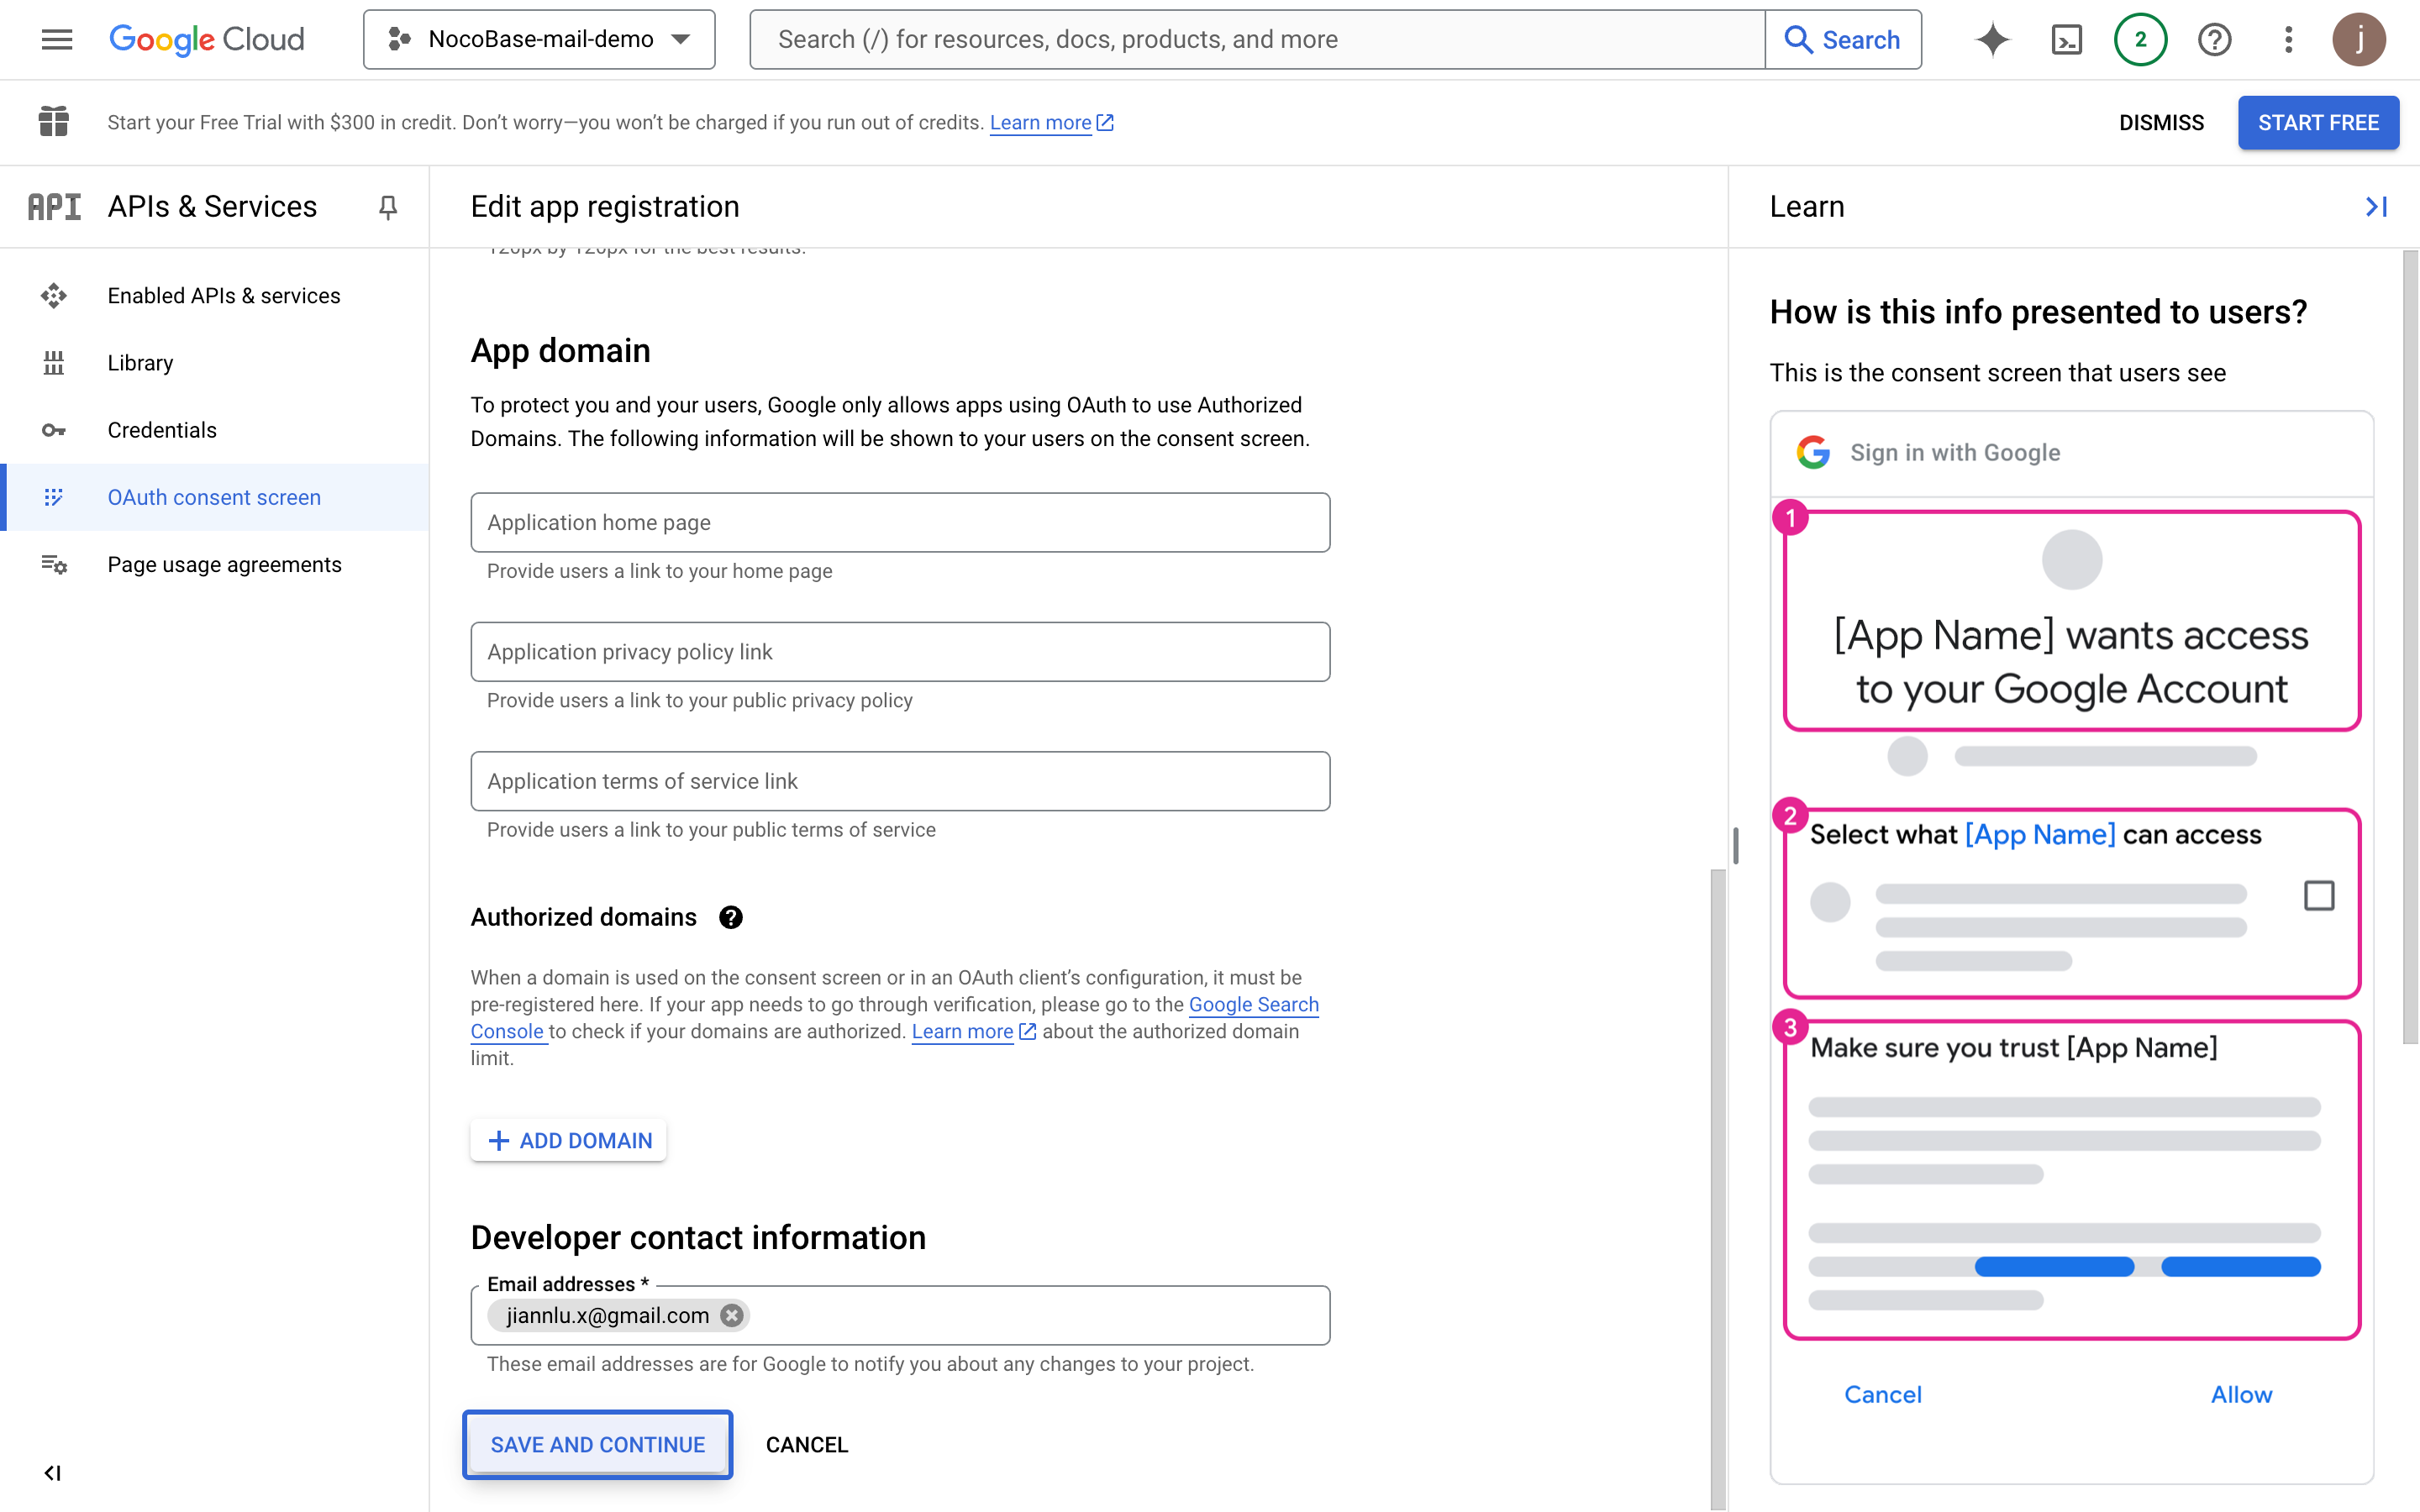
- Fill in Developer contact information and click continue
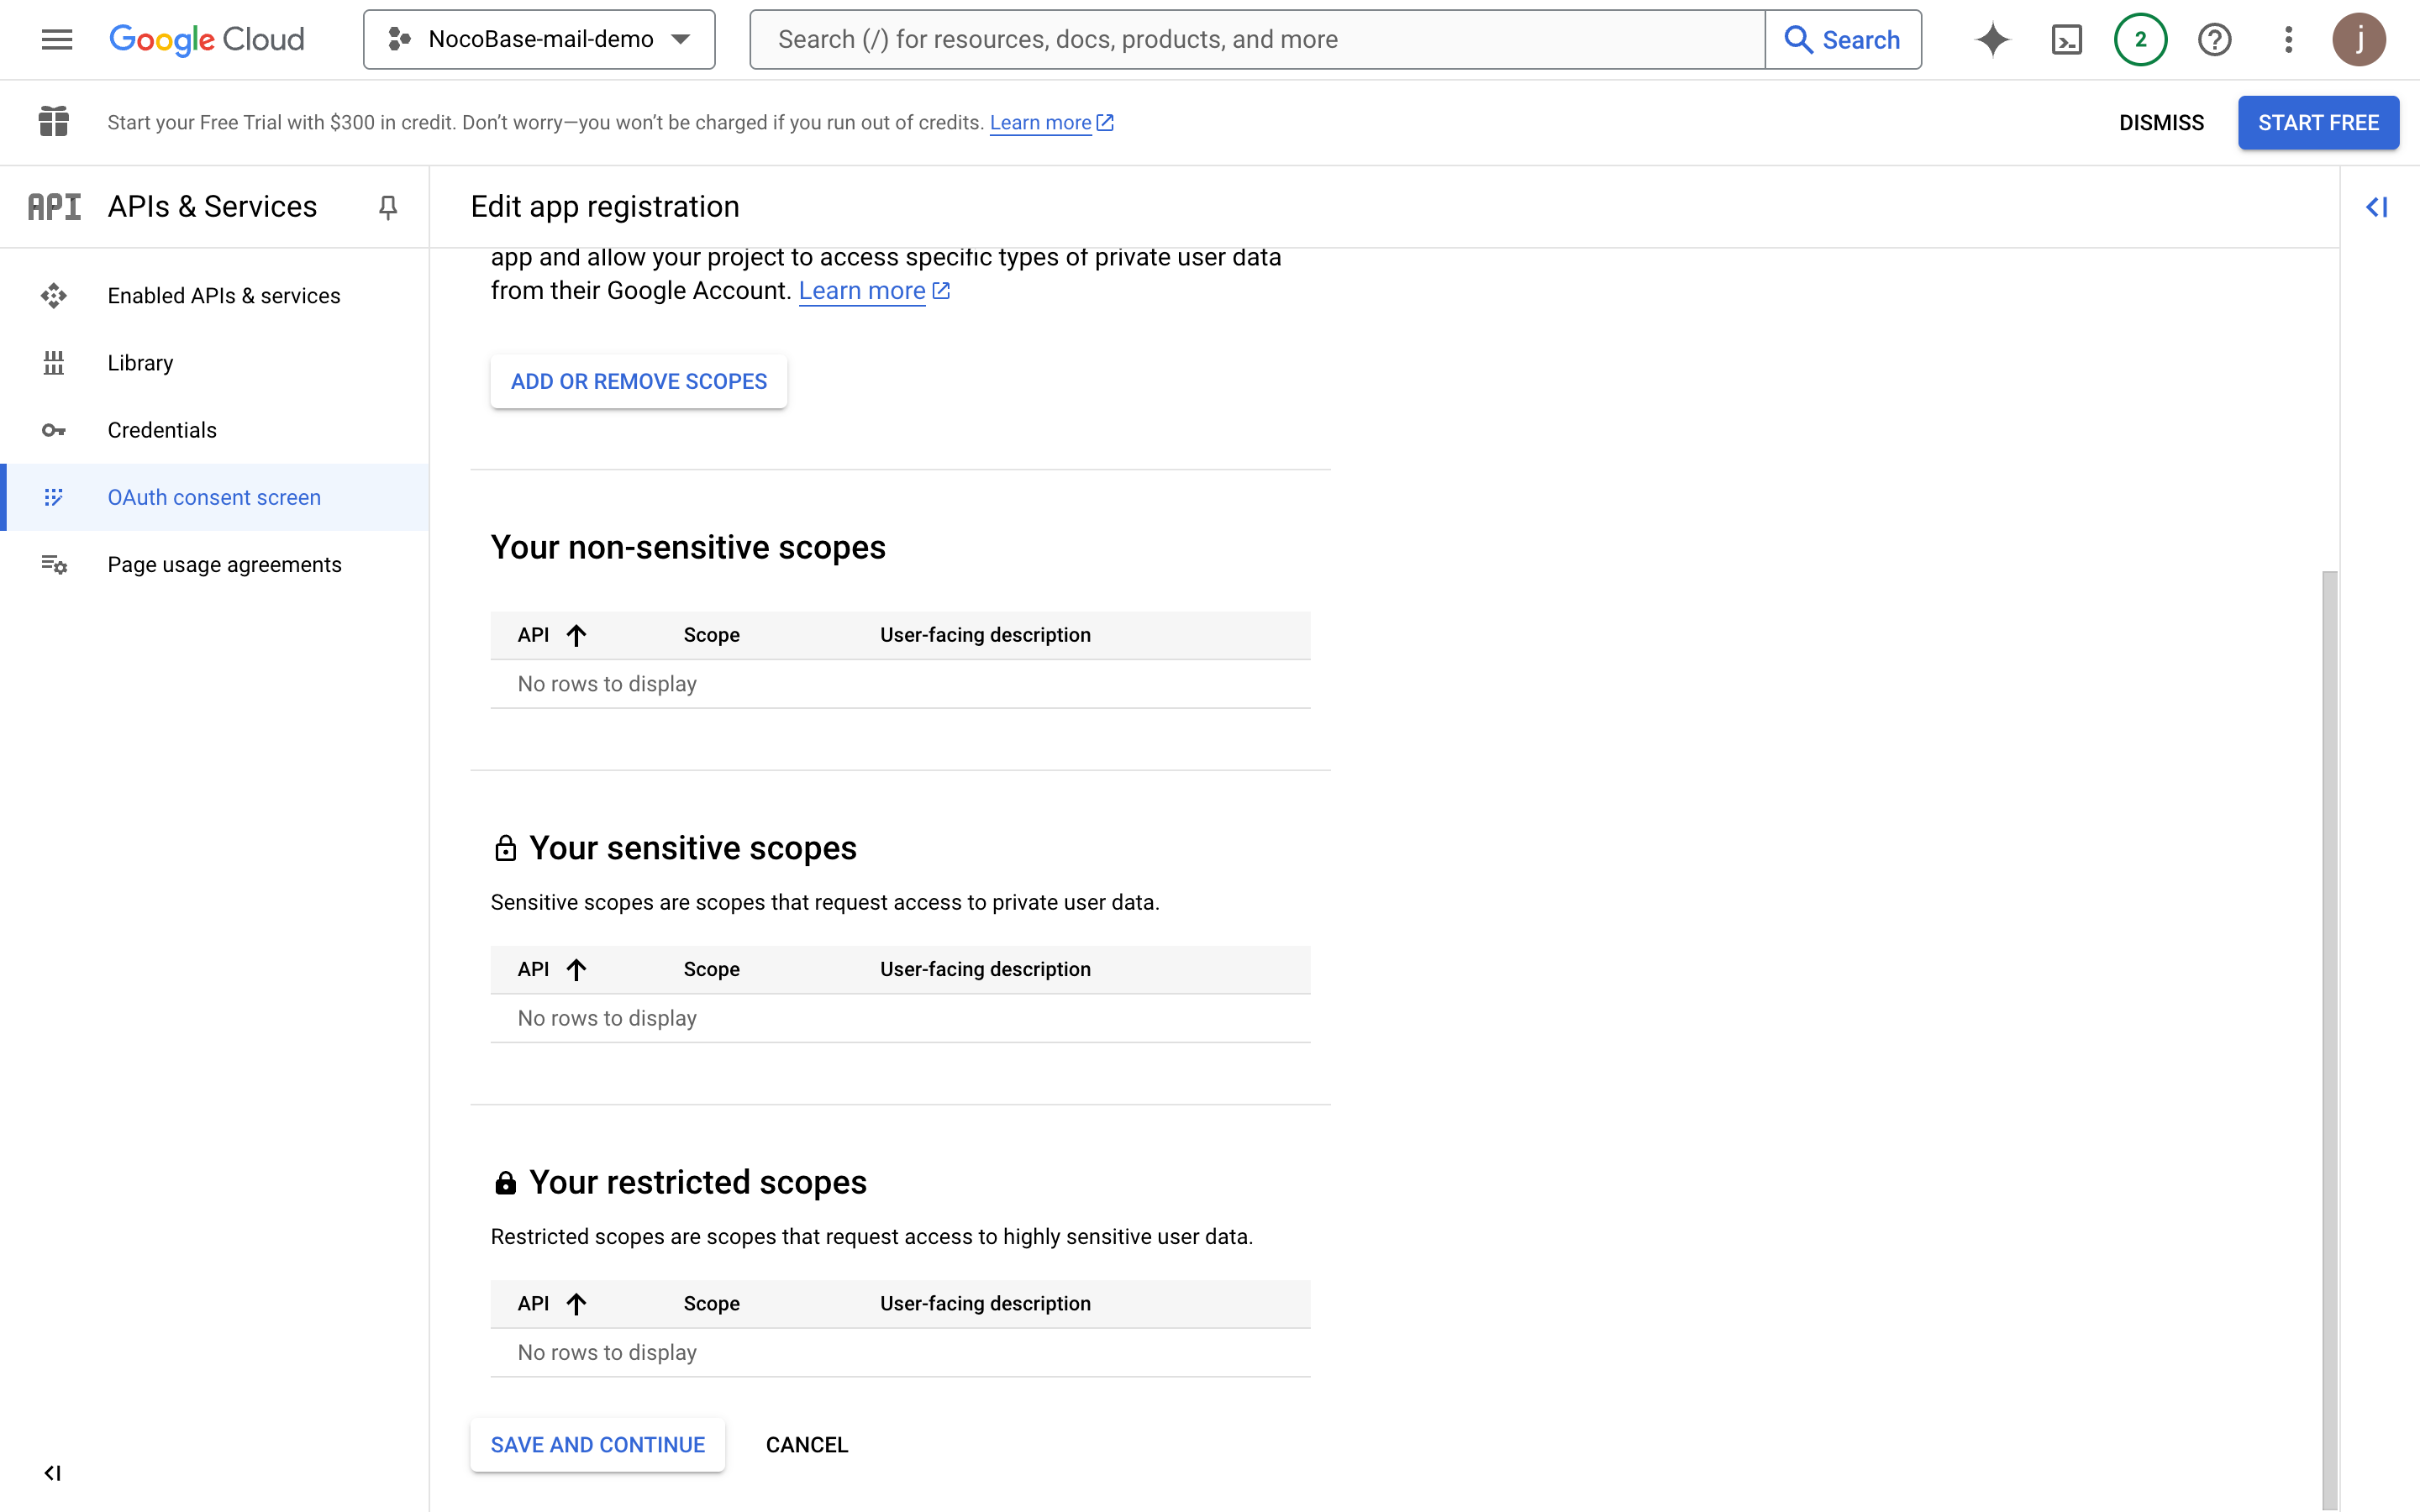
- Click continue
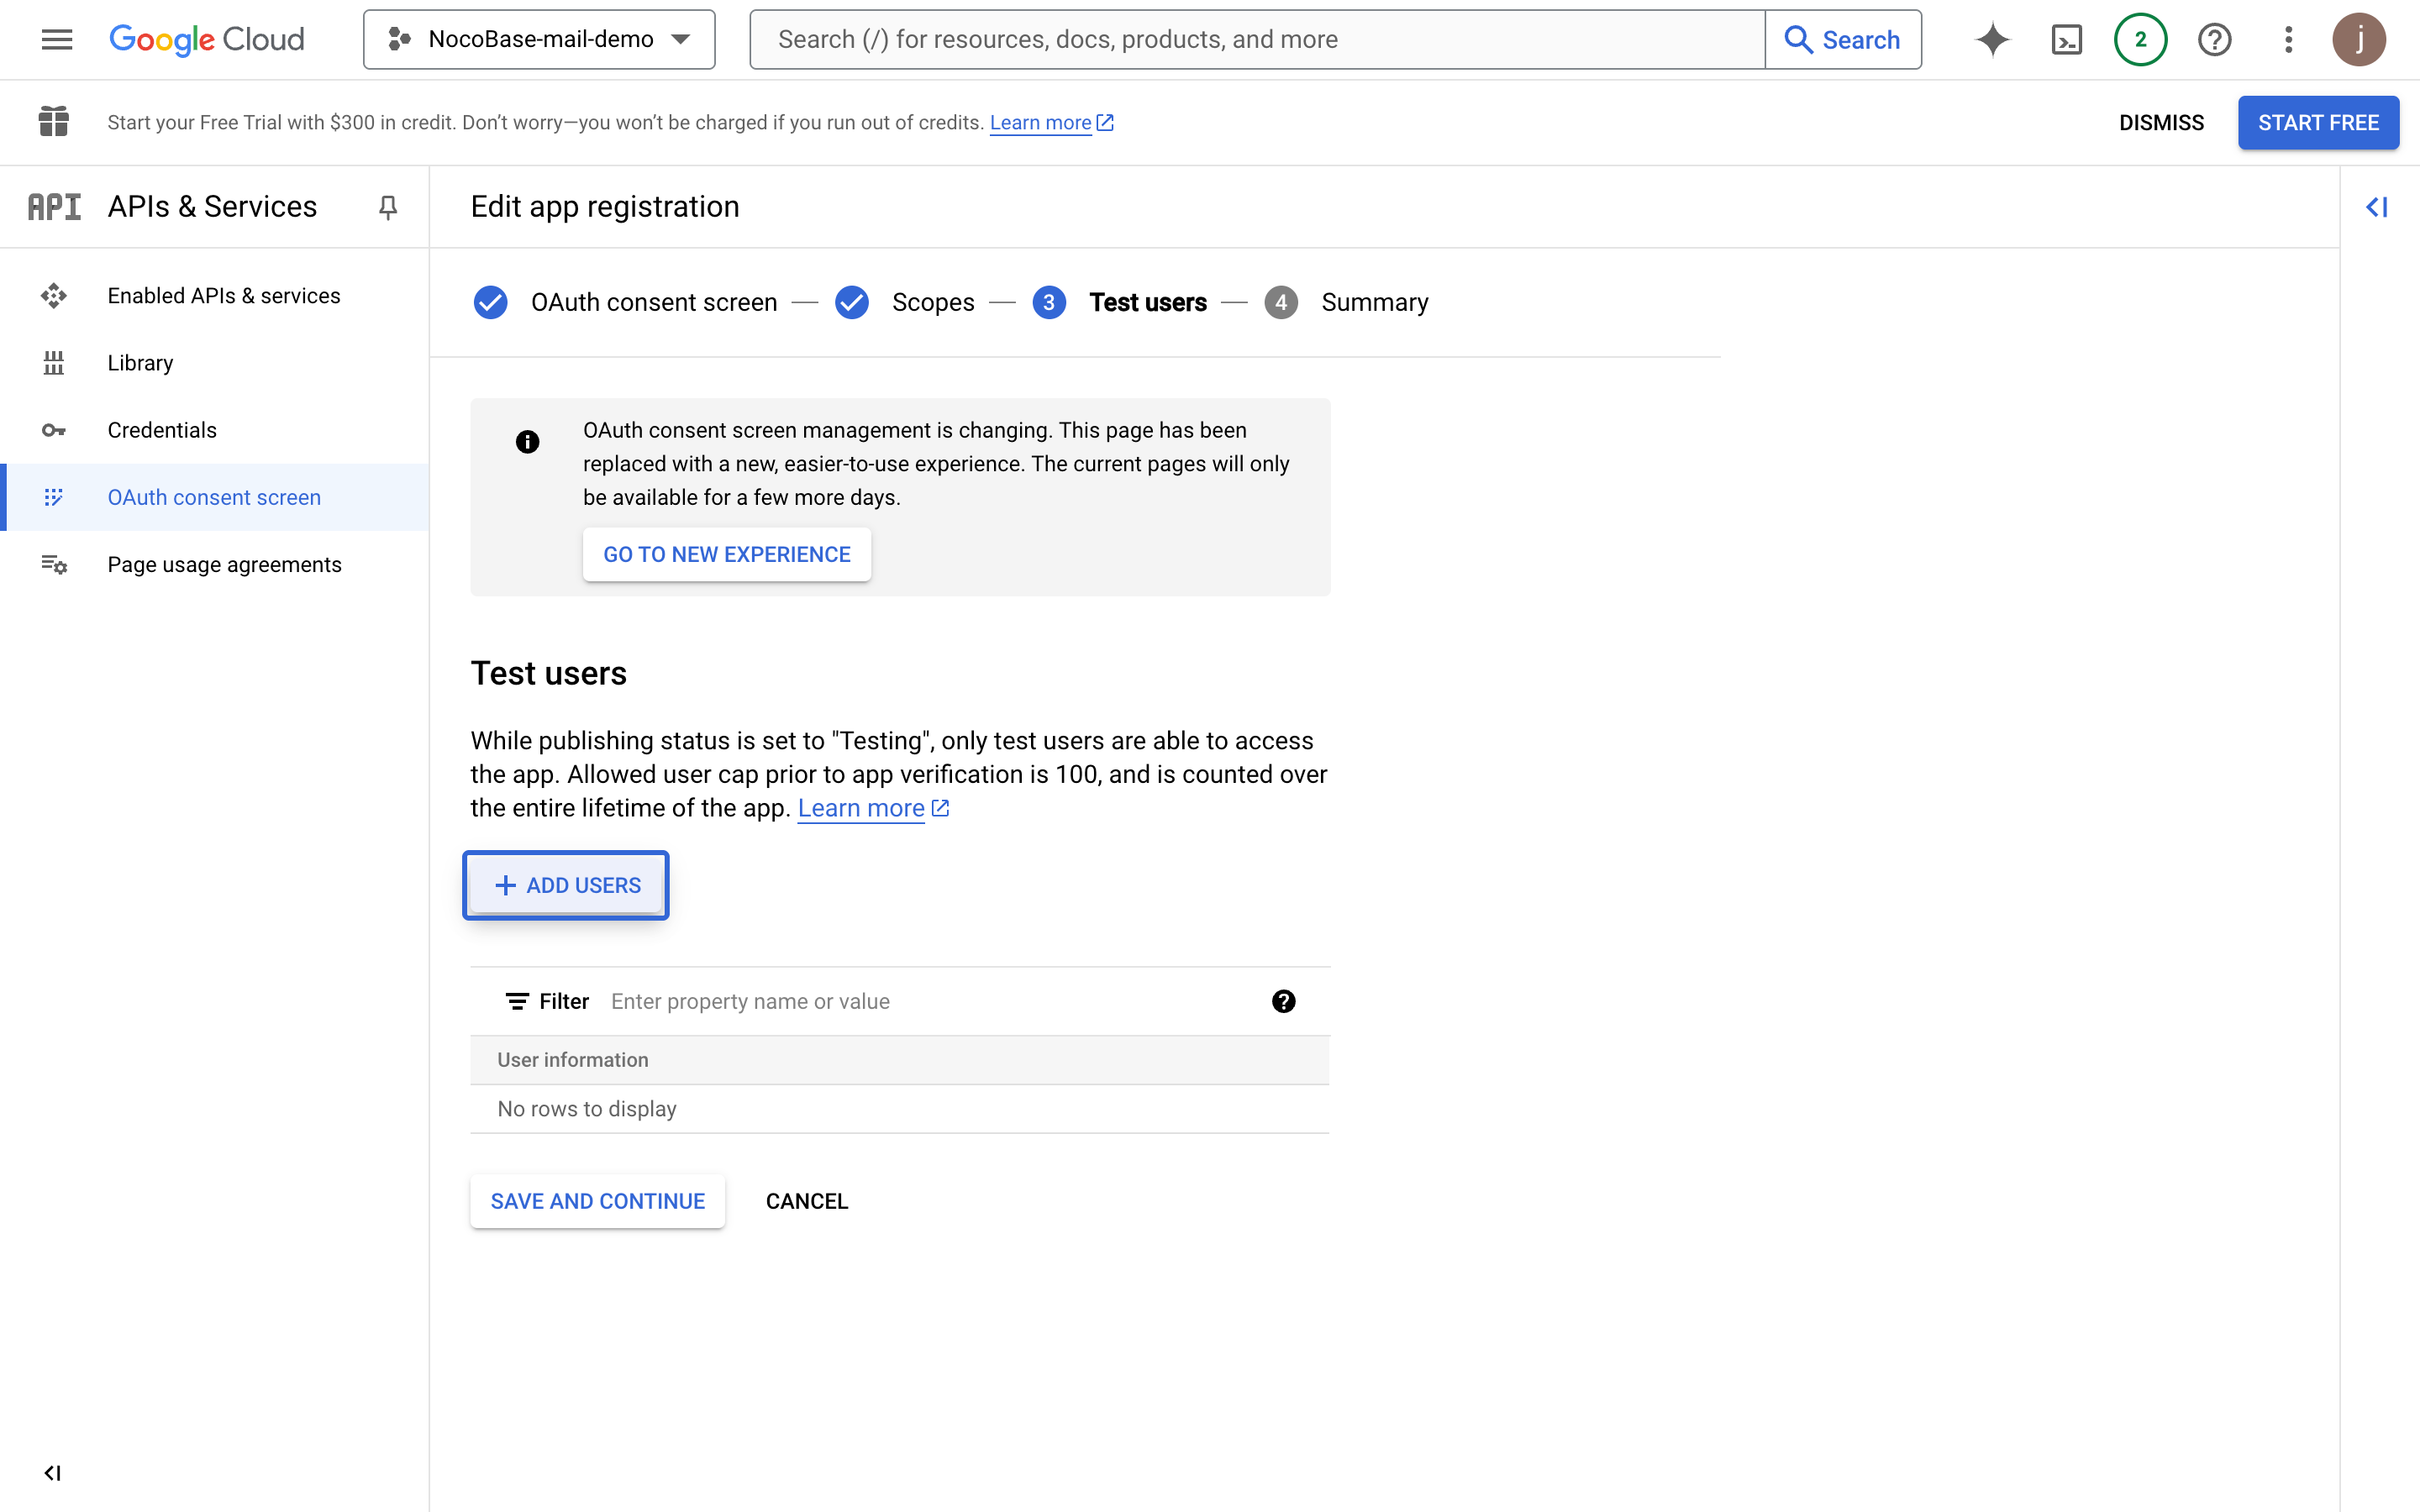
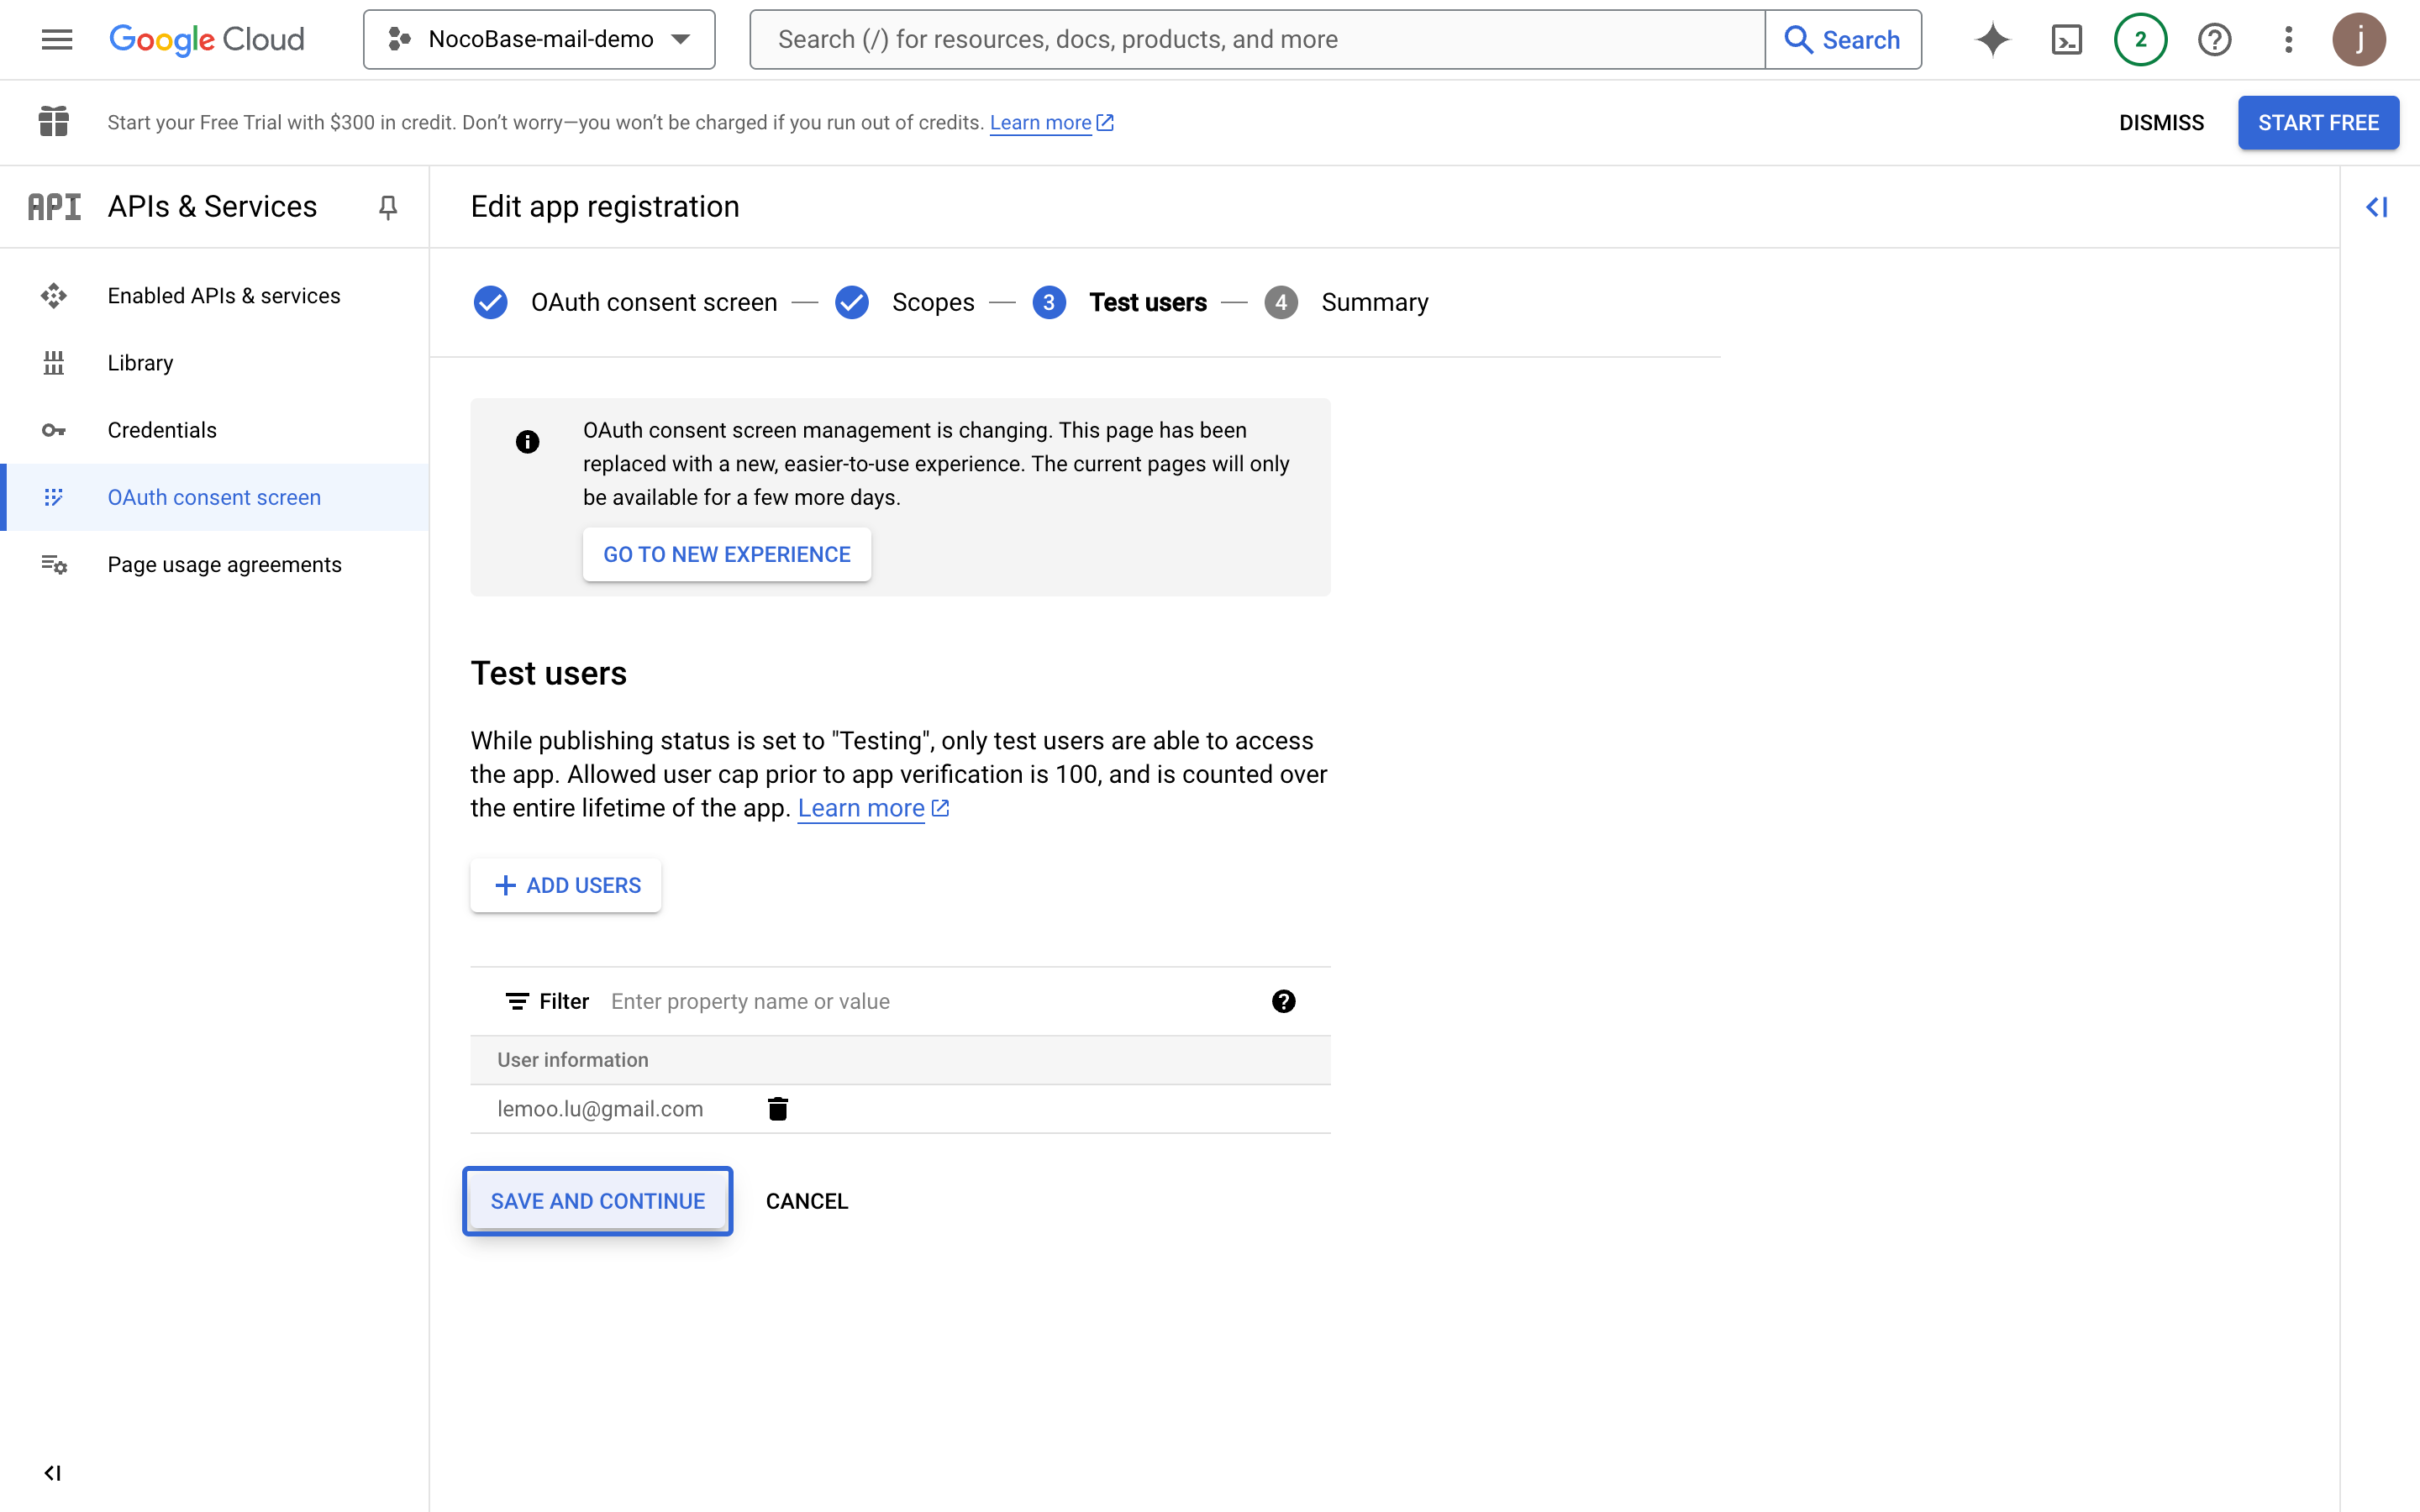
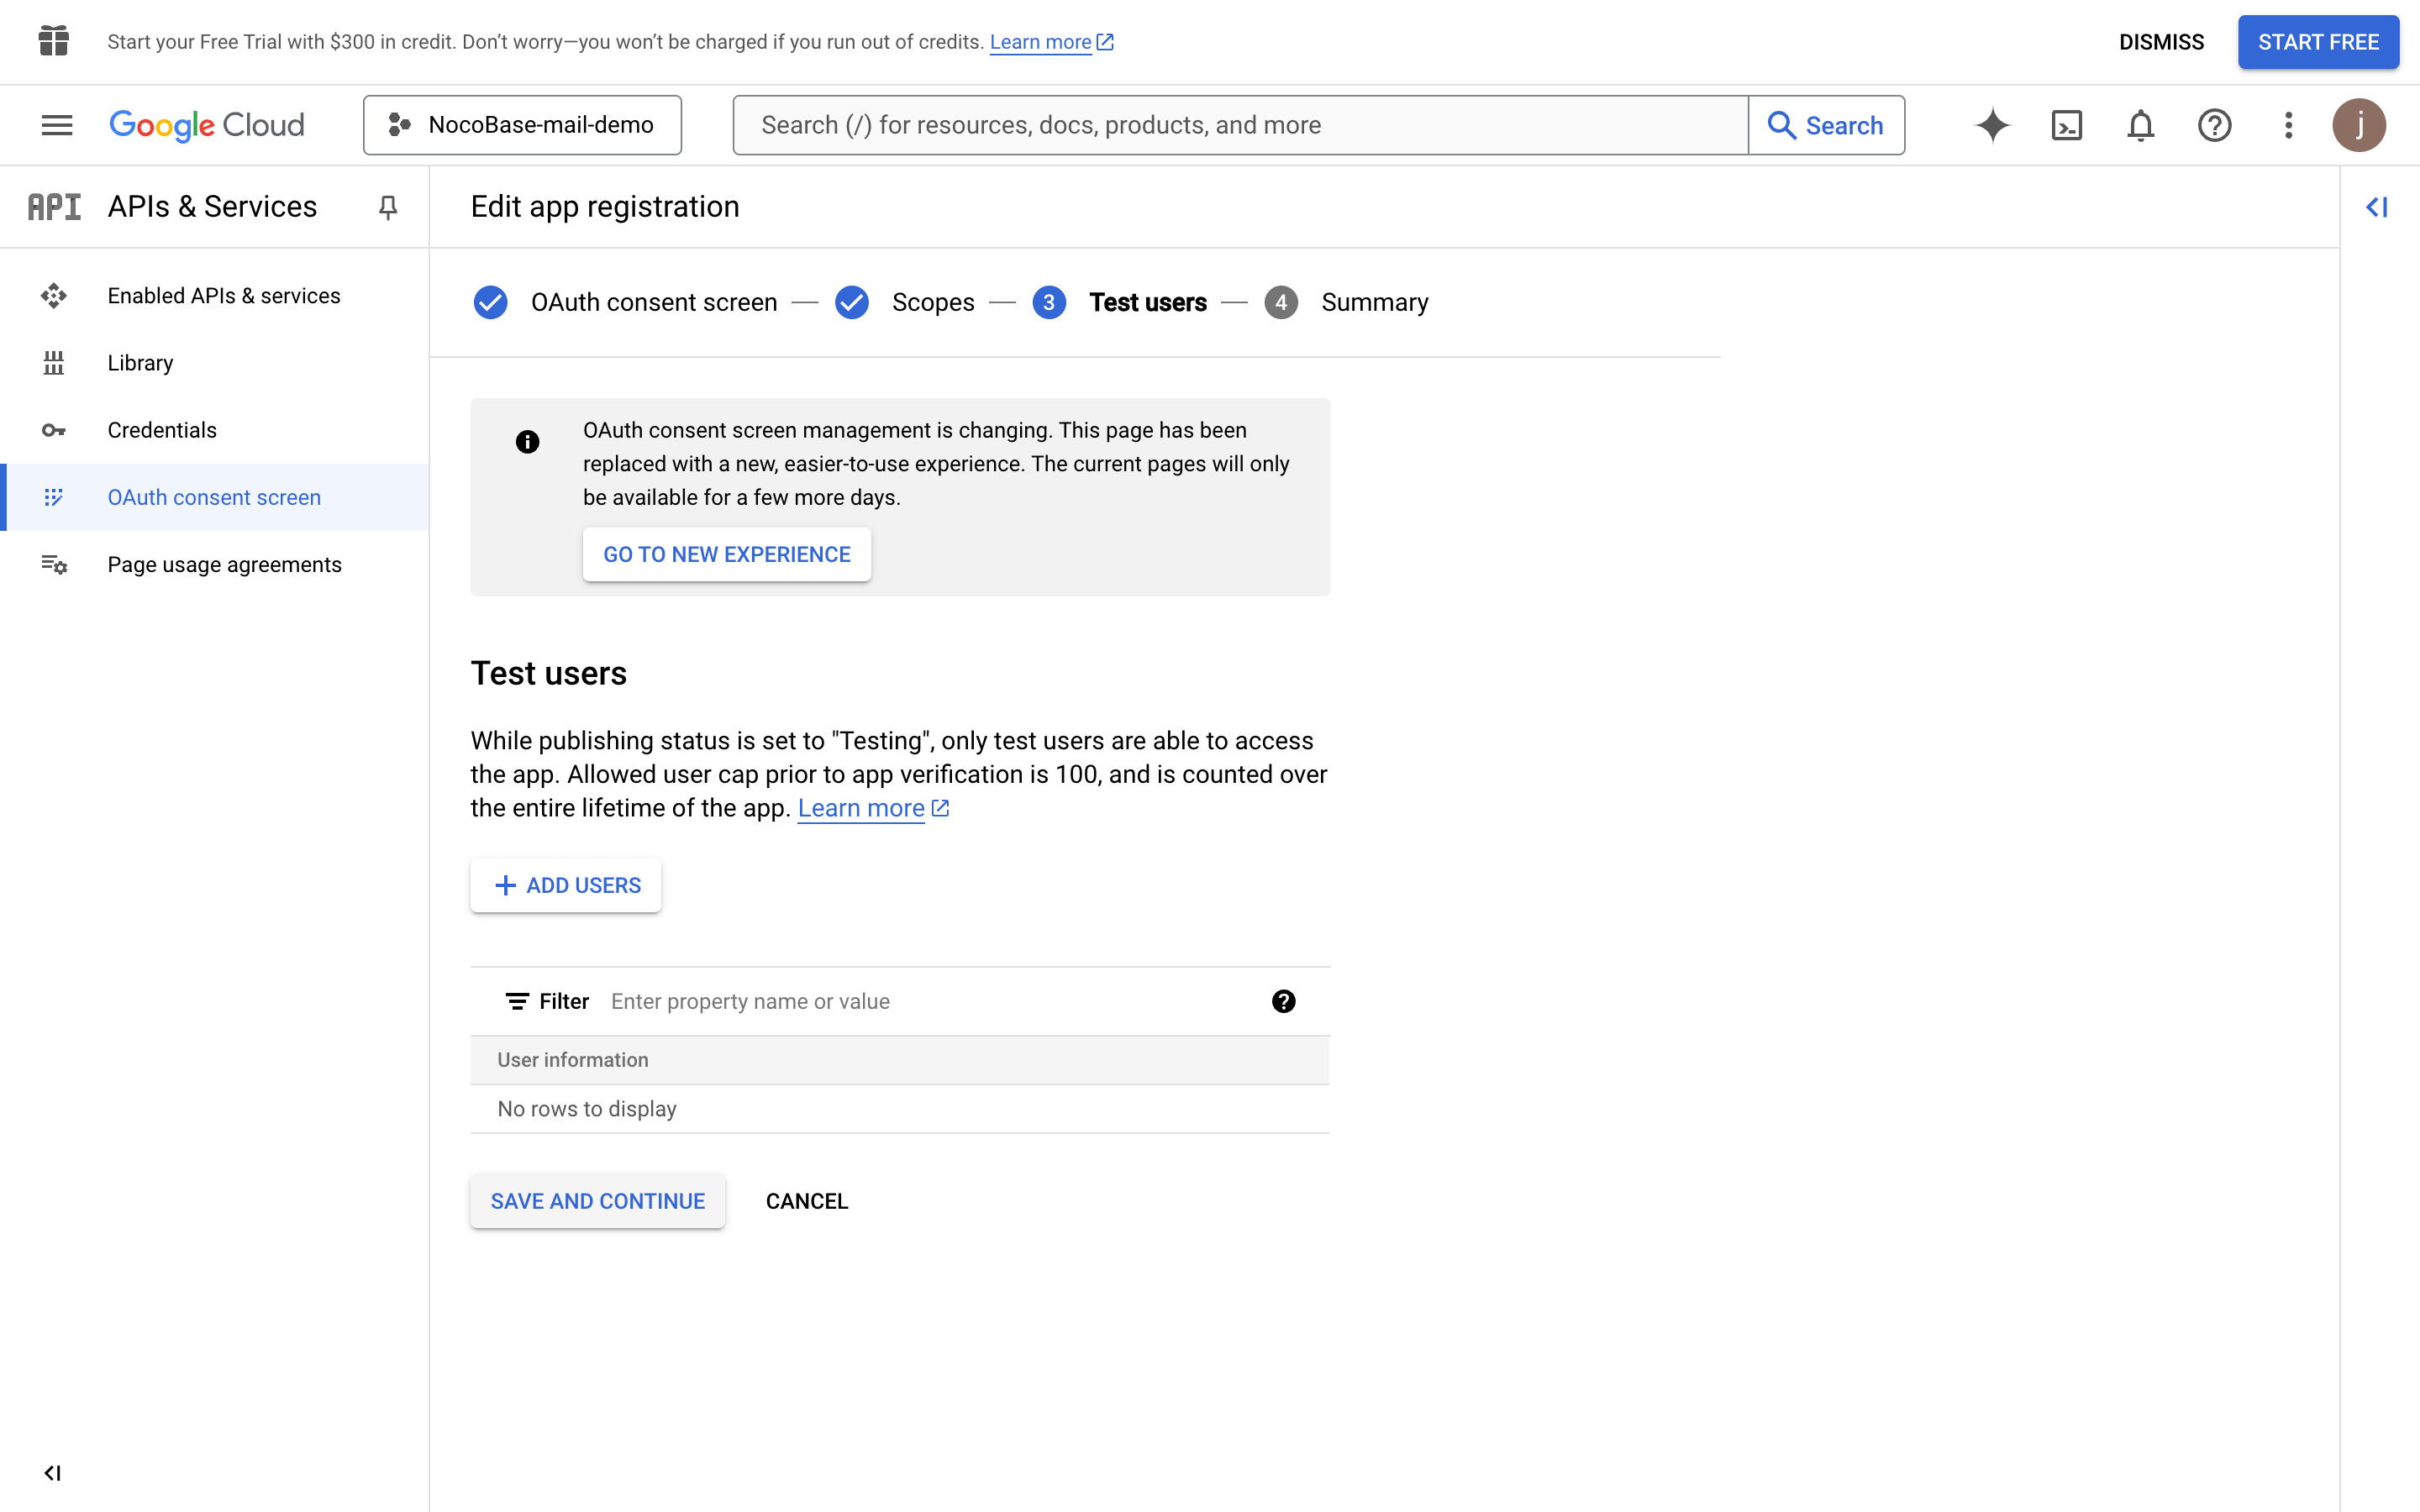
- Add test users for testing before app publication

- Click continue
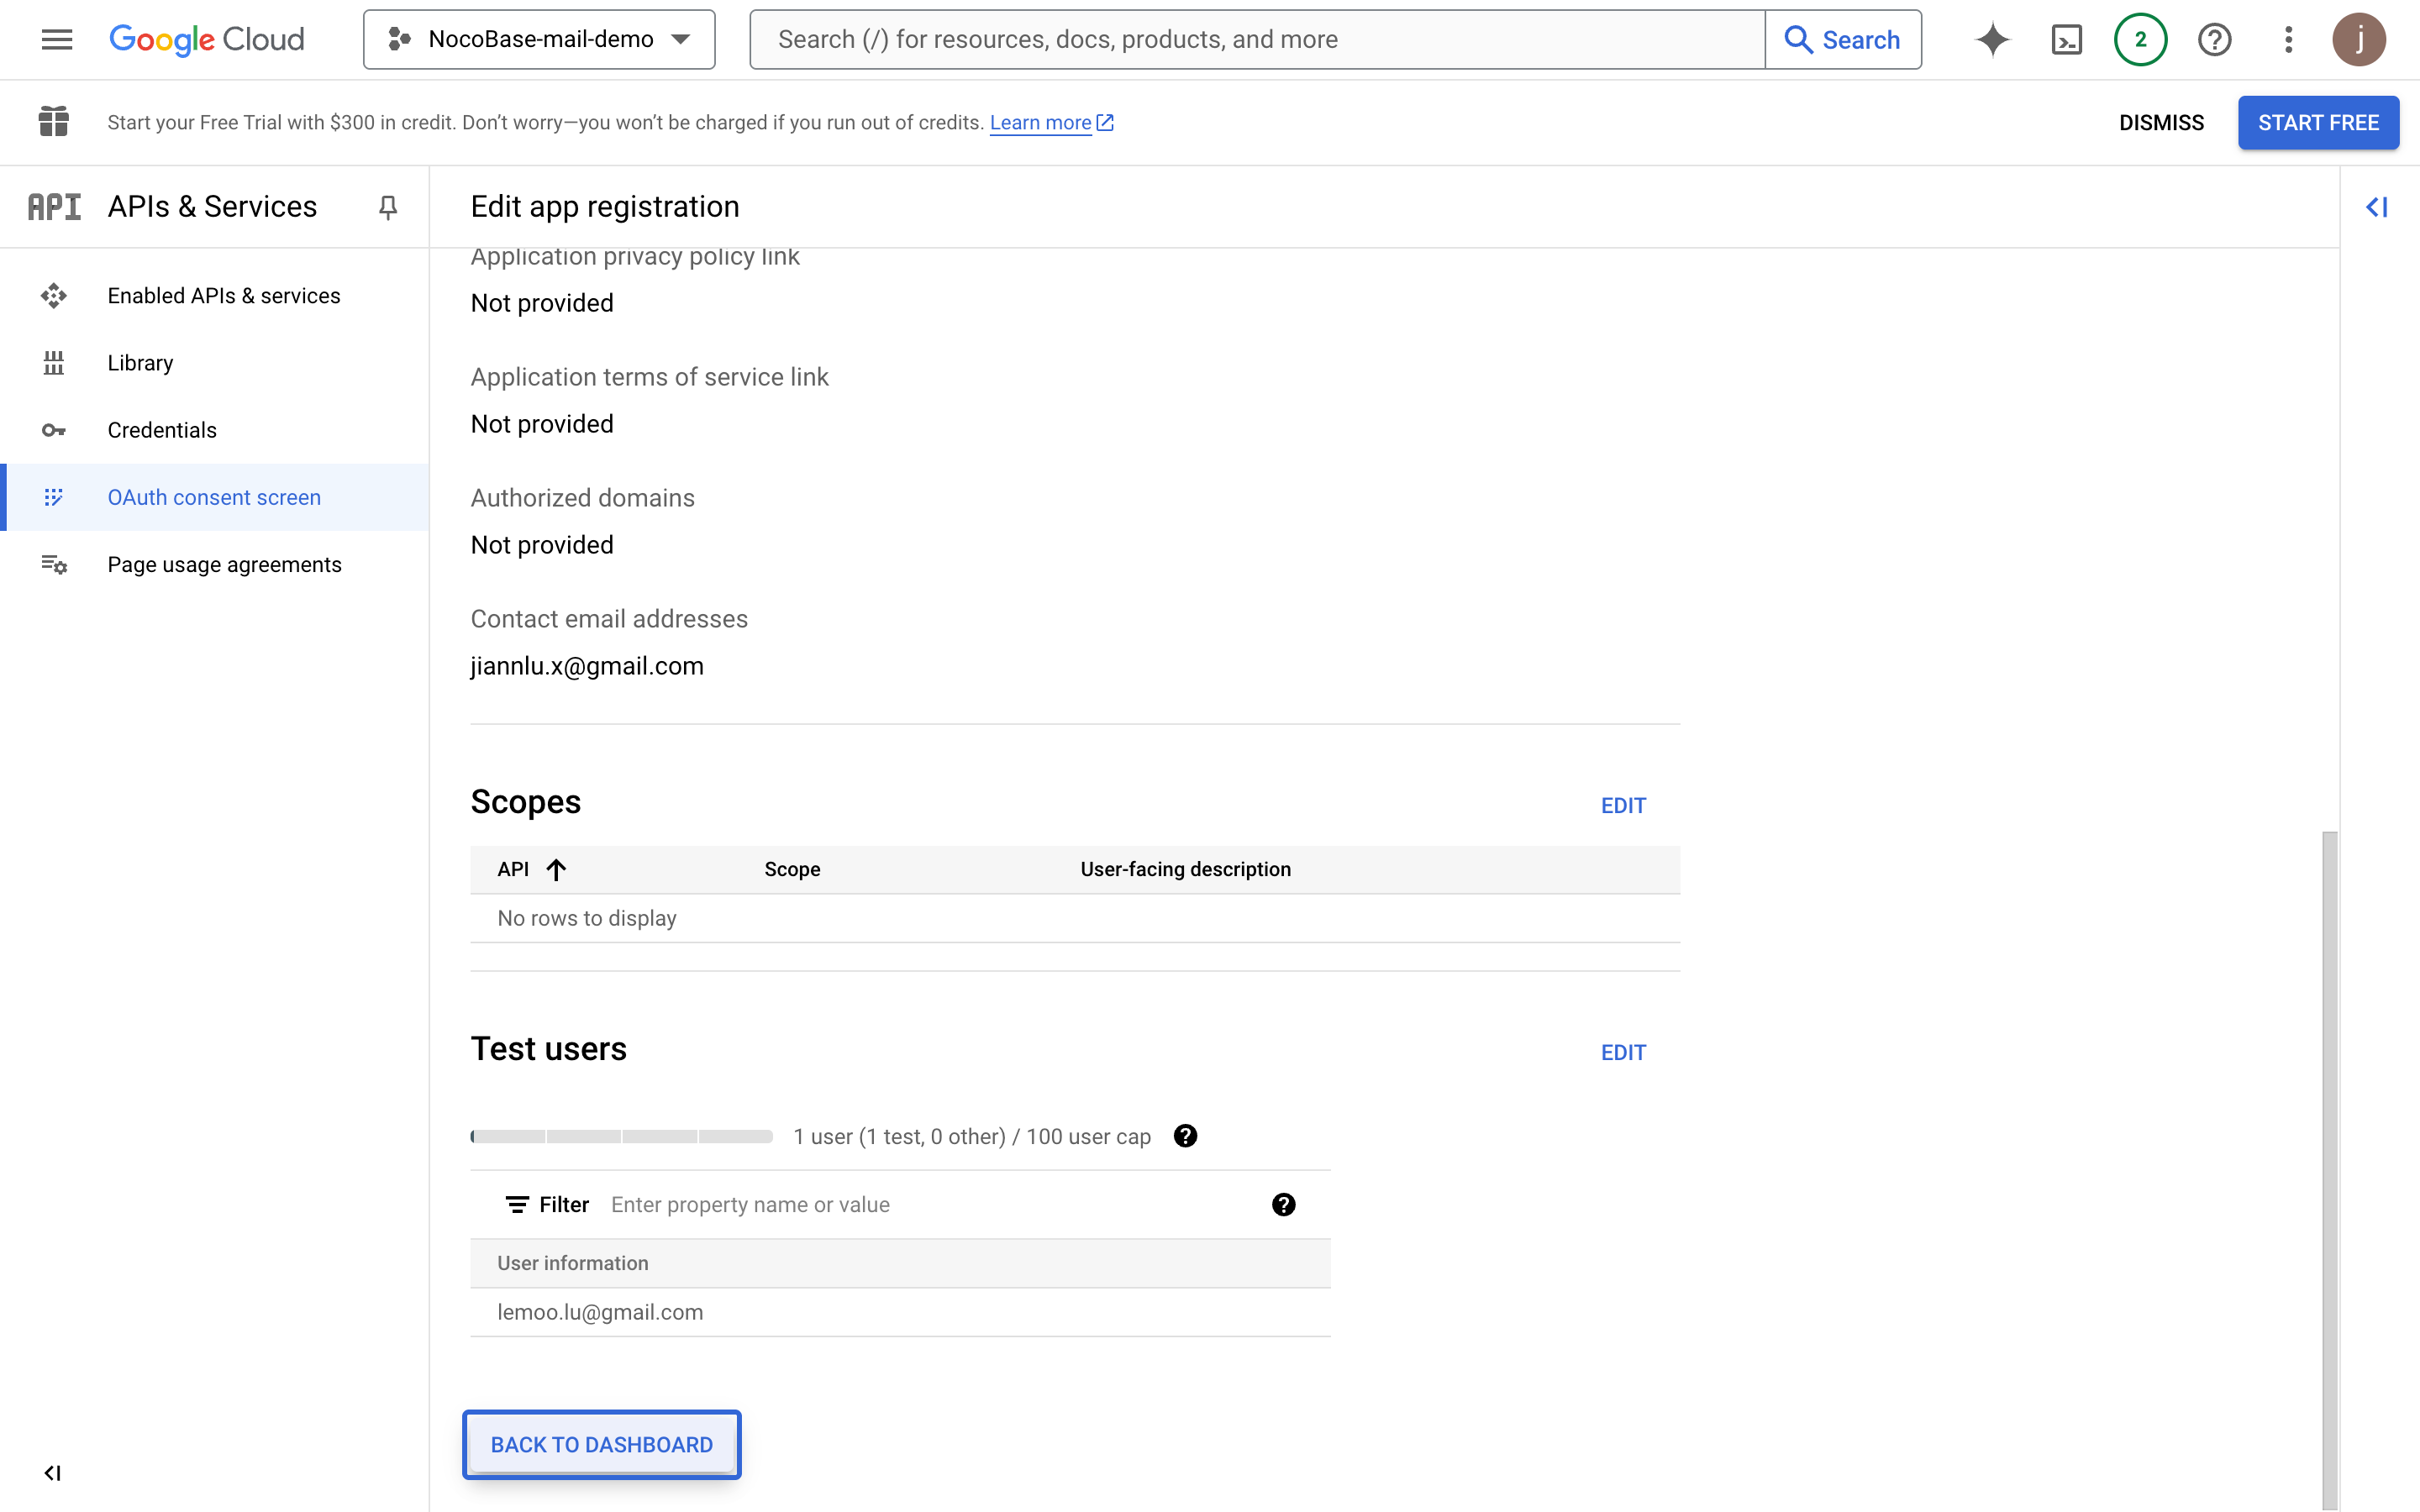
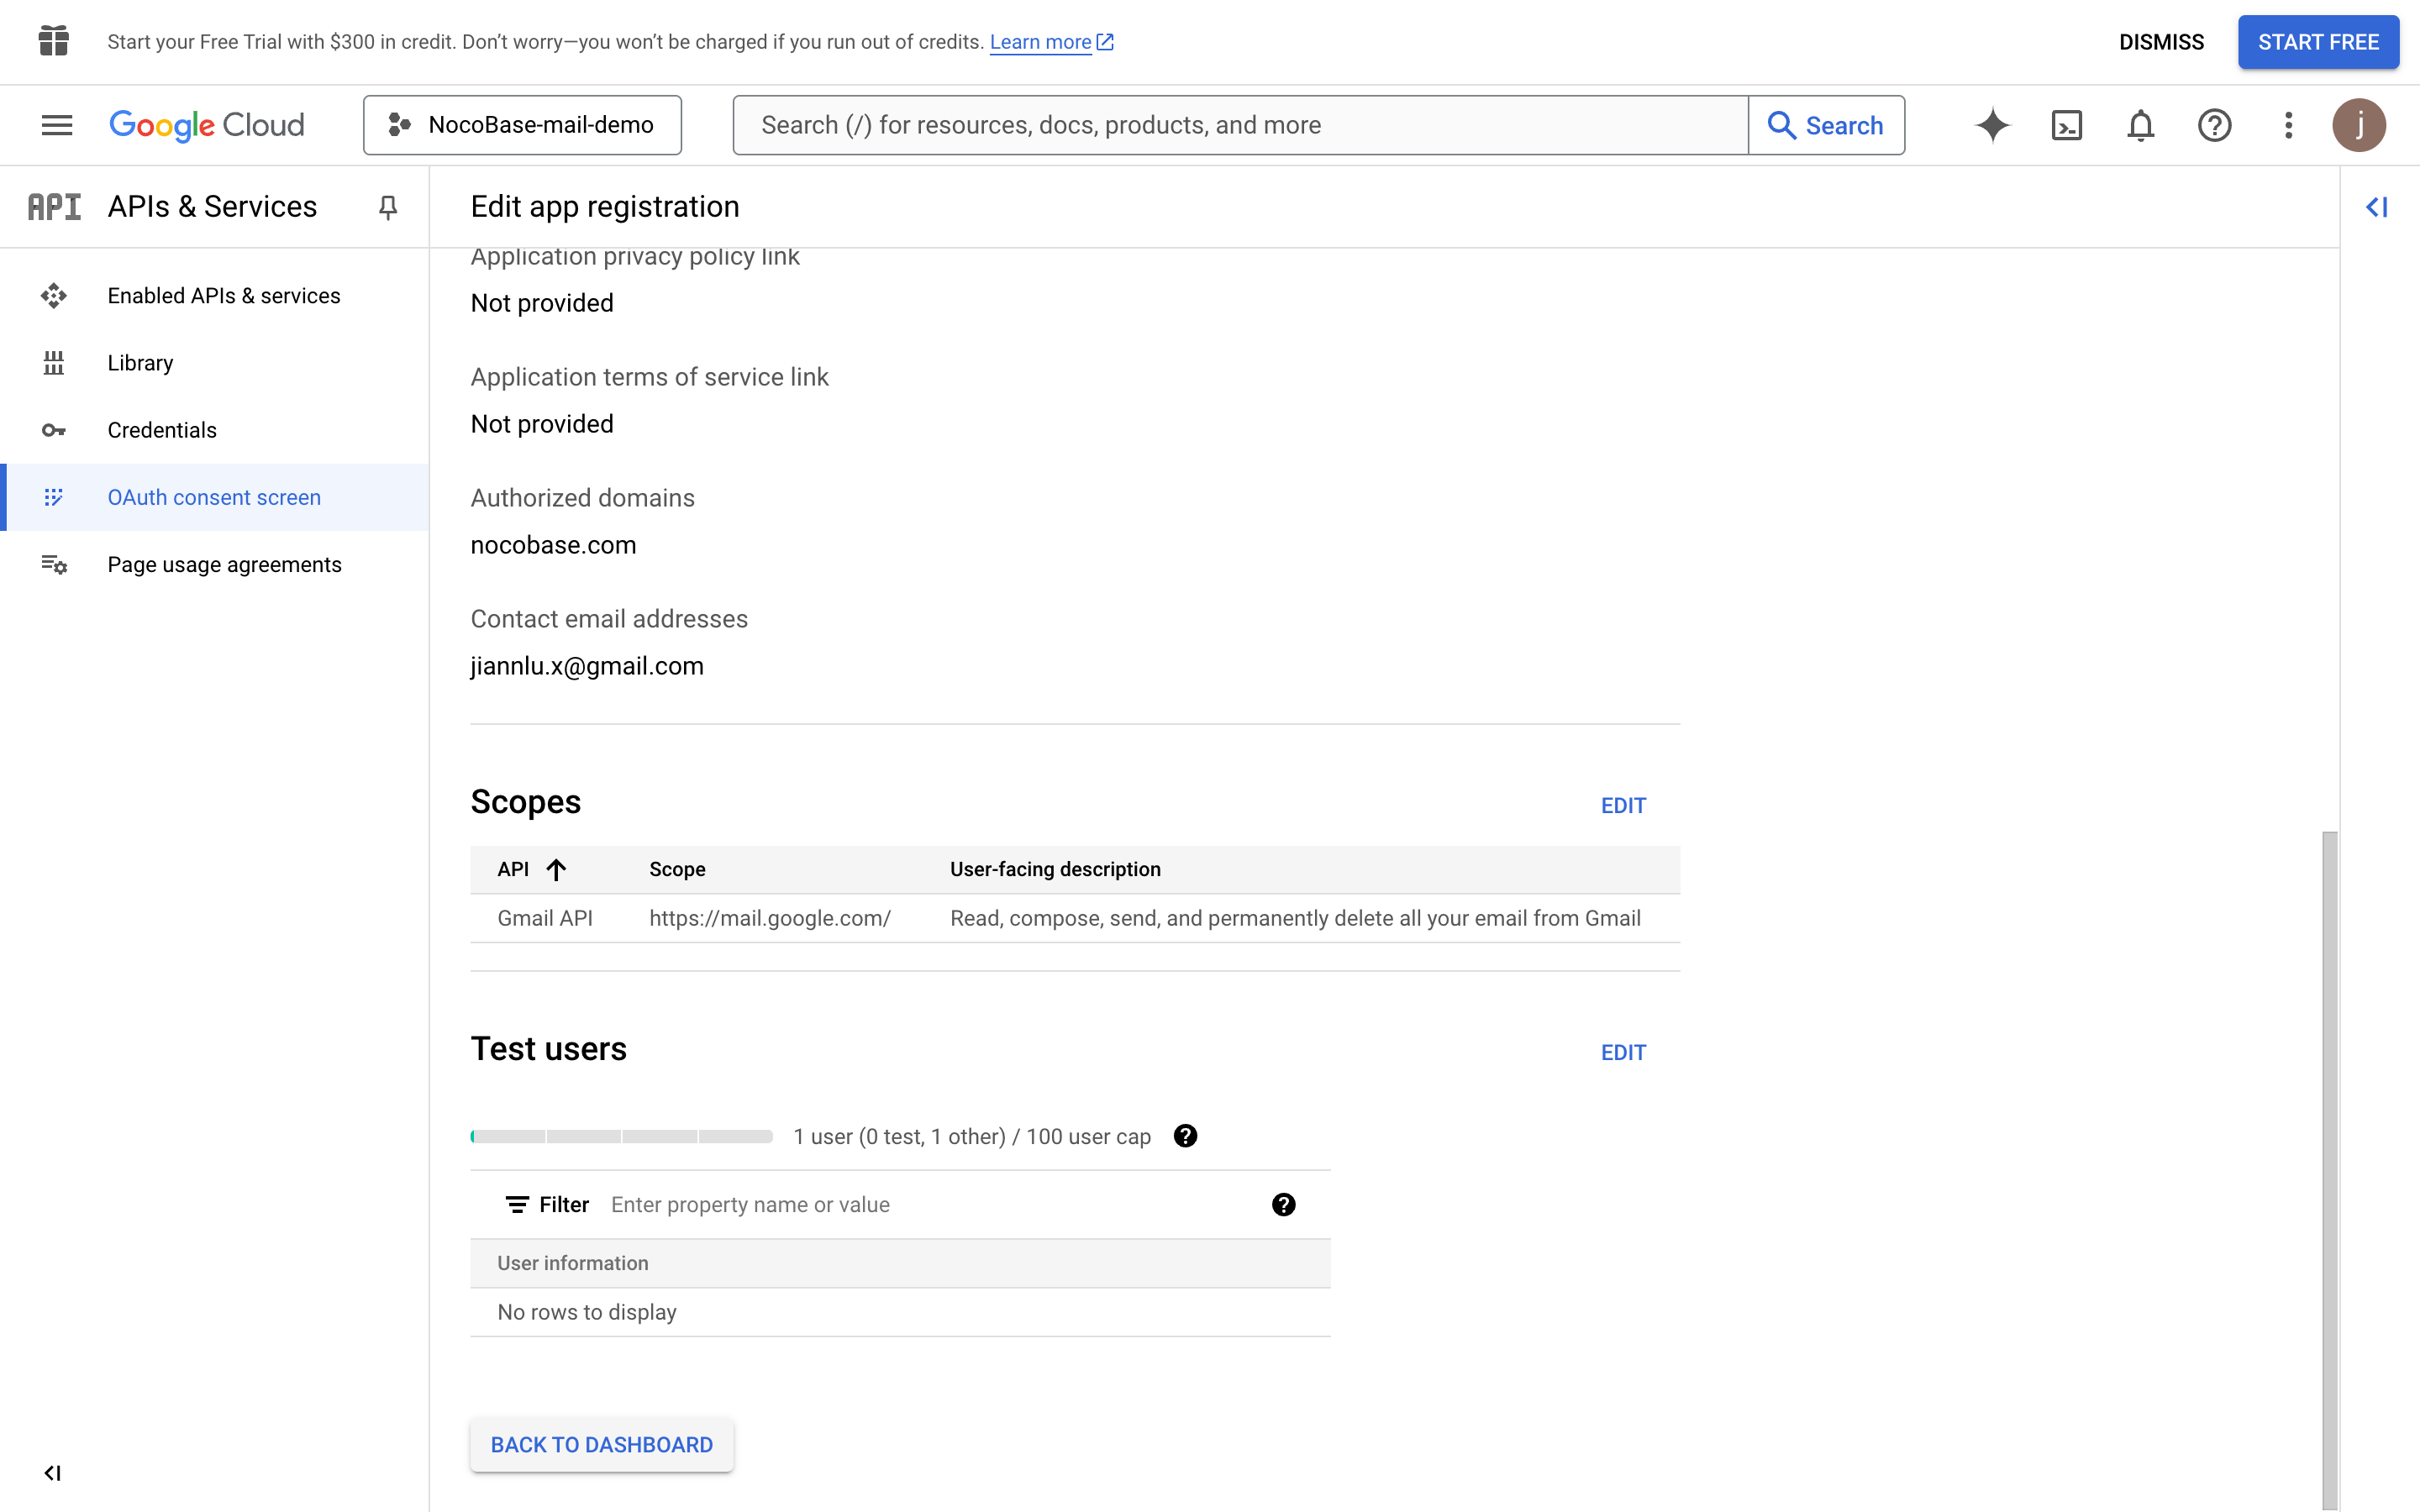
- Review the overview information and return to the dashboard
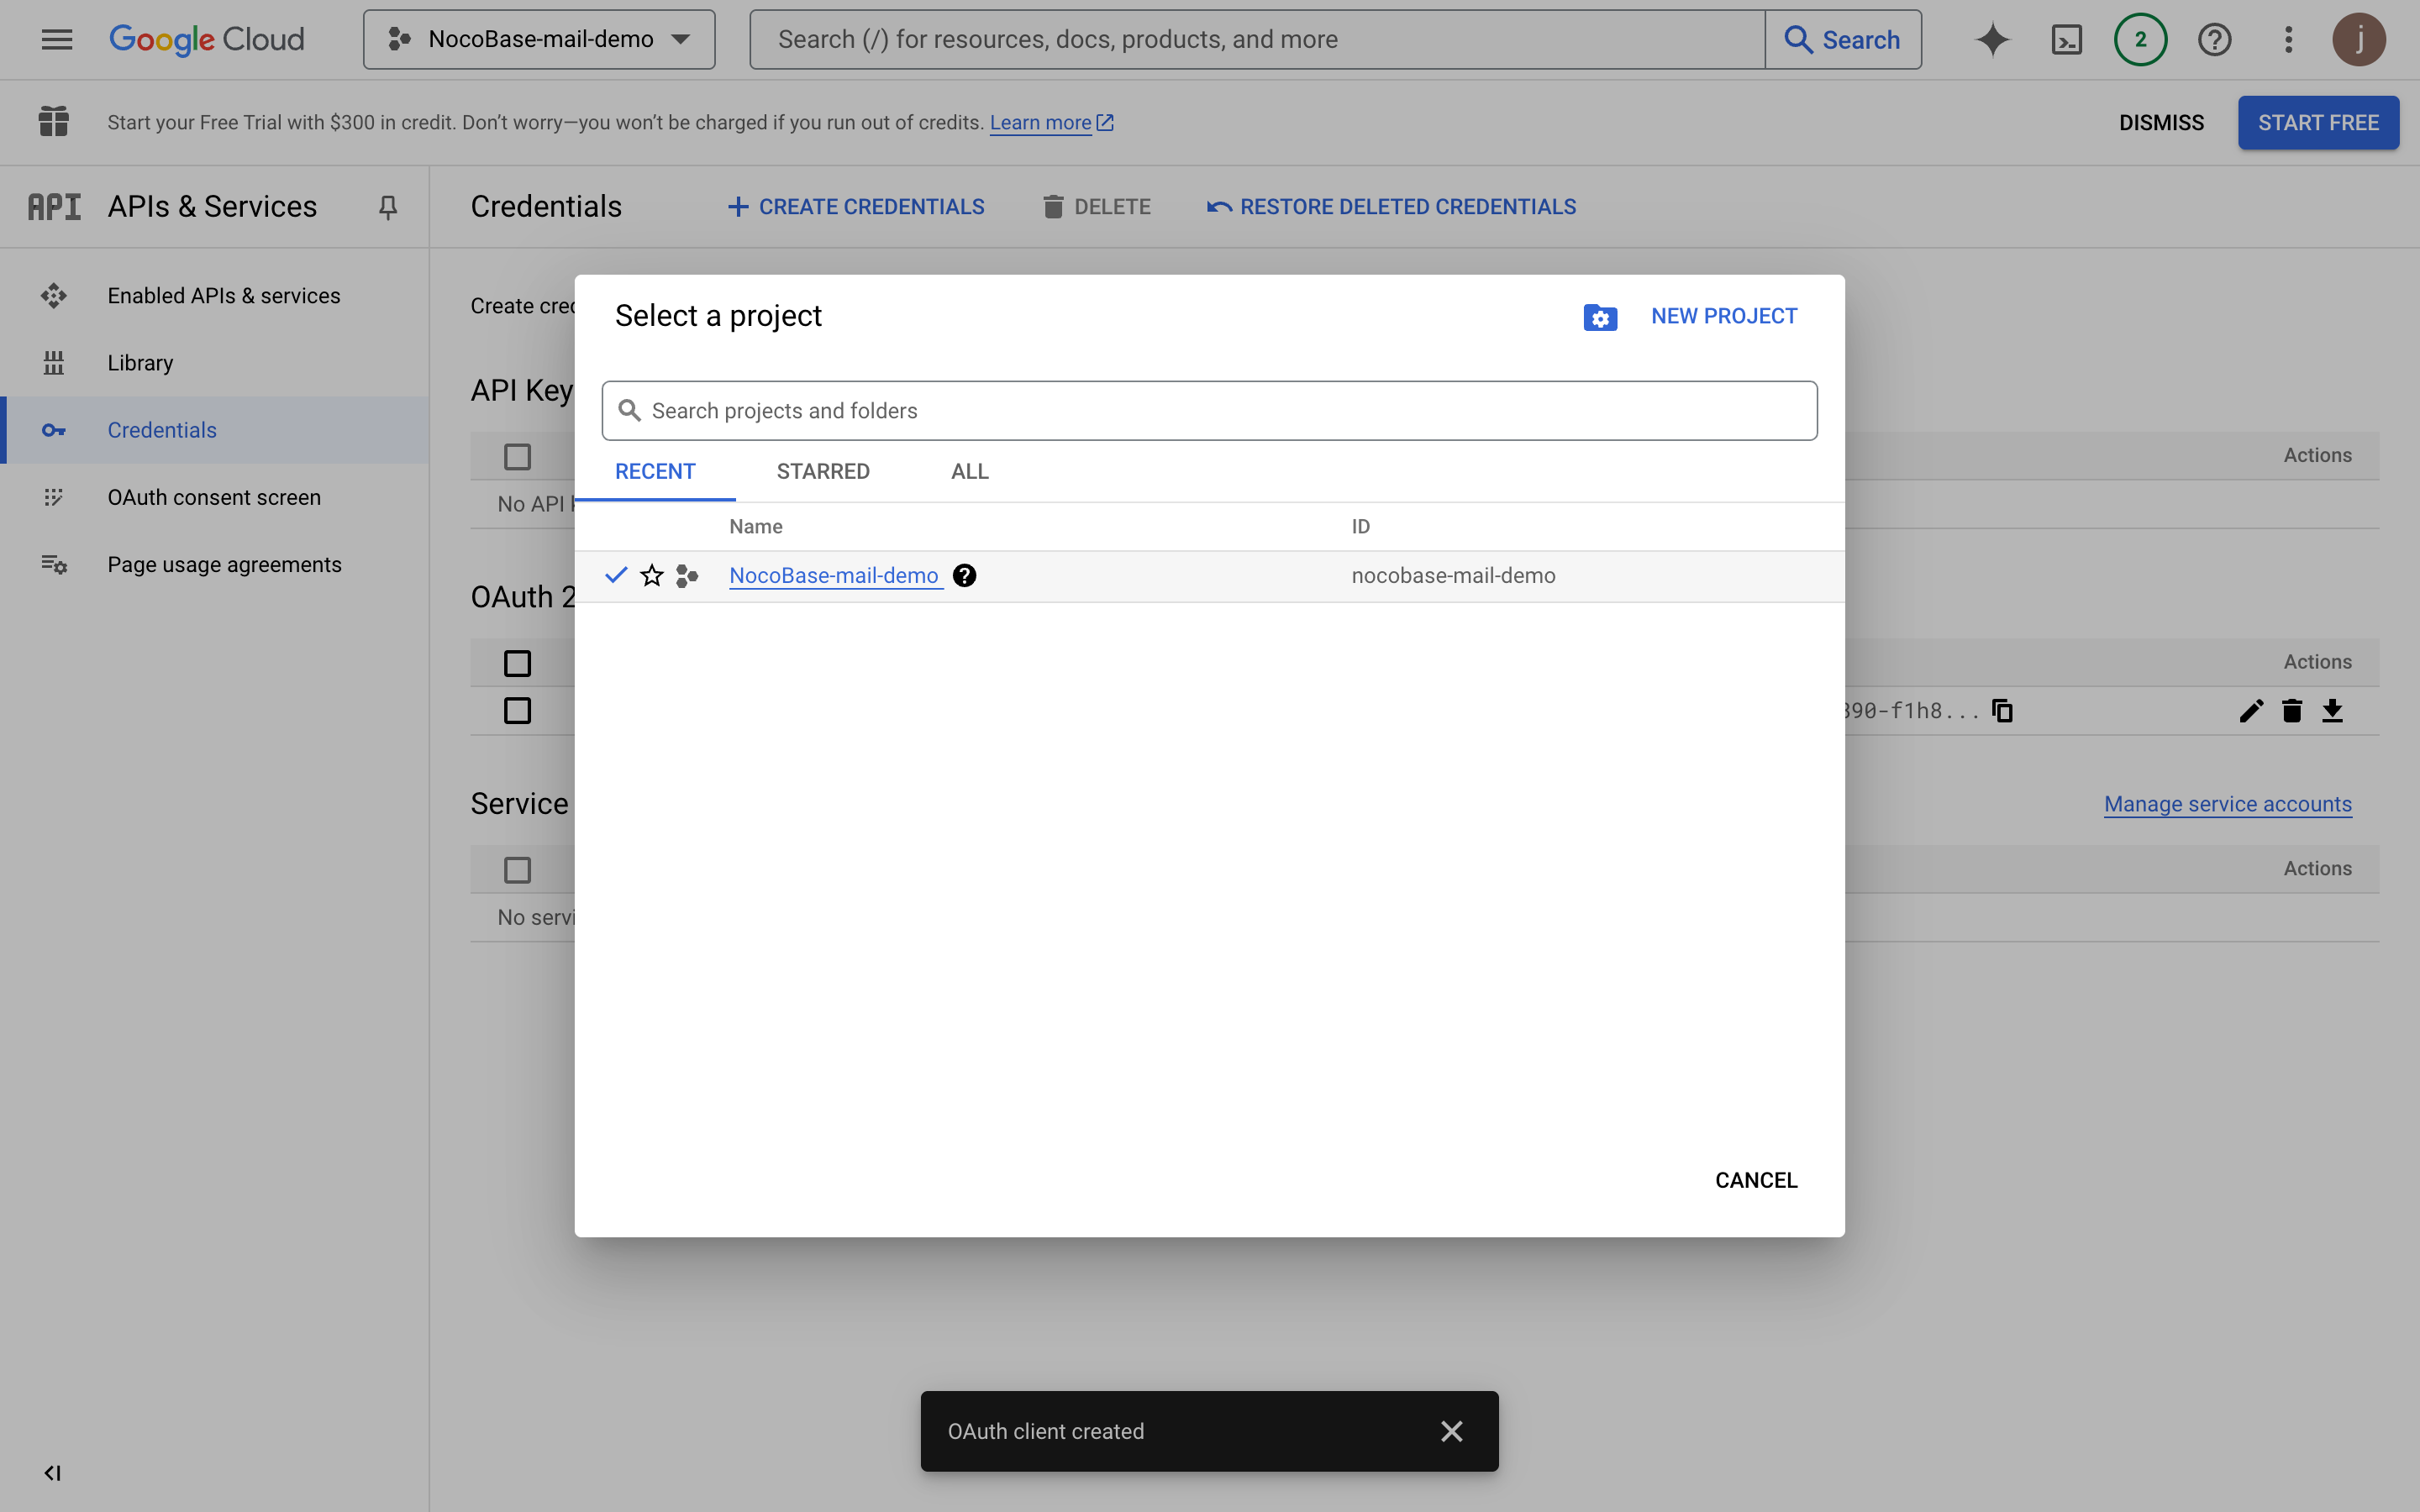
Create Credentials
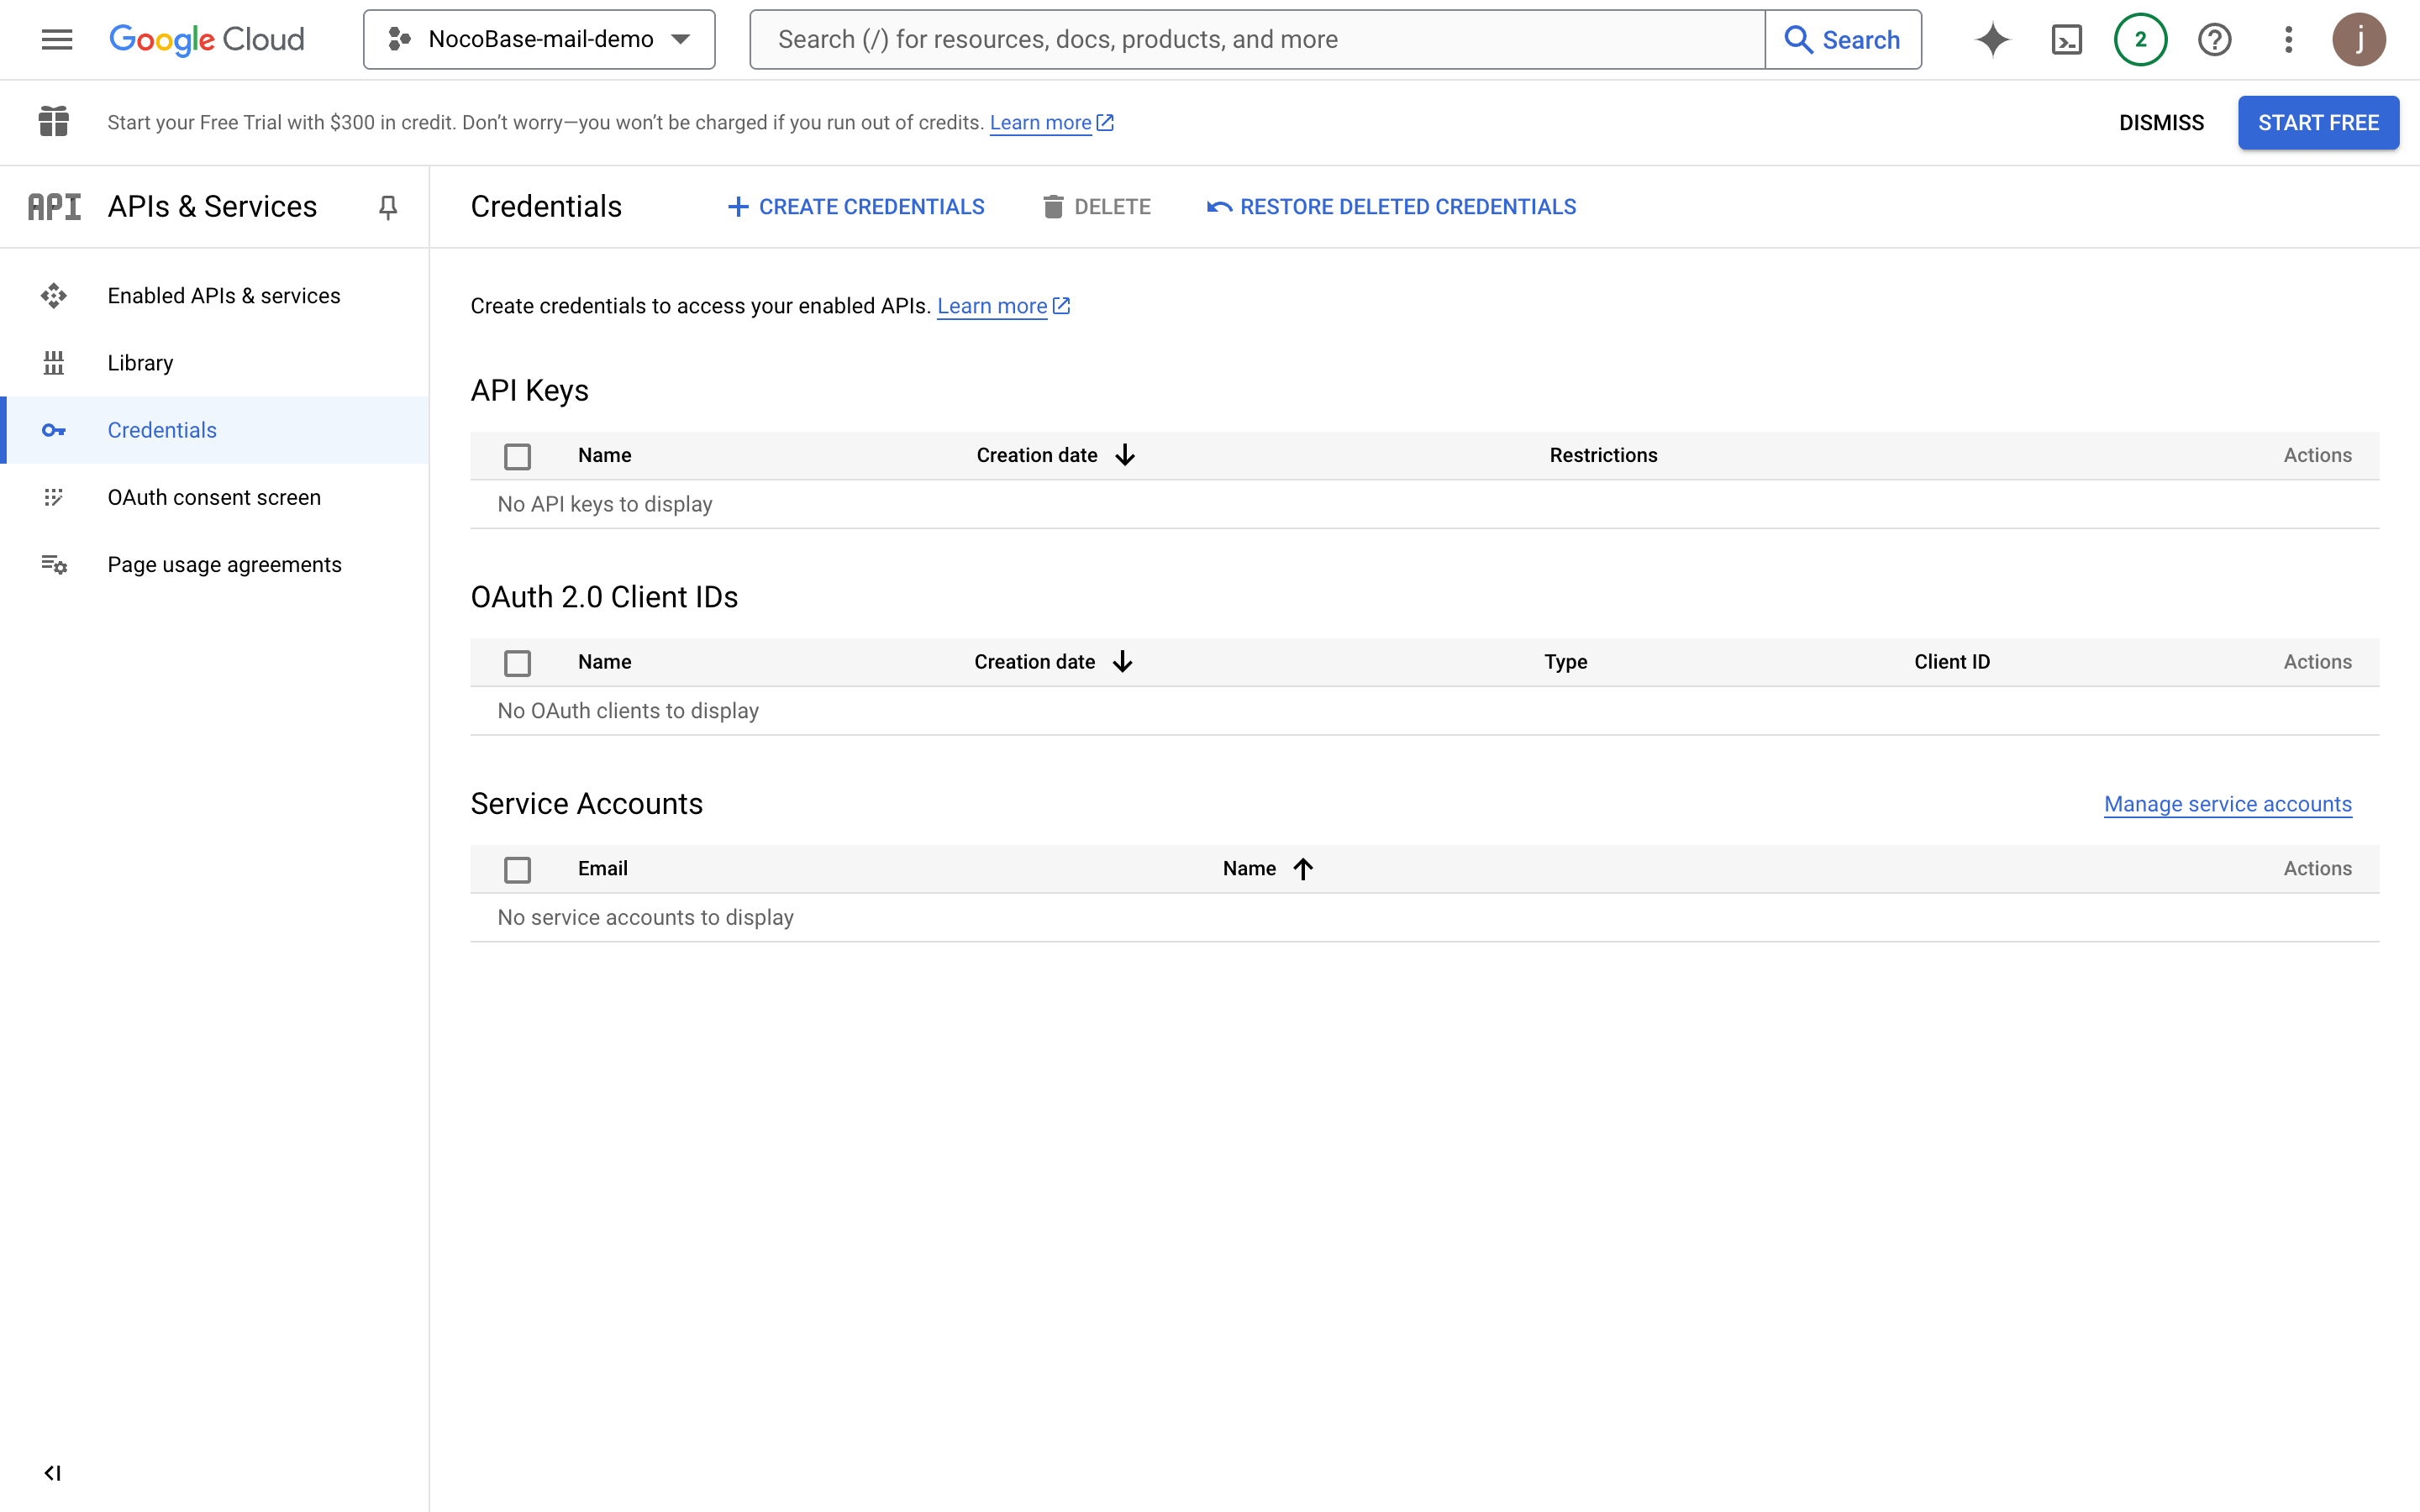
- Click the Credentials menu on the left
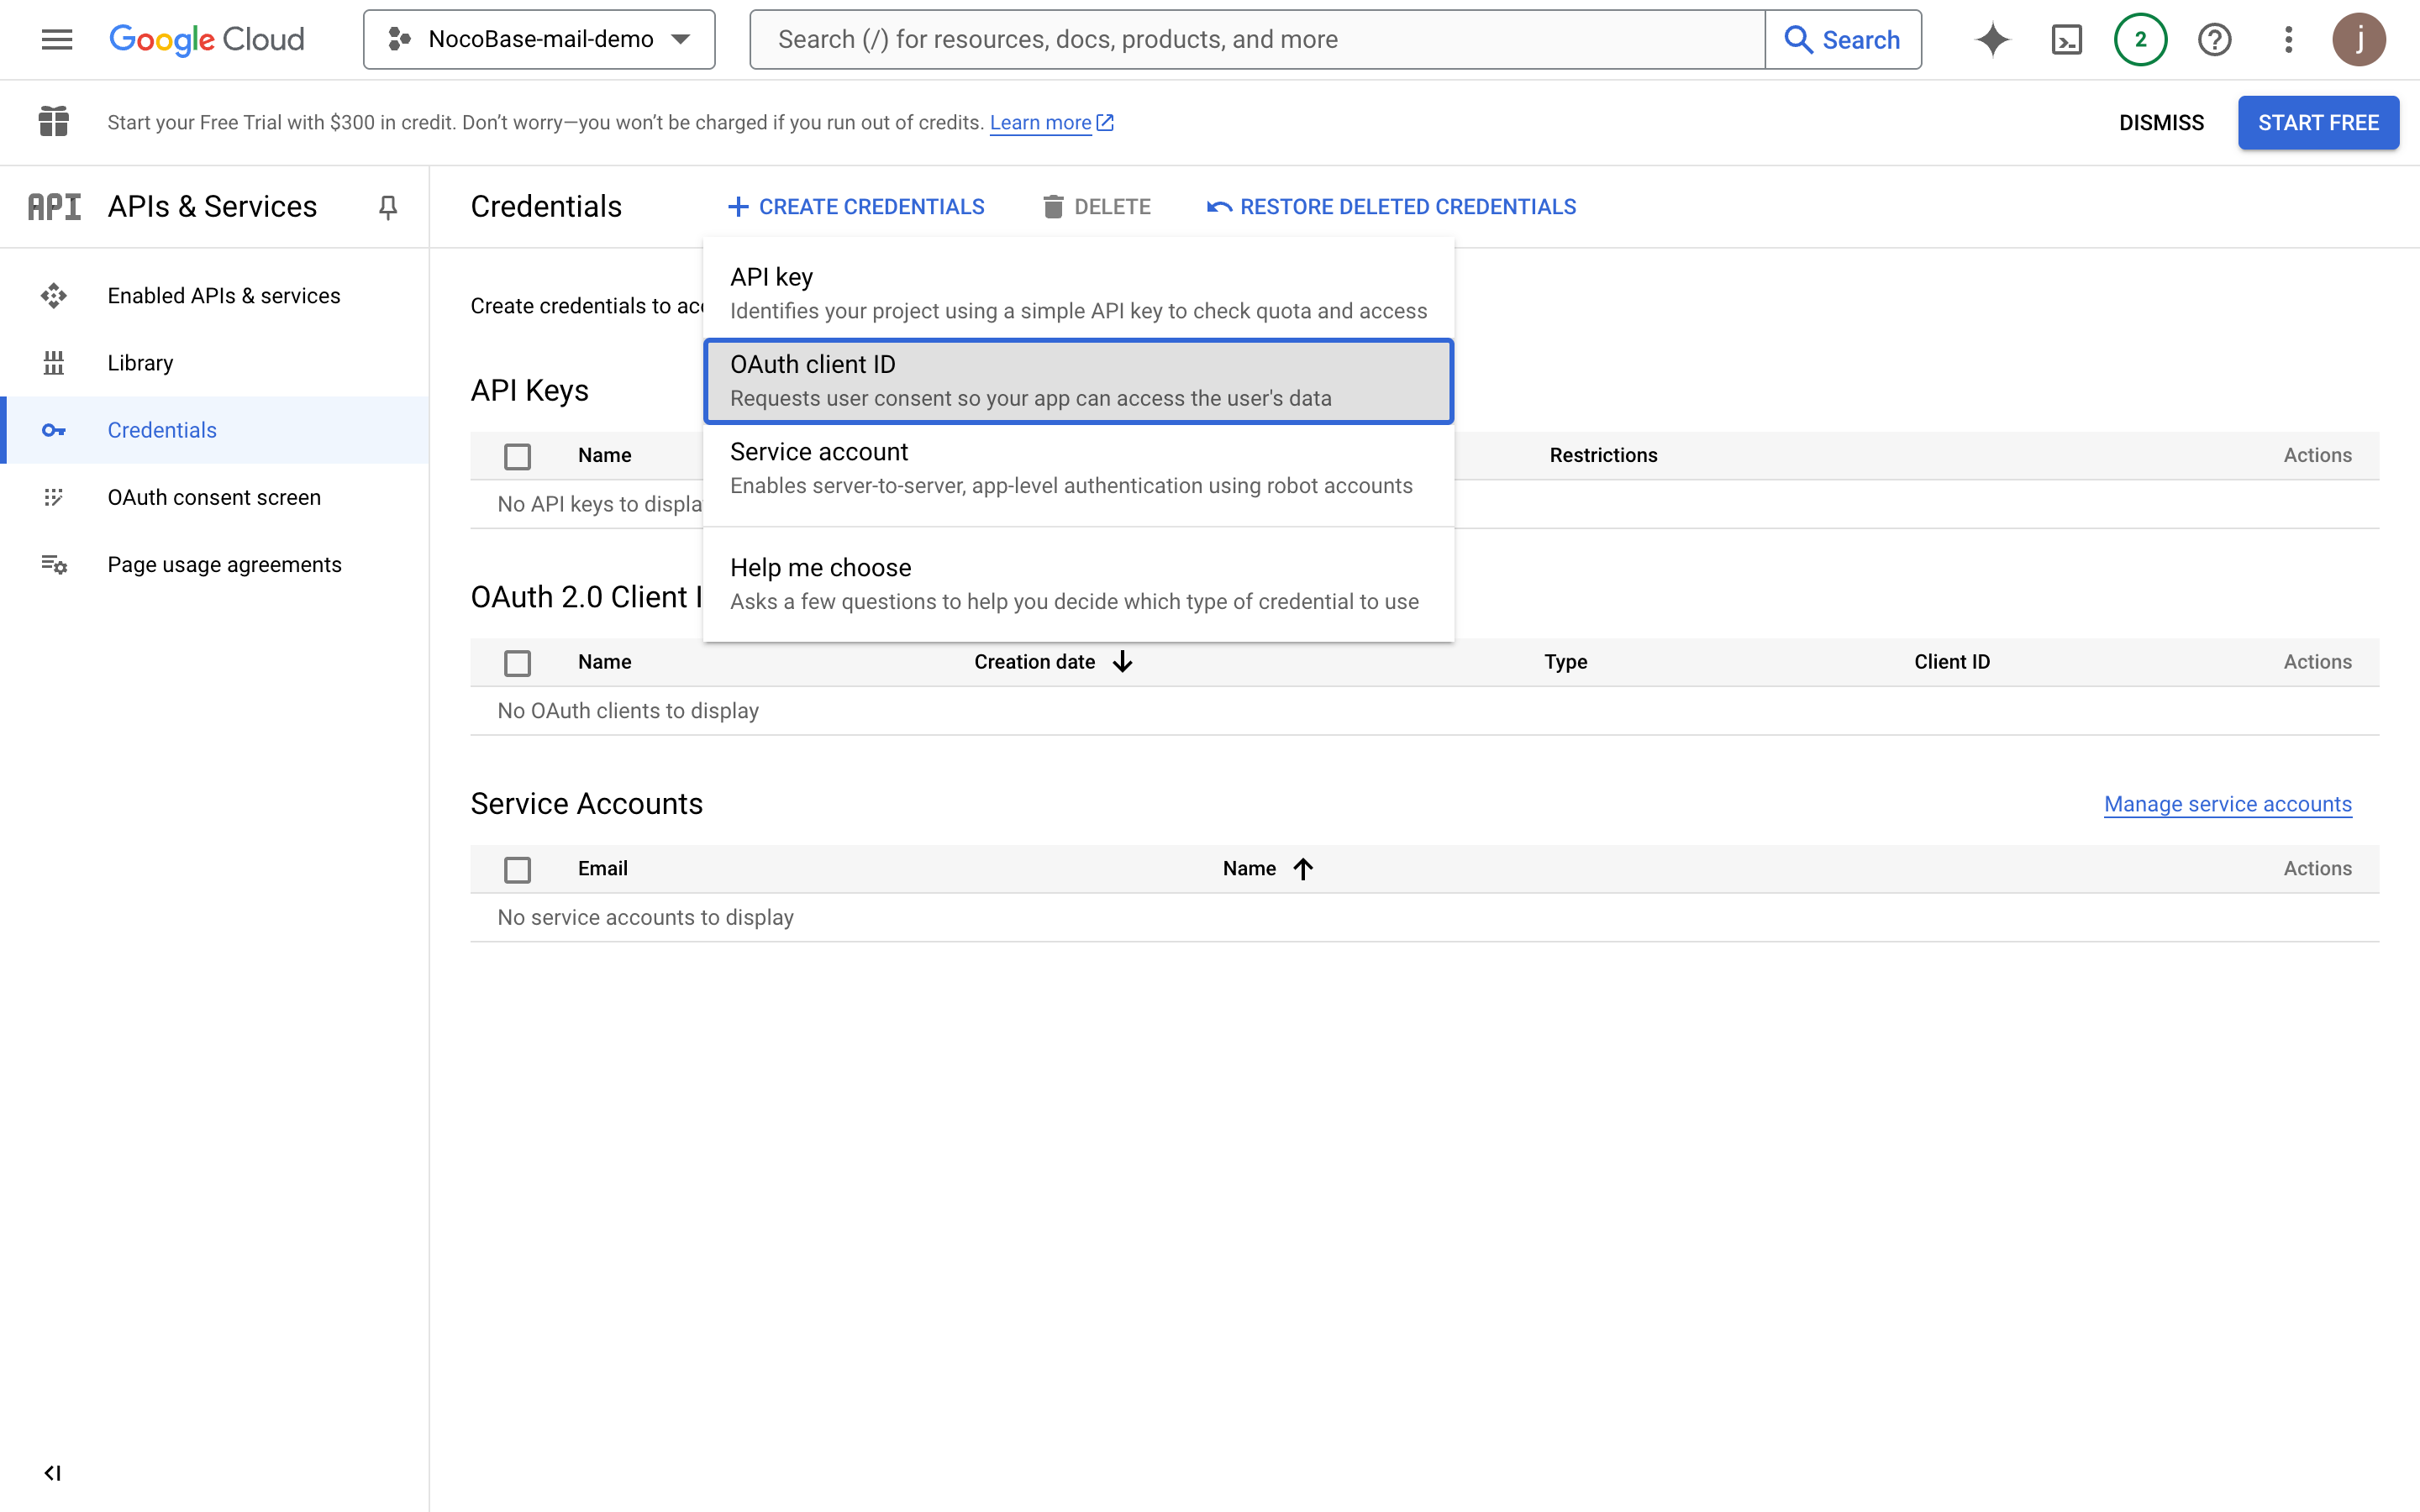
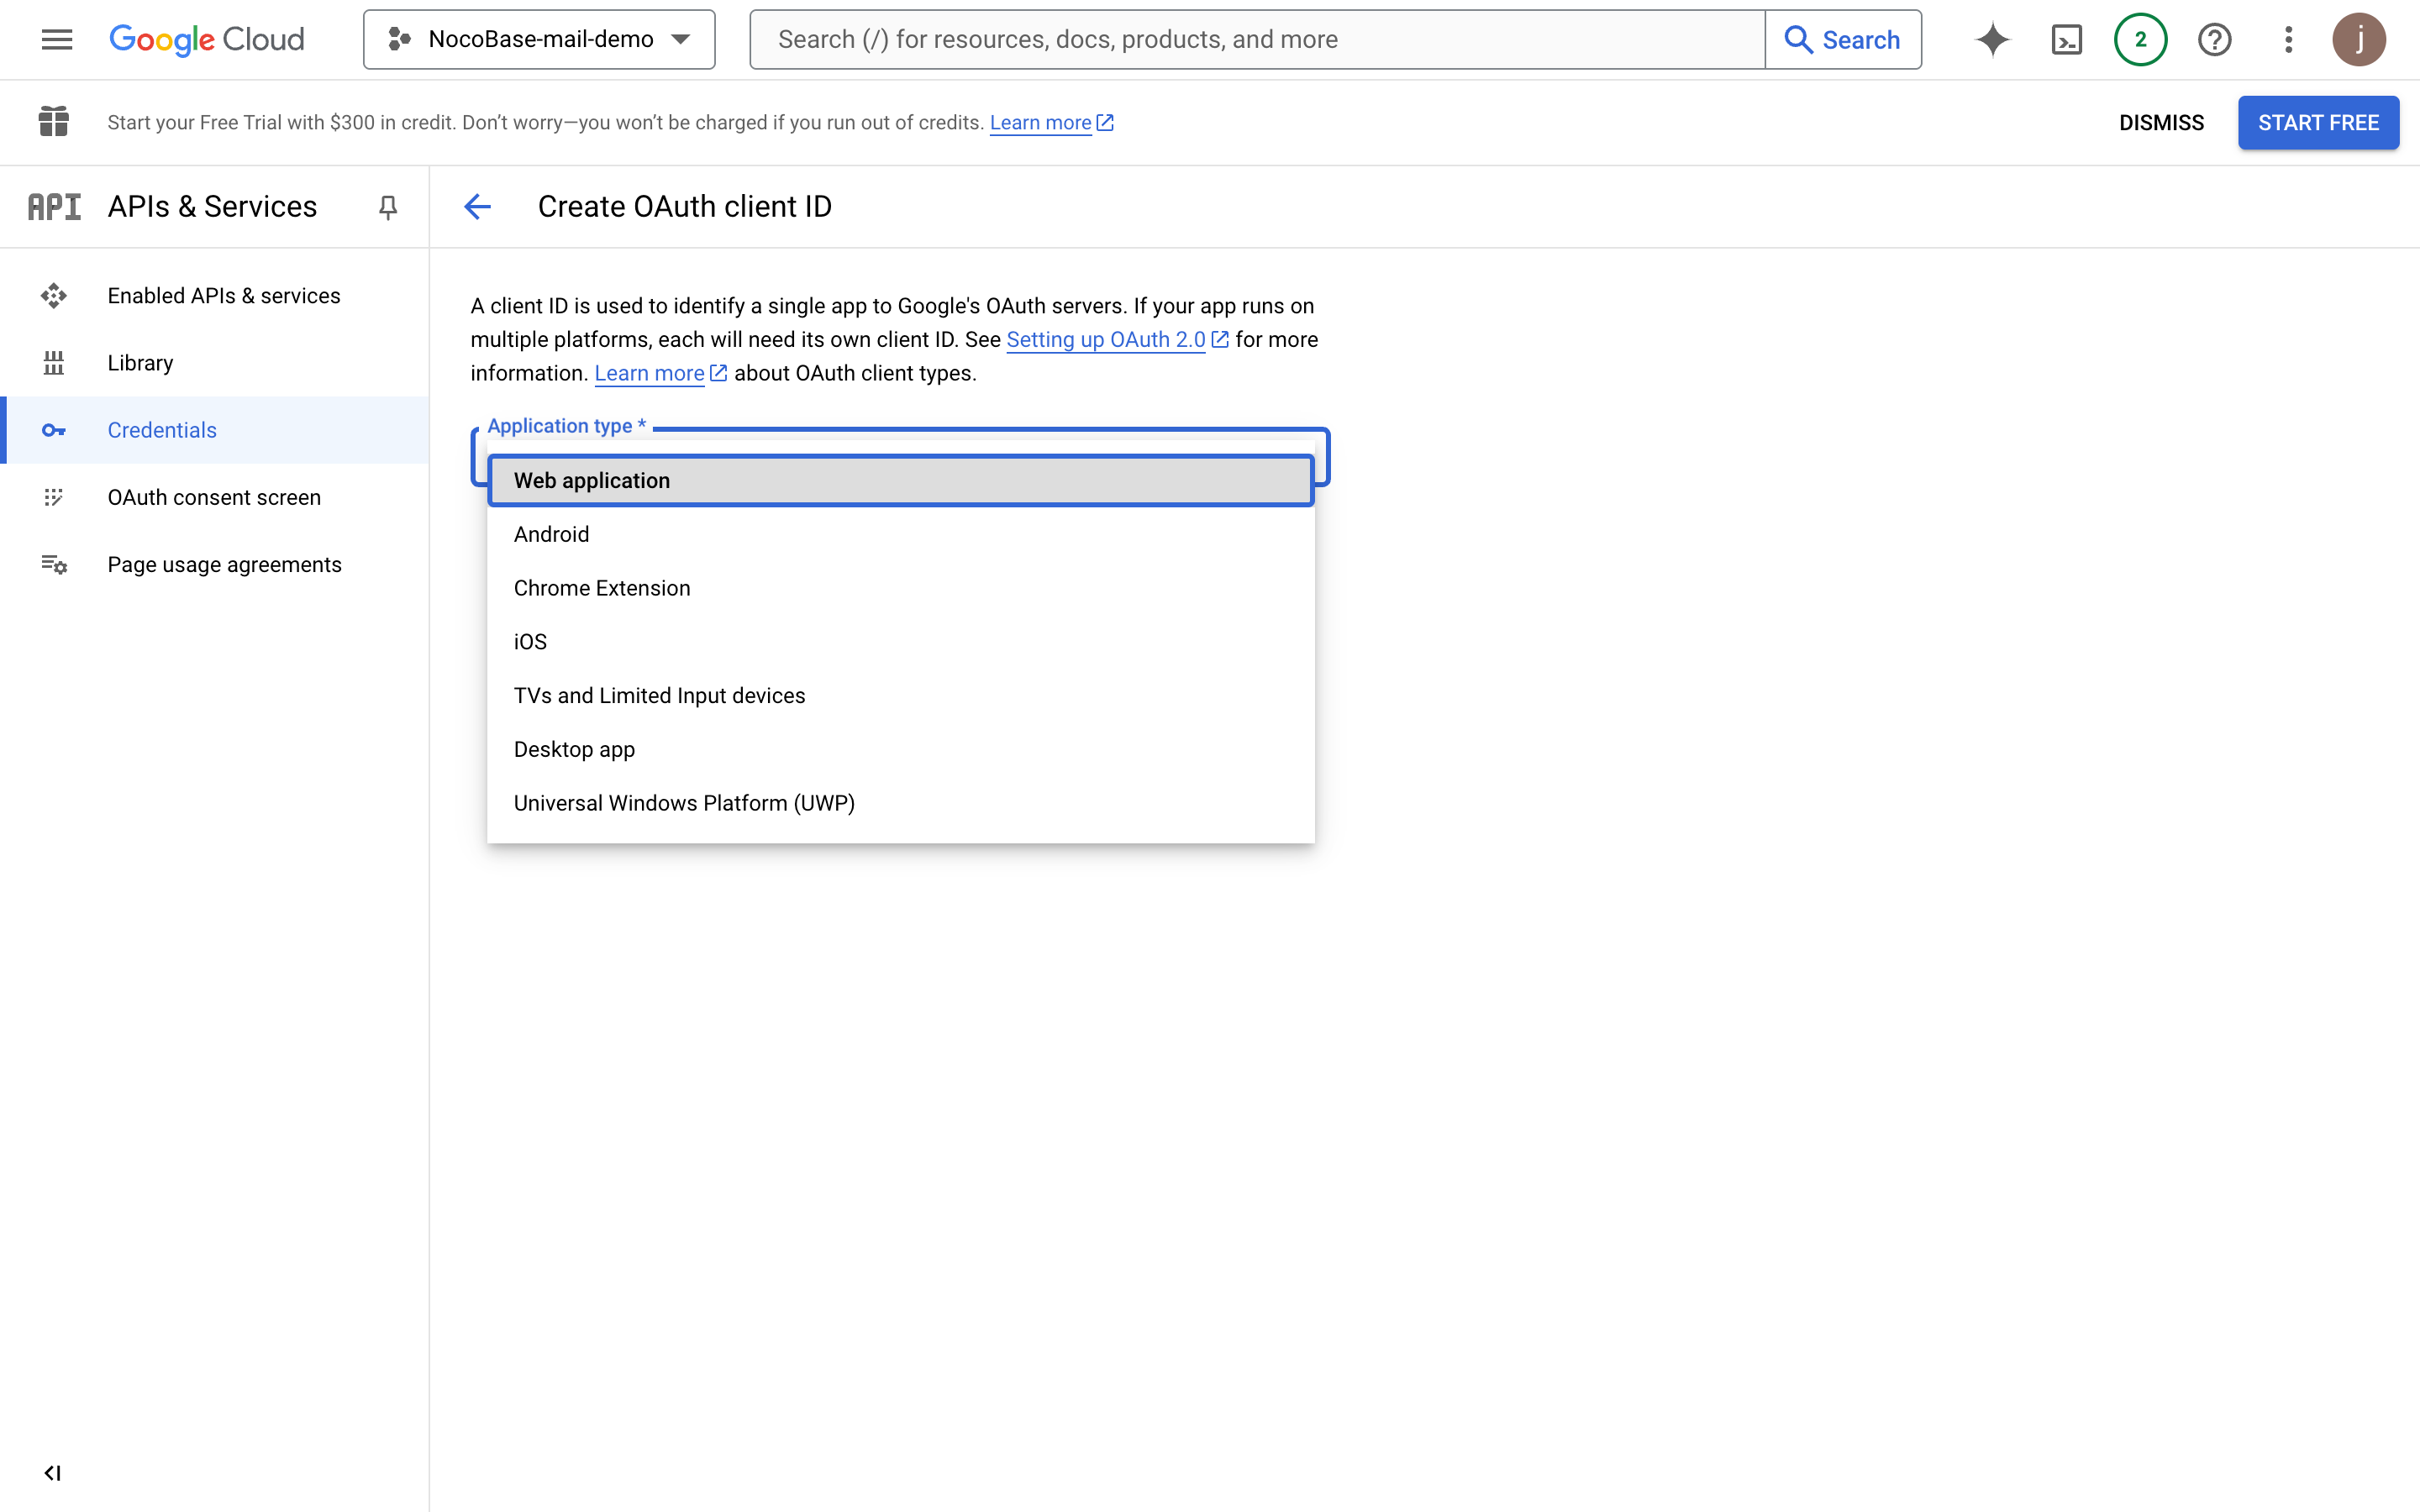
- Click the "CREATE CREDENTIALS" button and select "OAuth client ID"
- Select "Web application"
- Fill in the application information
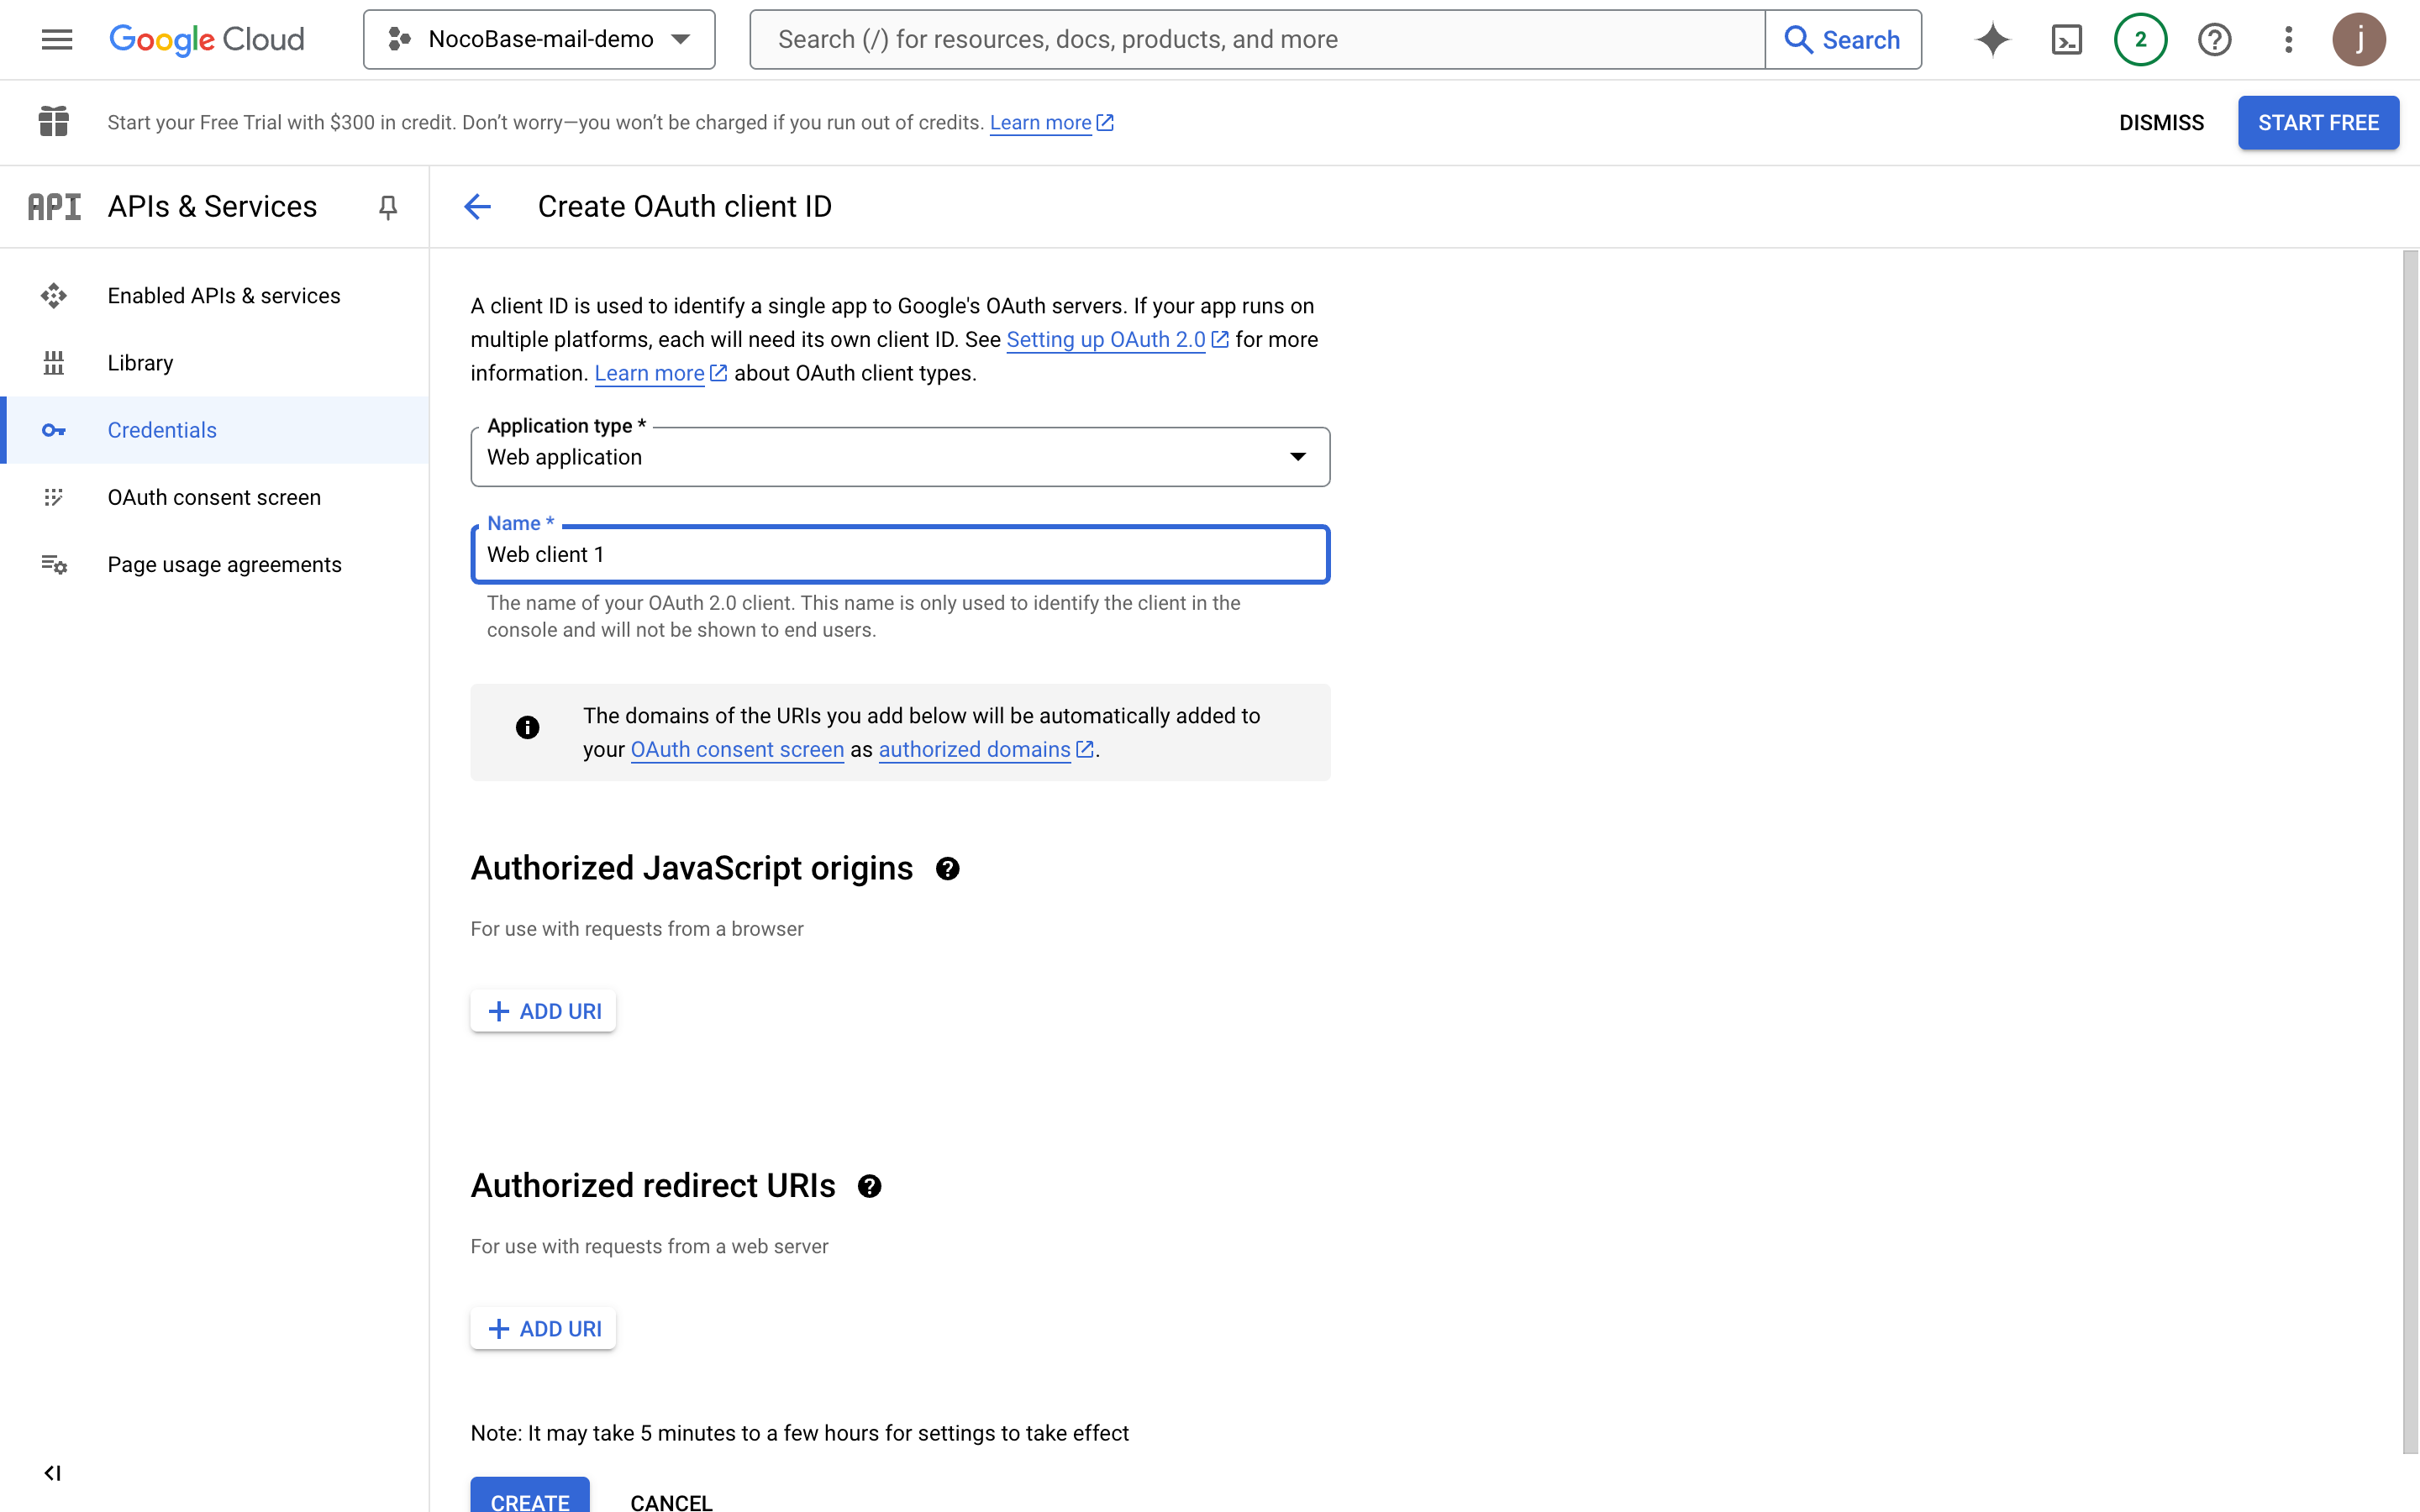
- Fill in the domain where the application will be finally deployed (this example is NocoBase's test address)
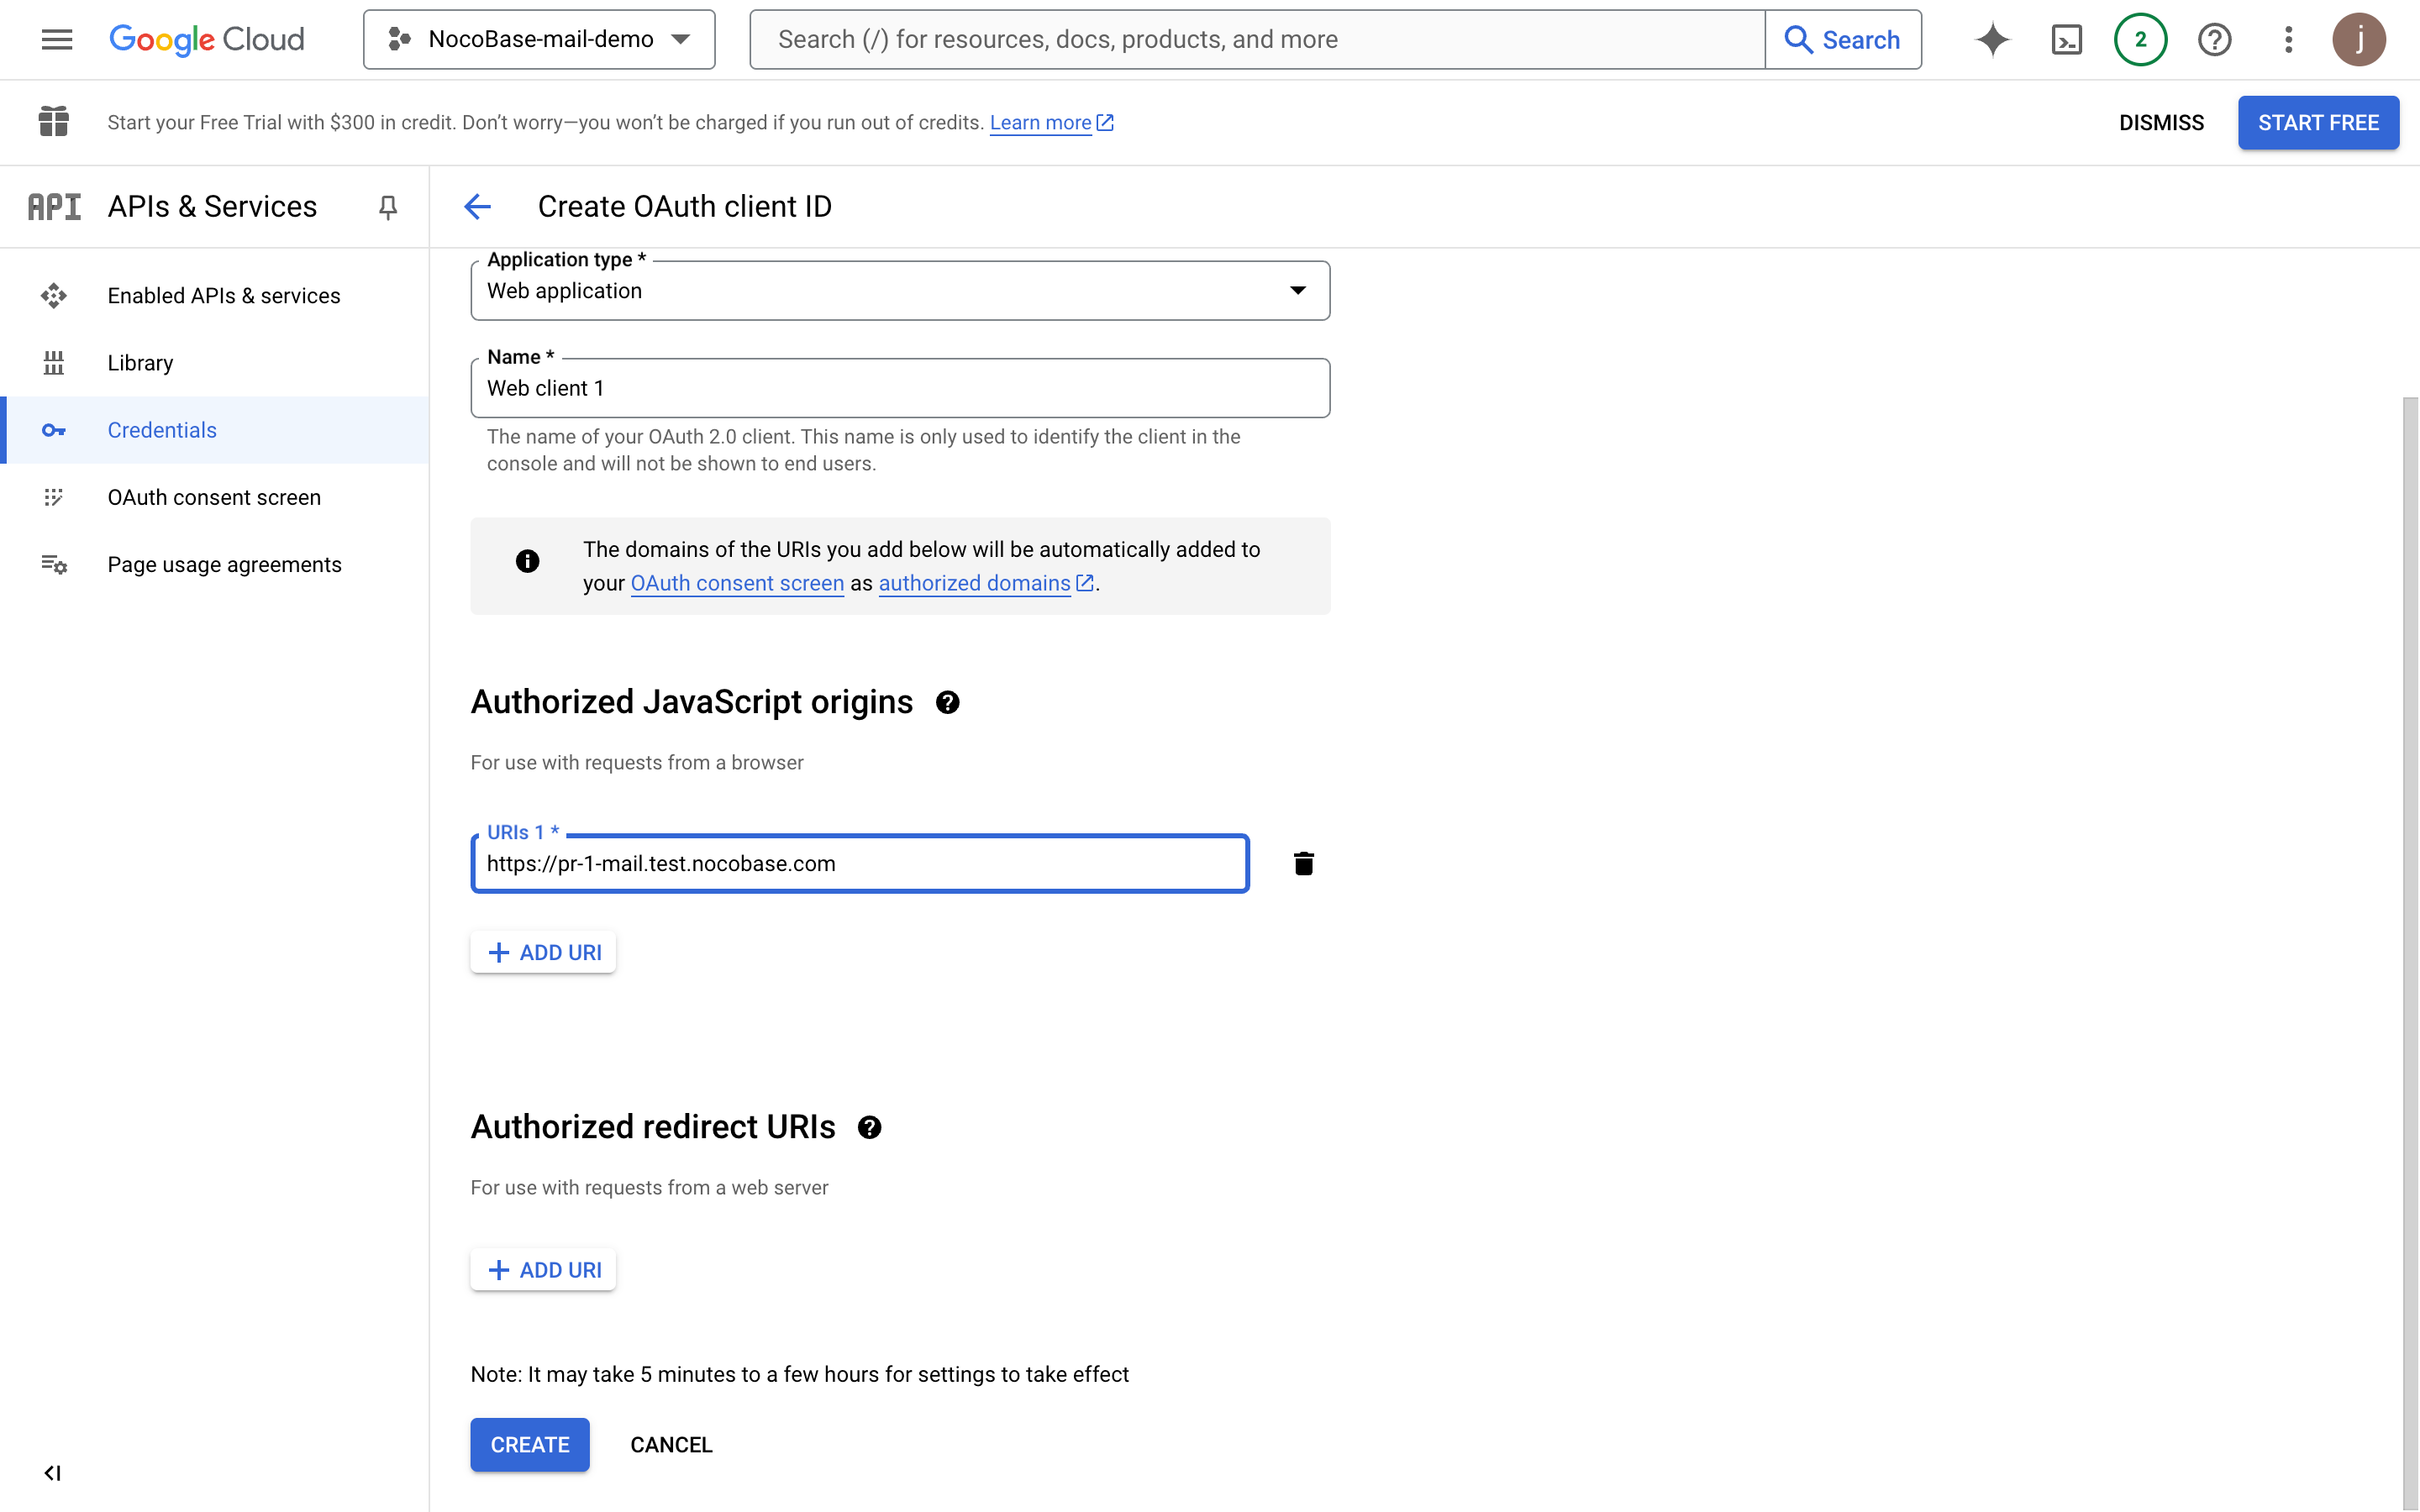
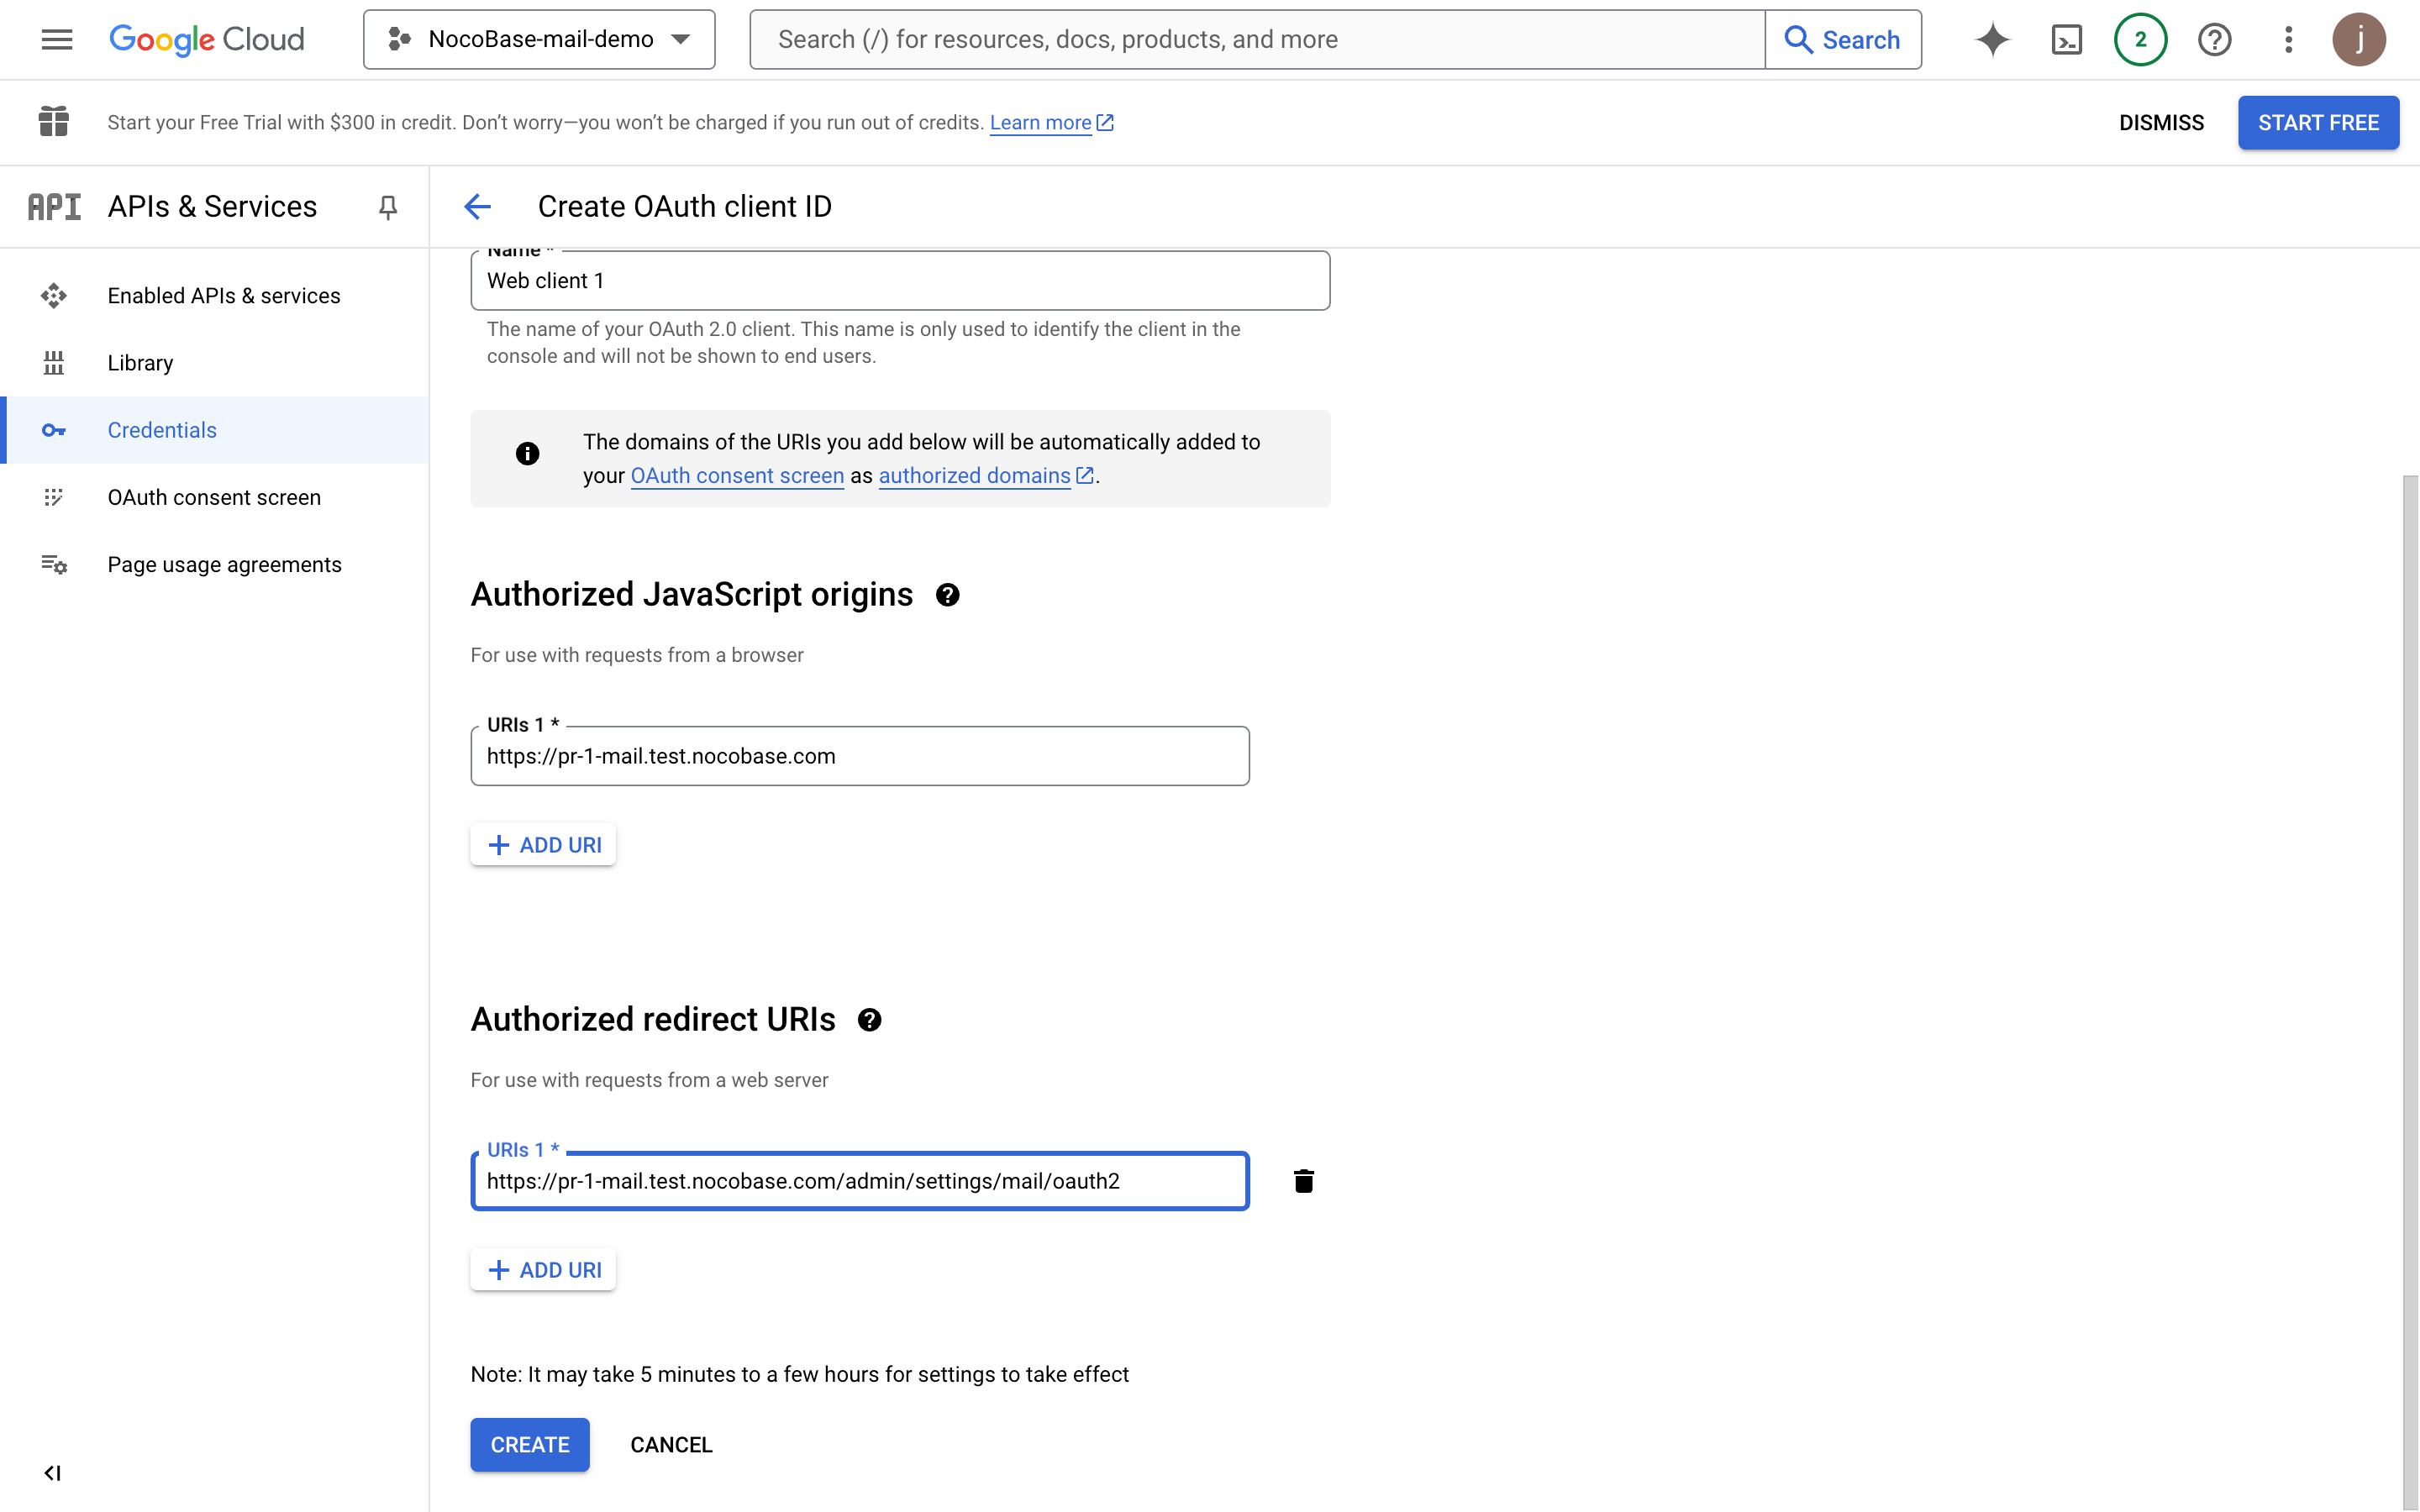
- Add the authorized callback address, which must be
domain + "/admin/settings/mail/oauth2", for example:https://pr-1-mail.test.nocobase.com/admin/settings/mail/oauth2
- Click create to view OAuth information

- Copy the Client ID and Client Secret content and fill them into the email configuration page
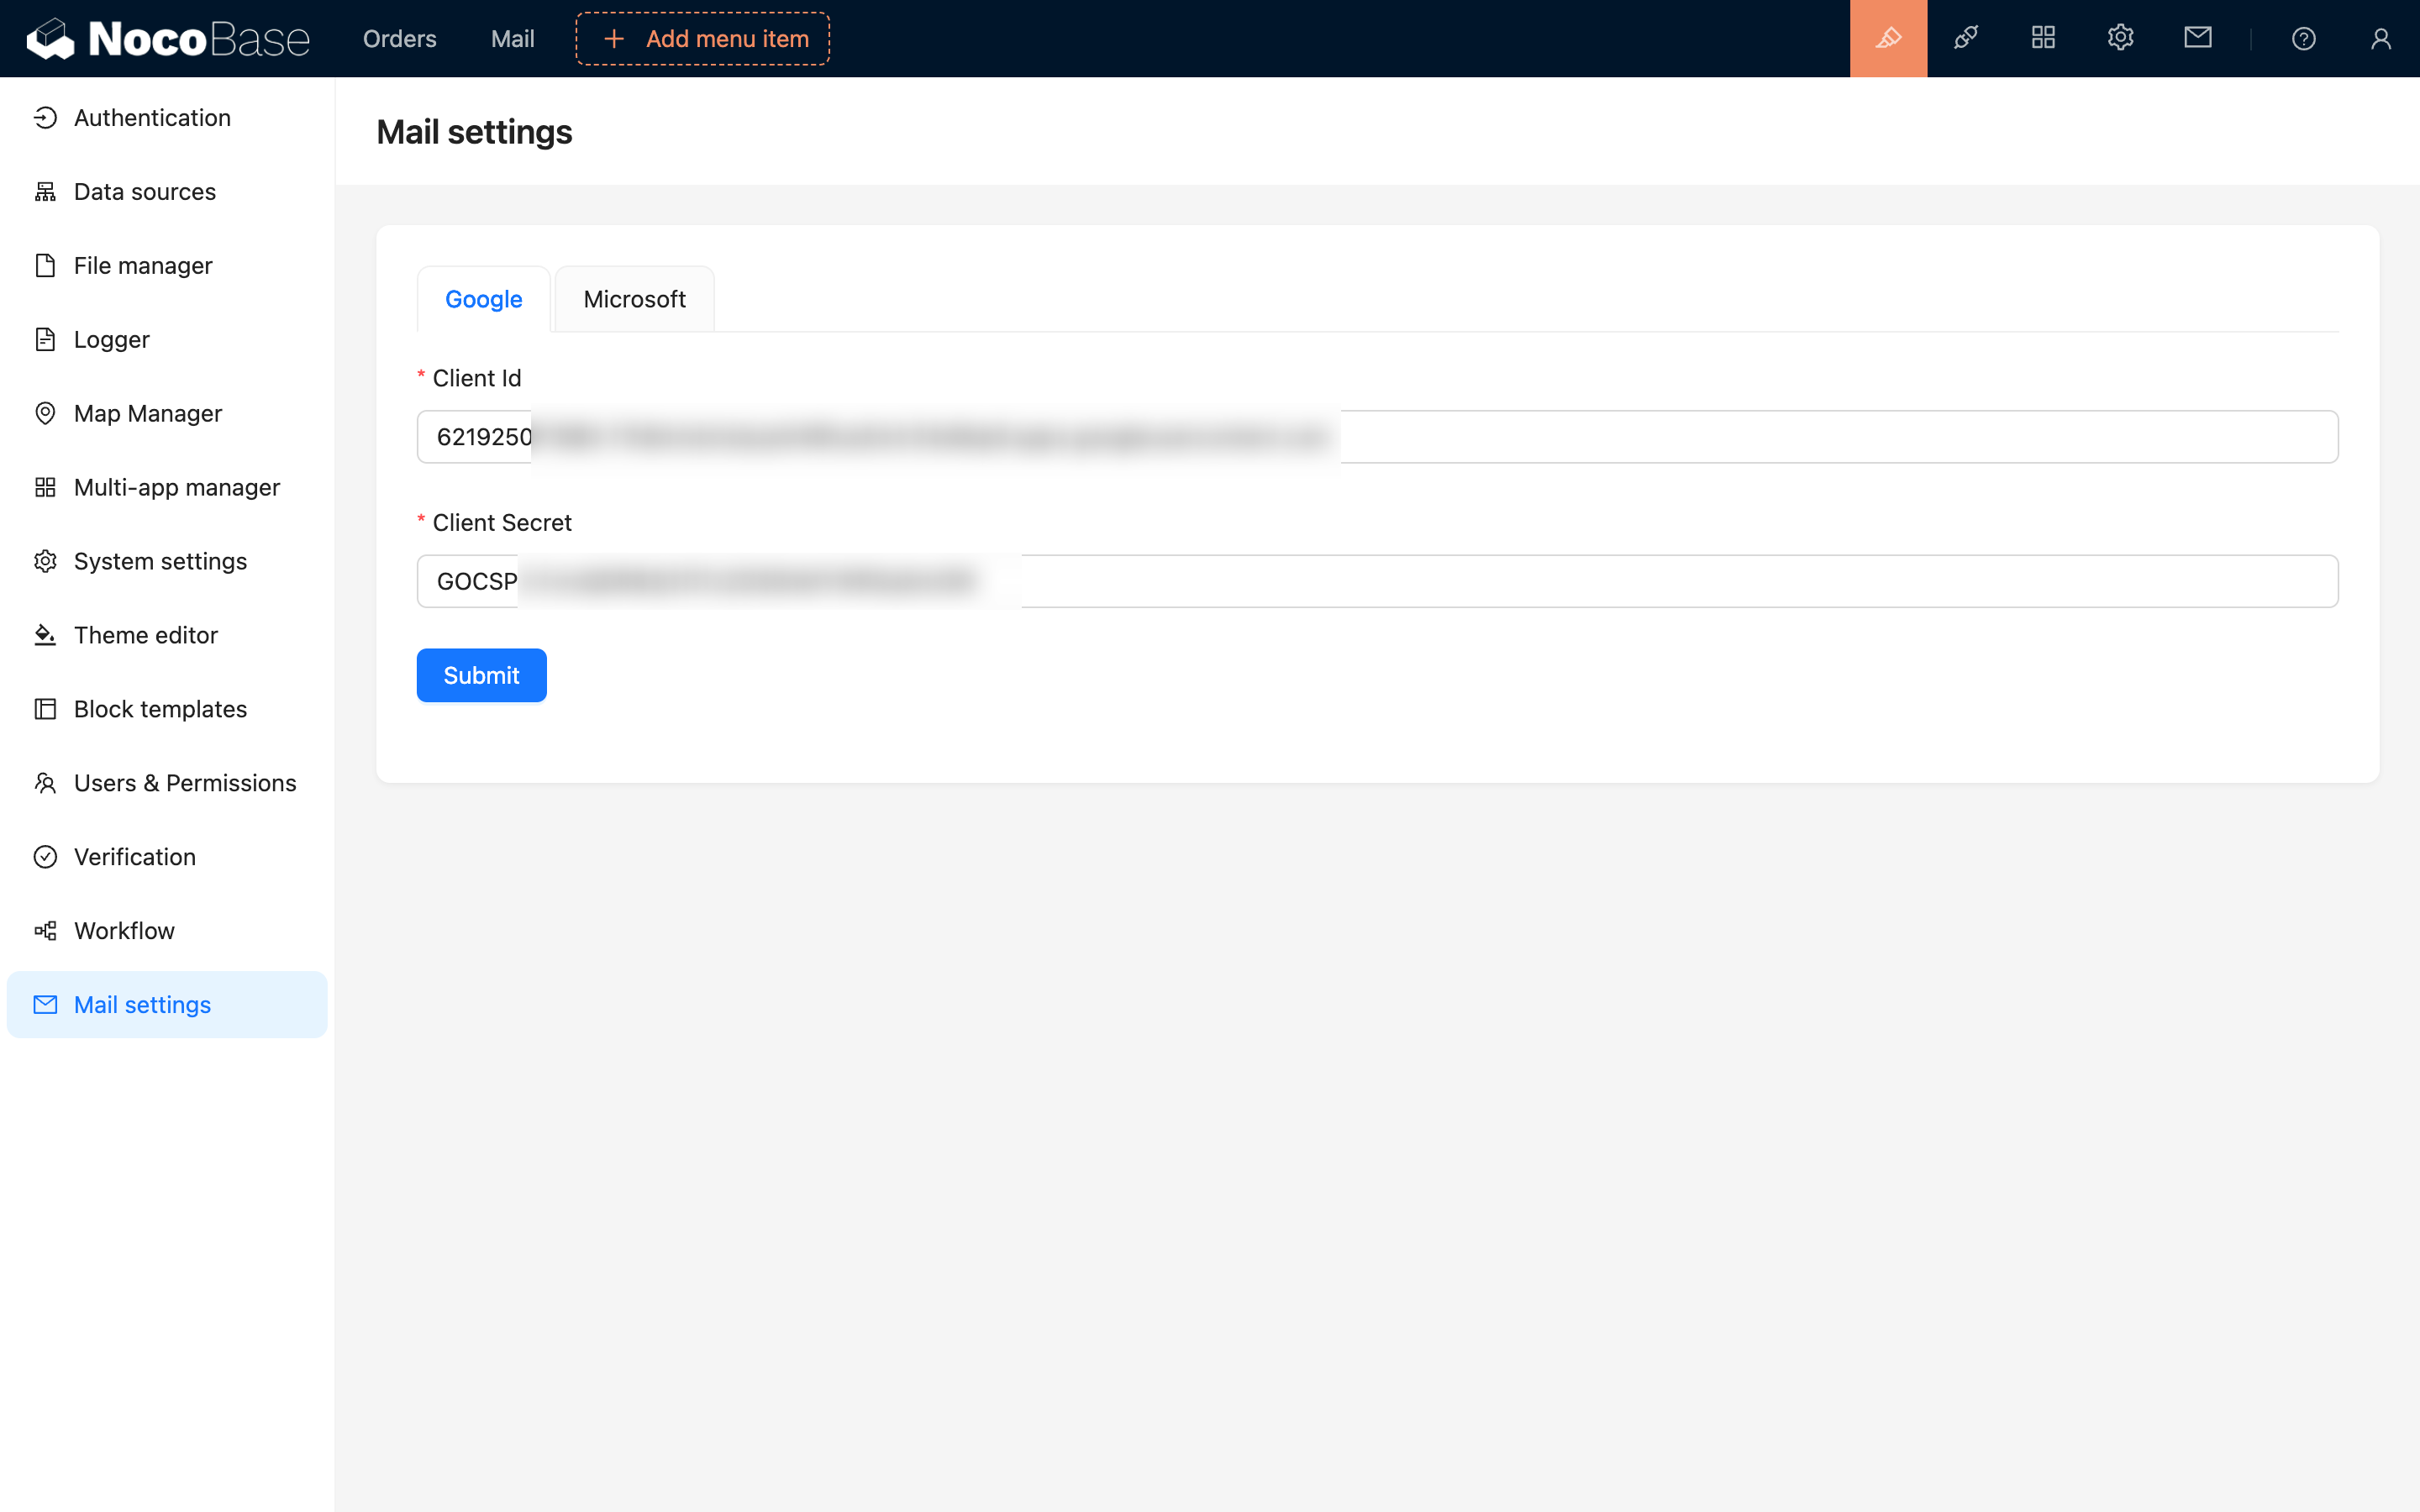
- Click save to complete the configuration
Application Publication
Proceed with publication after the above process is completed and test users authorize login, email sending, and other feature tests are finished.
- Click the "OAuth consent screen" menu
- Click the "EDIT APP" button, then click "SAVE AND CONTINUE" button at the bottom

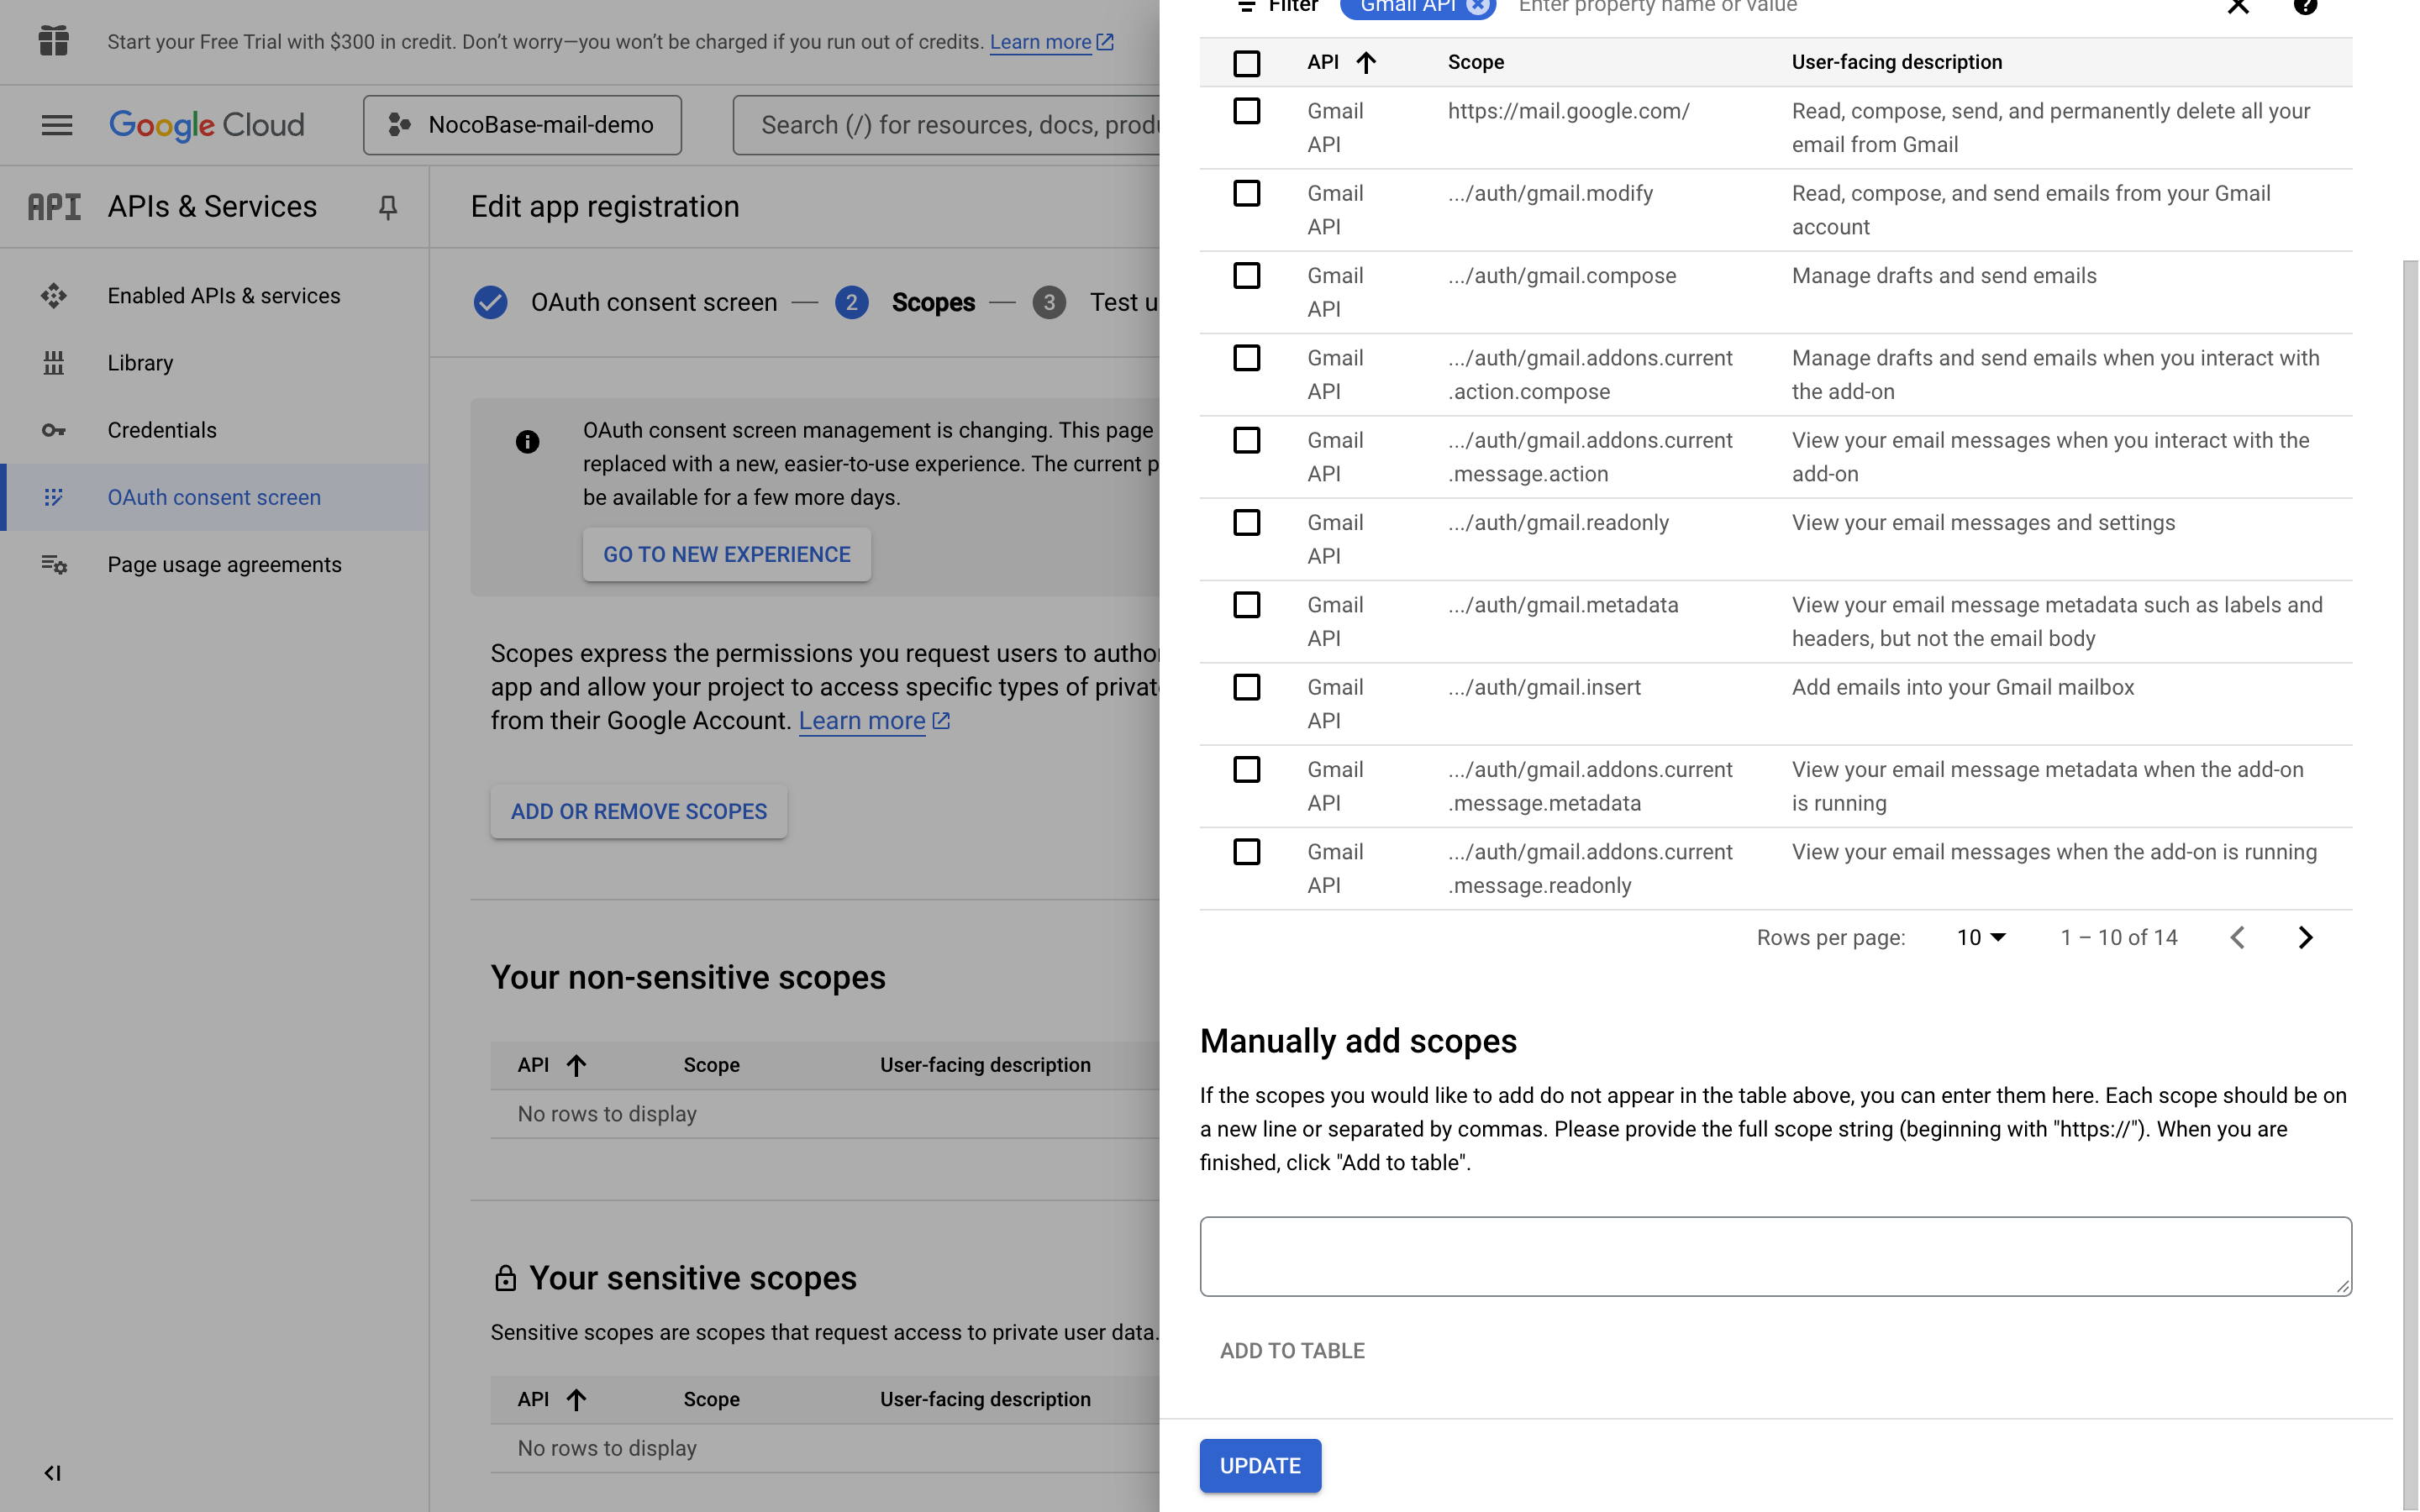
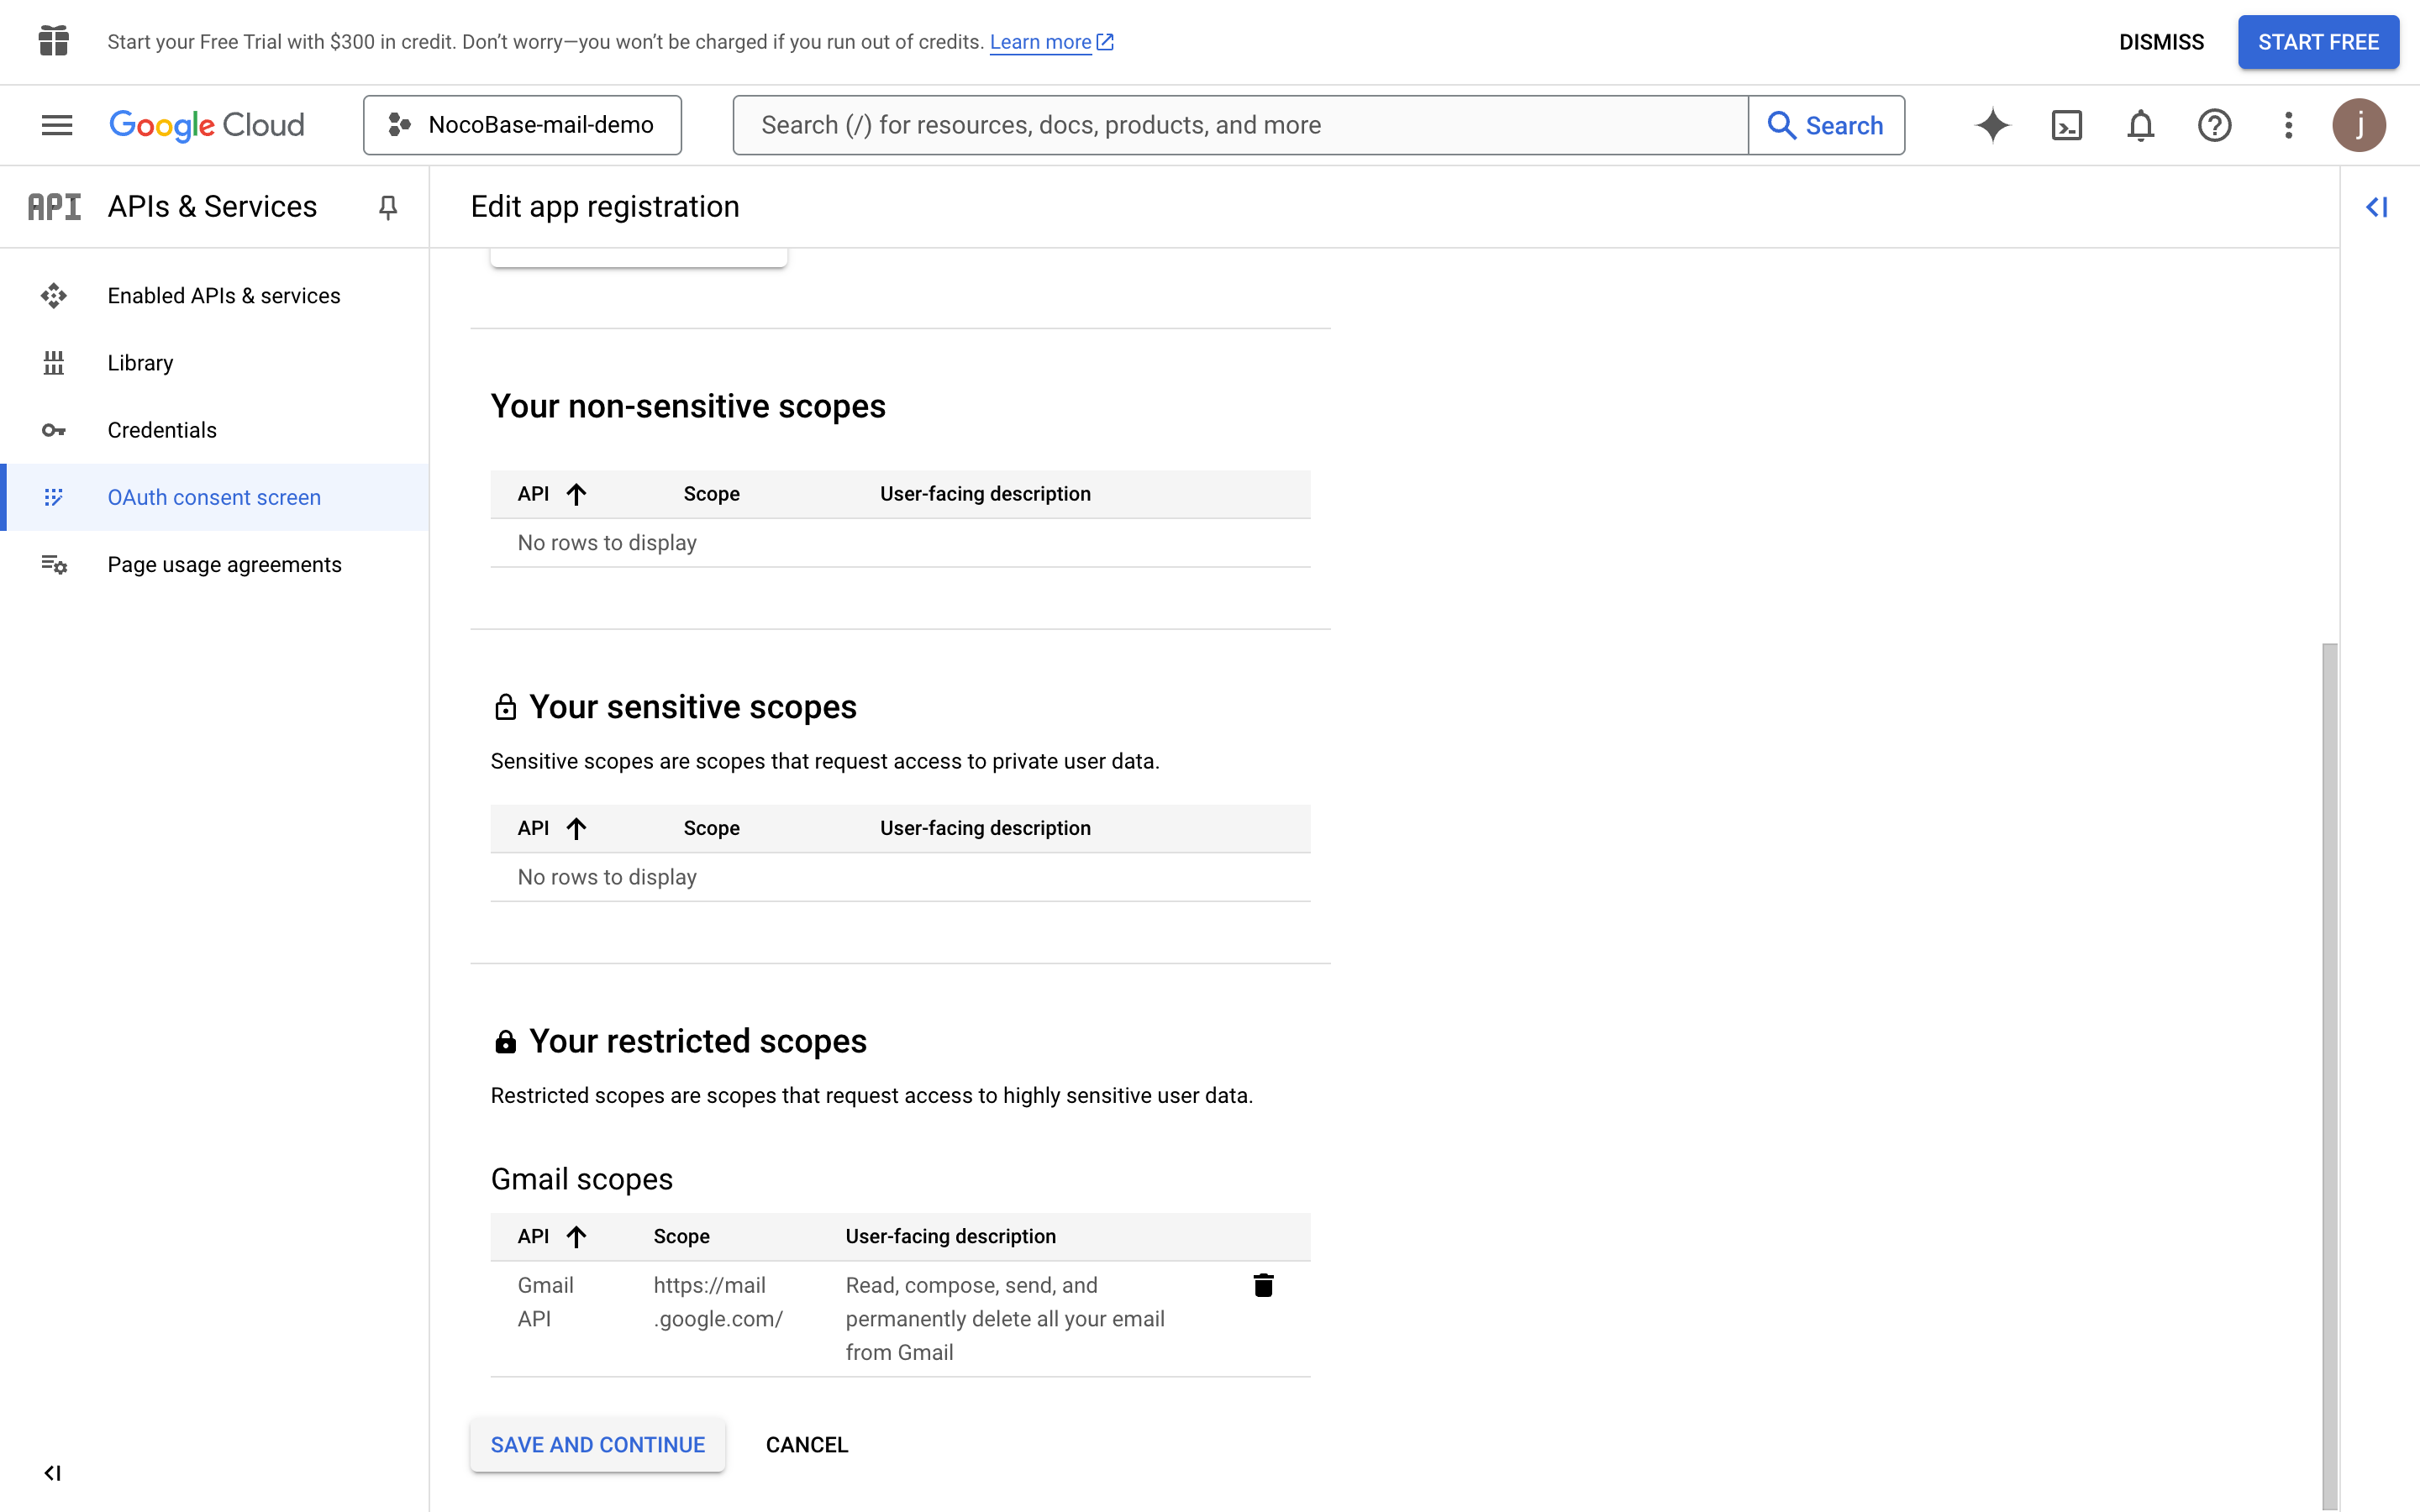
- Click the "ADD OR REMOVE SCOPES" button to select user permission scopes
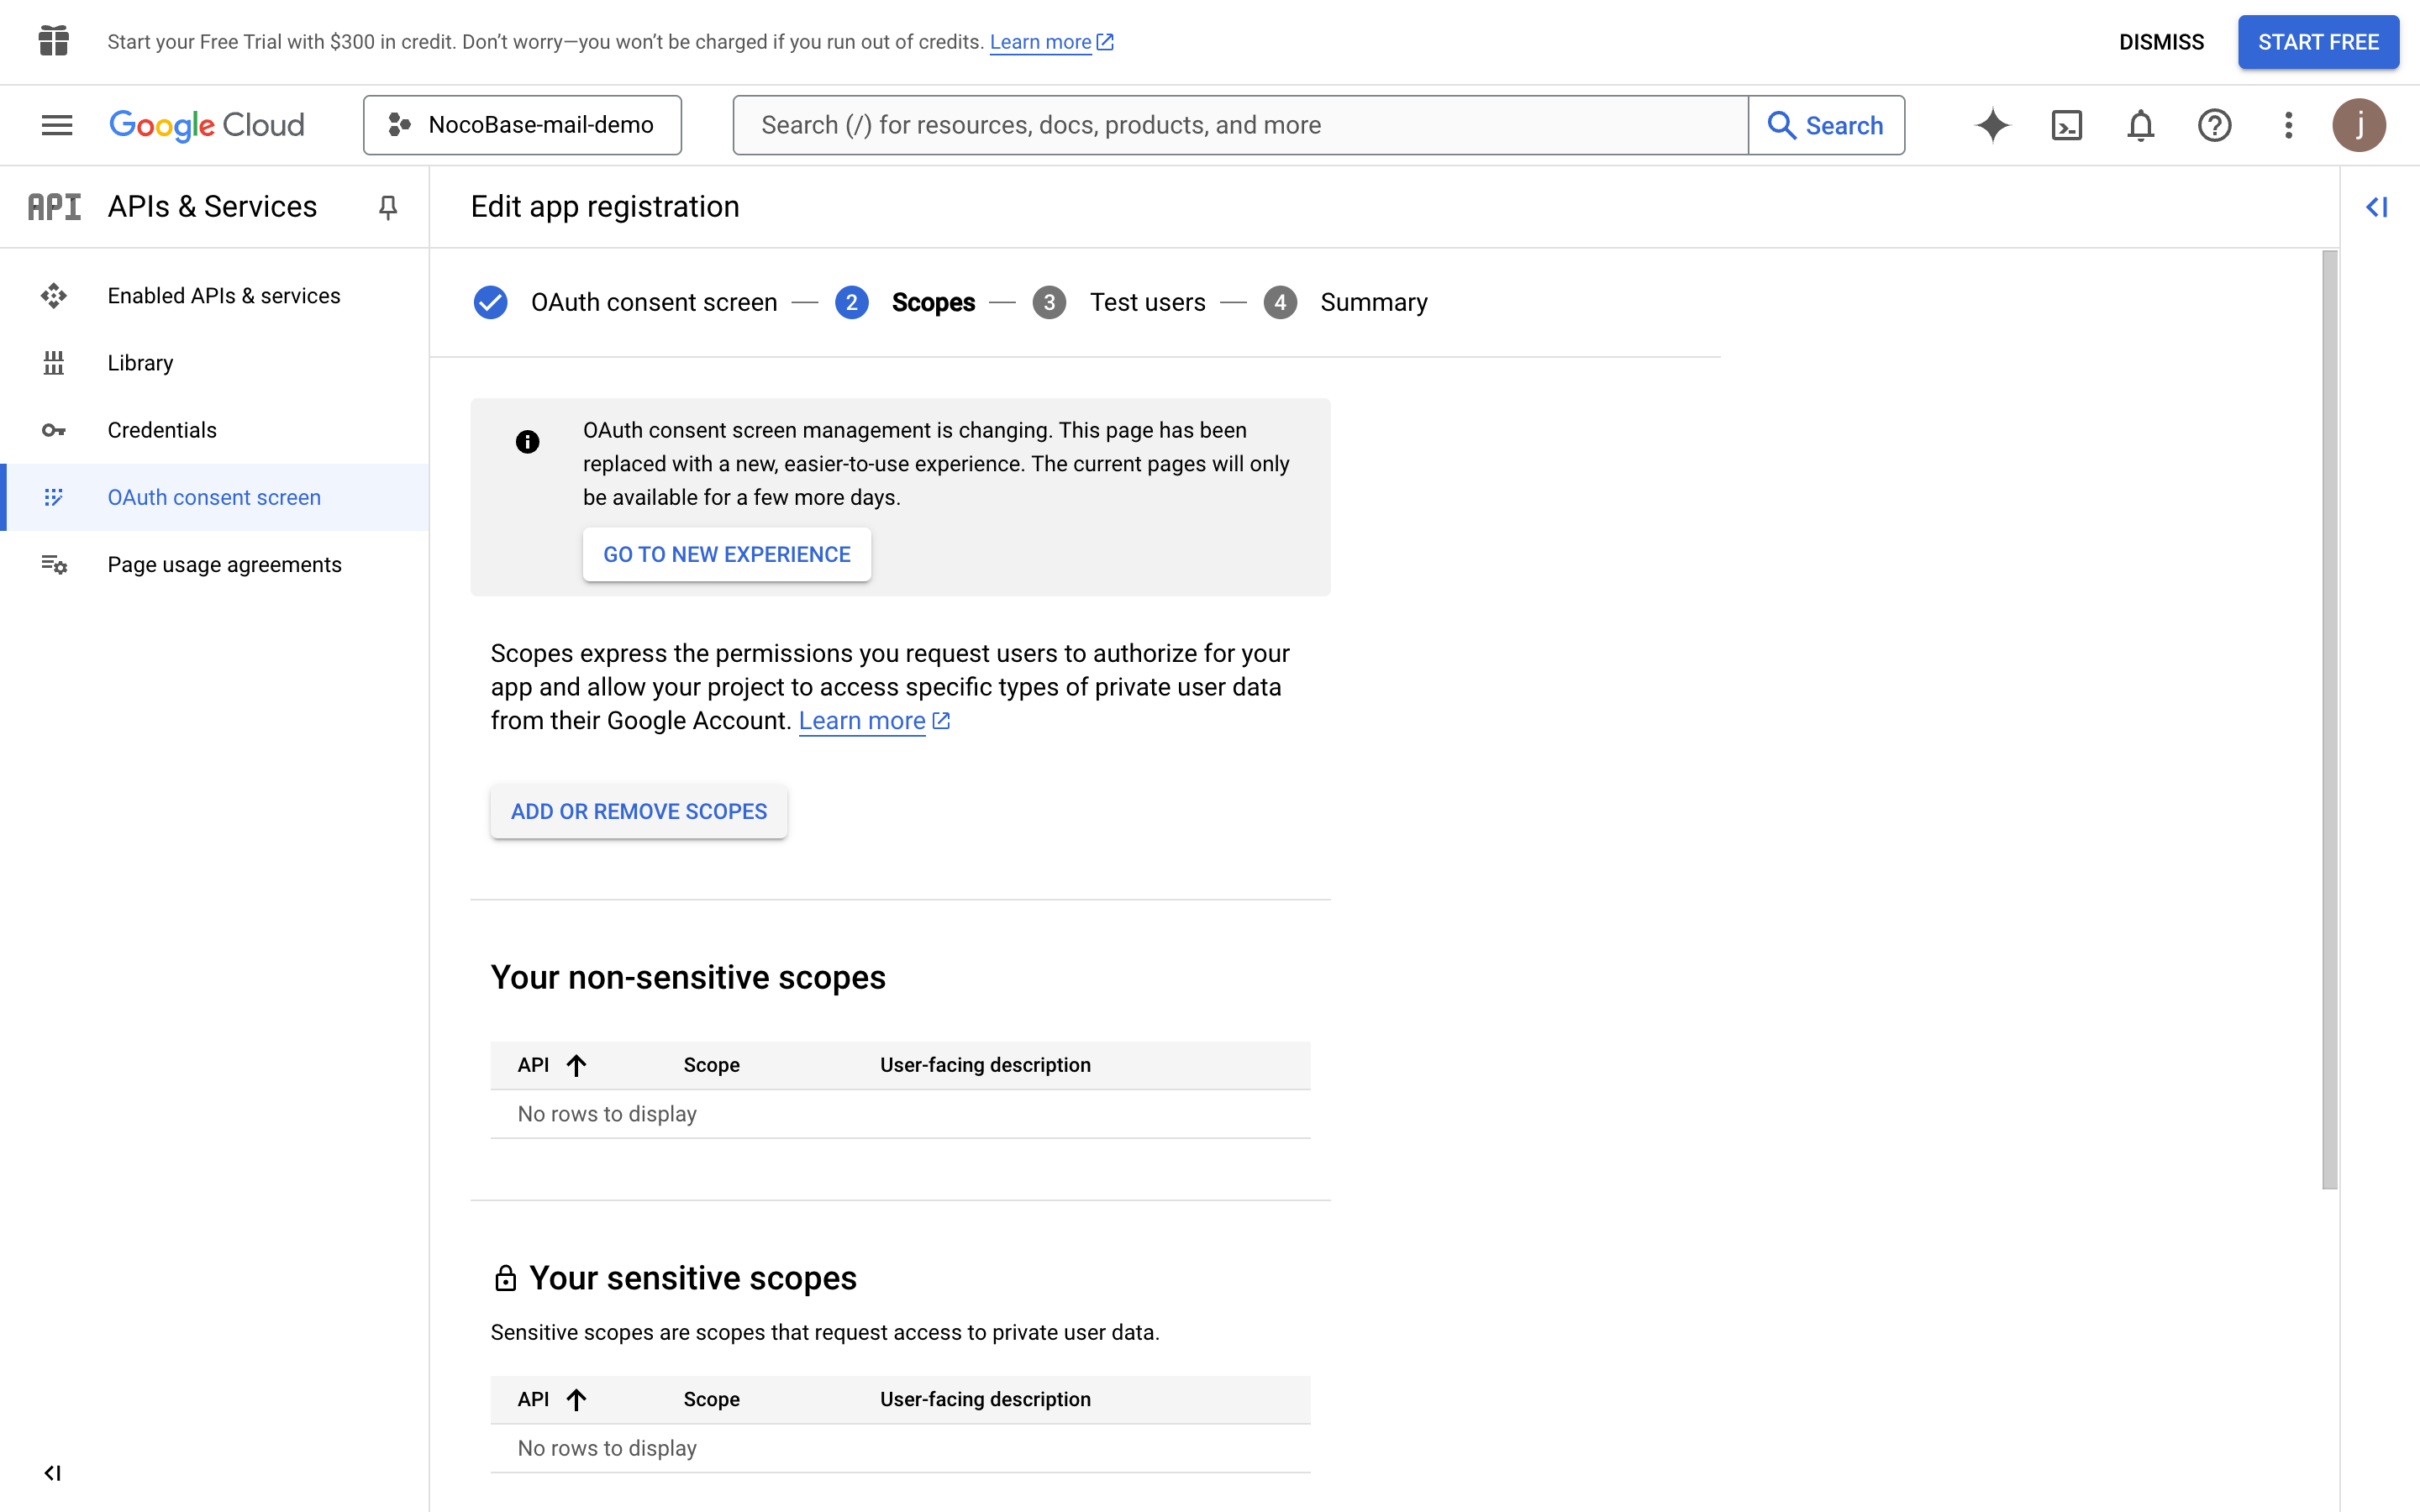
- Search for "Gmail API" and check "Gmail API" (confirm that the Scope value is "https://mail.google.com/")

- Click the UPDATE button at the bottom to save
- Click "SAVE AND CONTINUE" button at the bottom of each page, then finally click "BACK TO DASHBOARD" button to return to the dashboard page
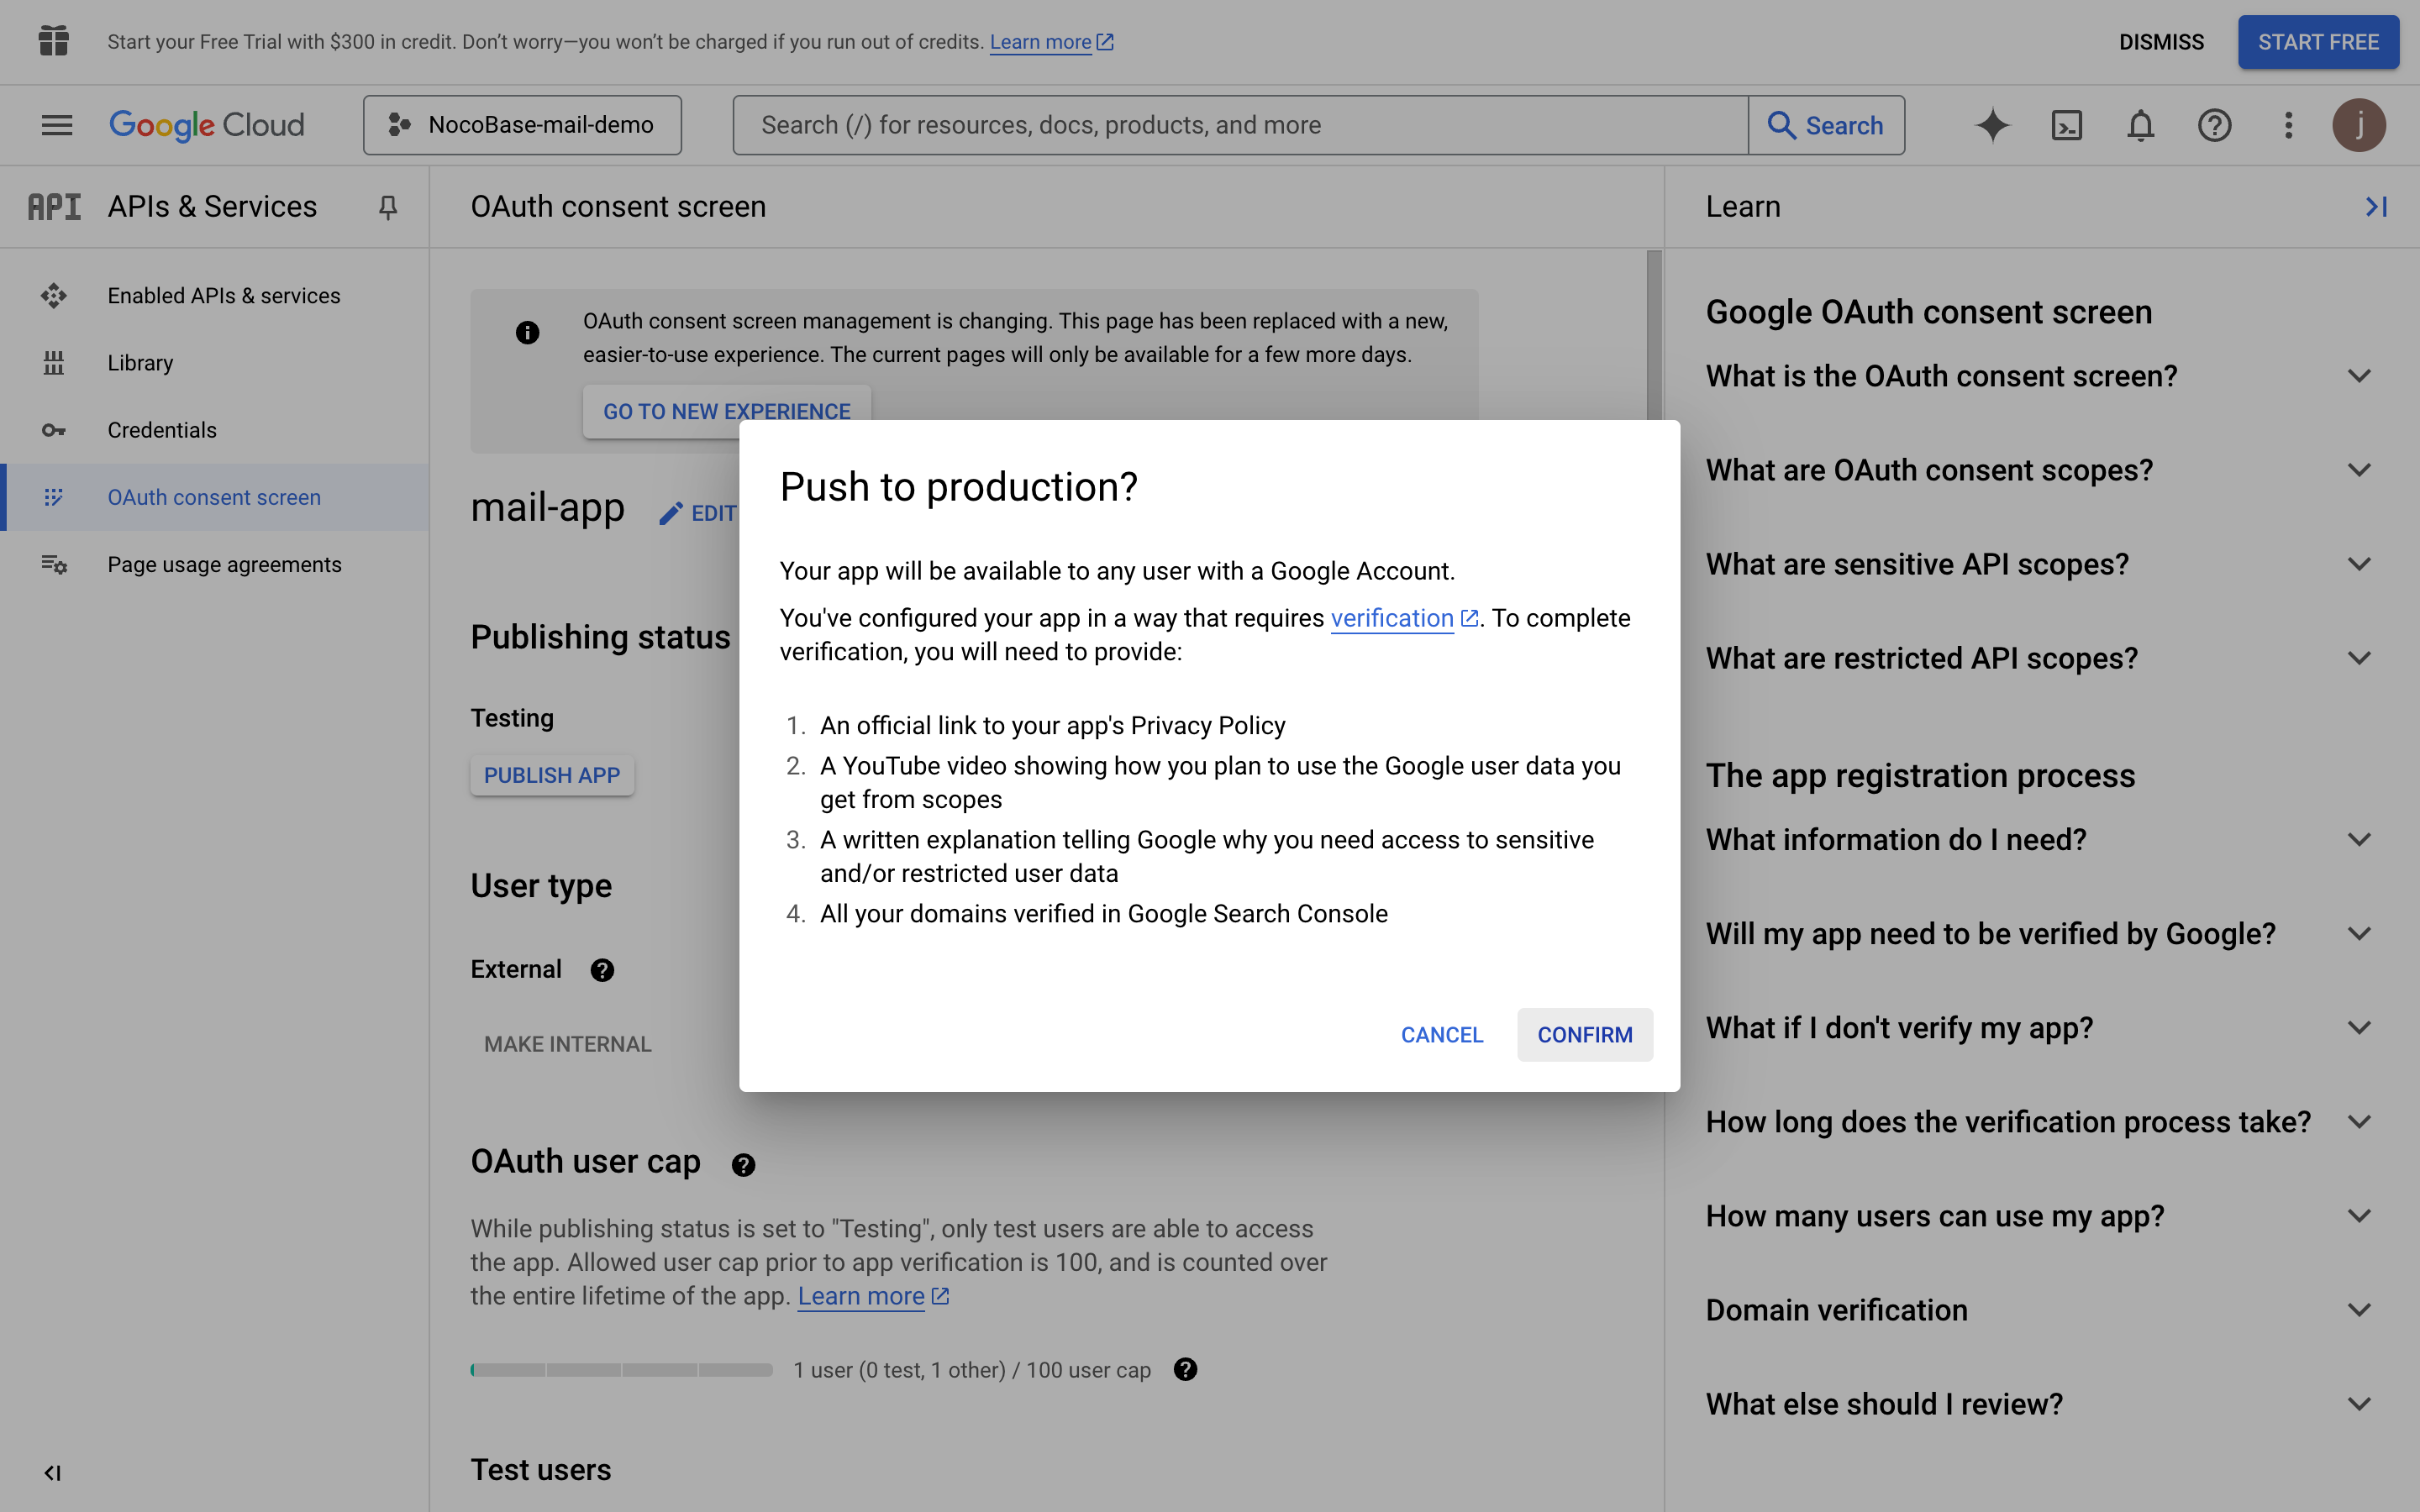
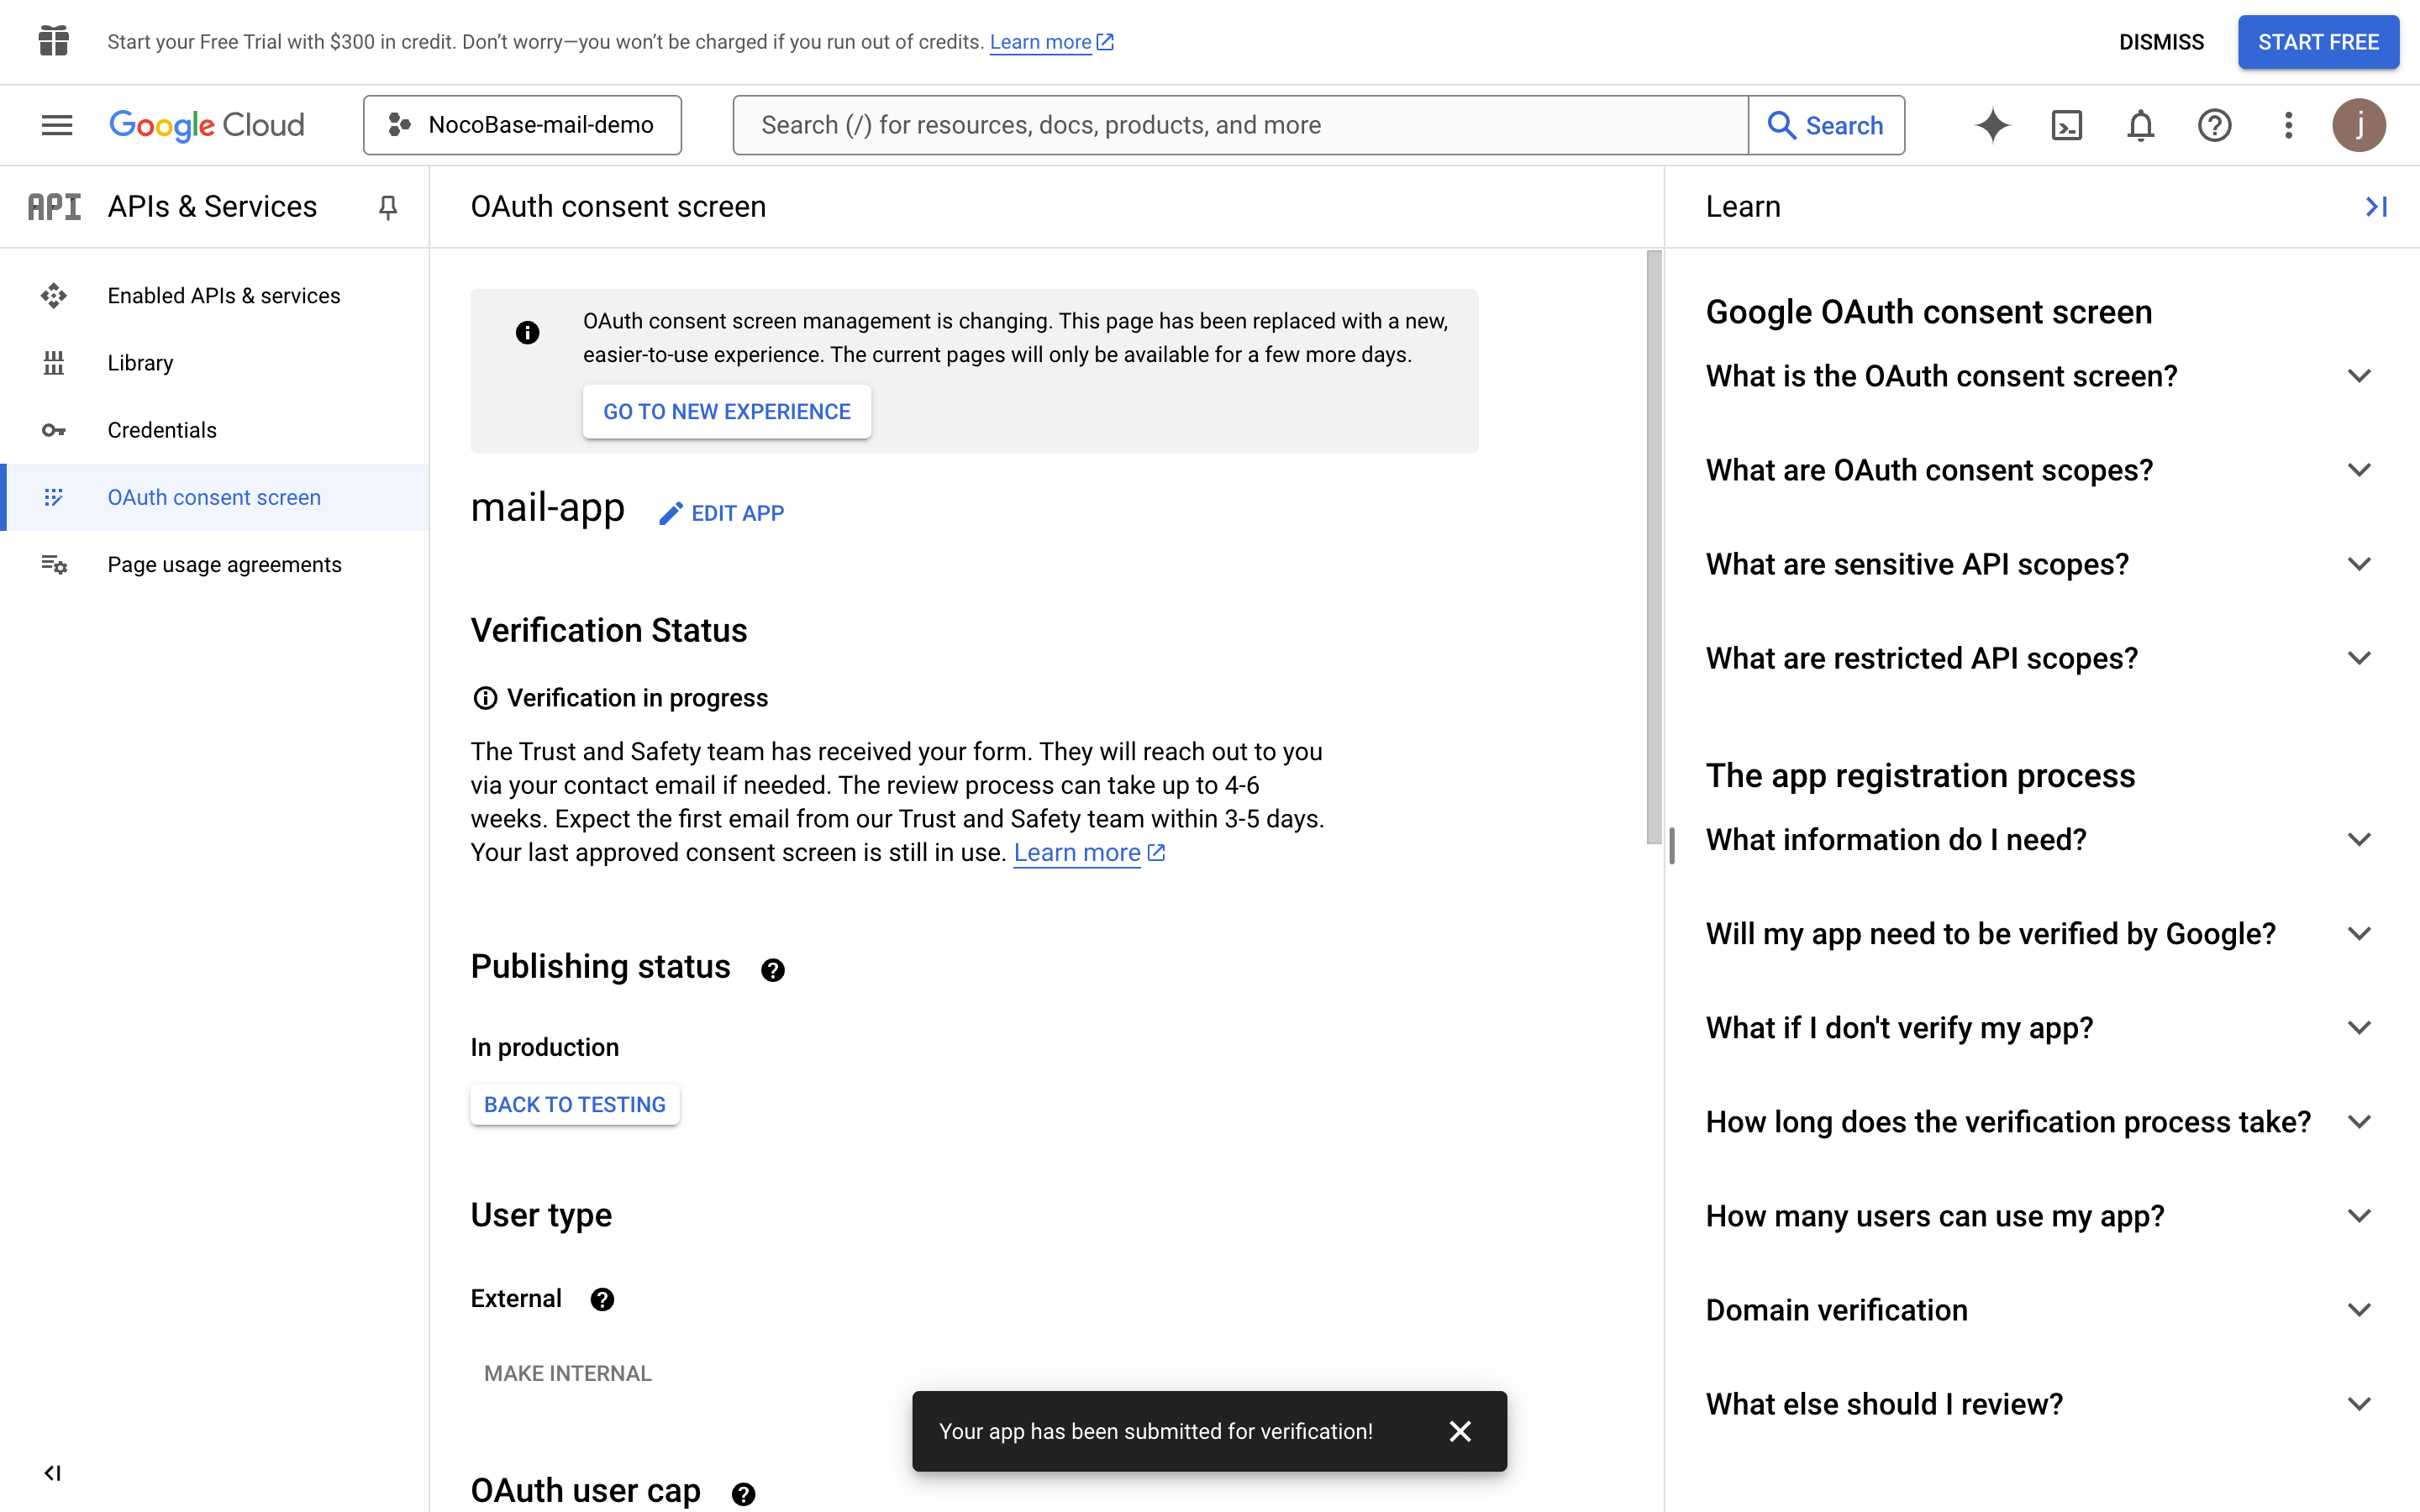
- Click the PUBLISH APP button and a publication confirmation page appears showing the information required for publication. Then click the CONFIRM button
- Return to the console page again, and you can see the publication status is "In production"

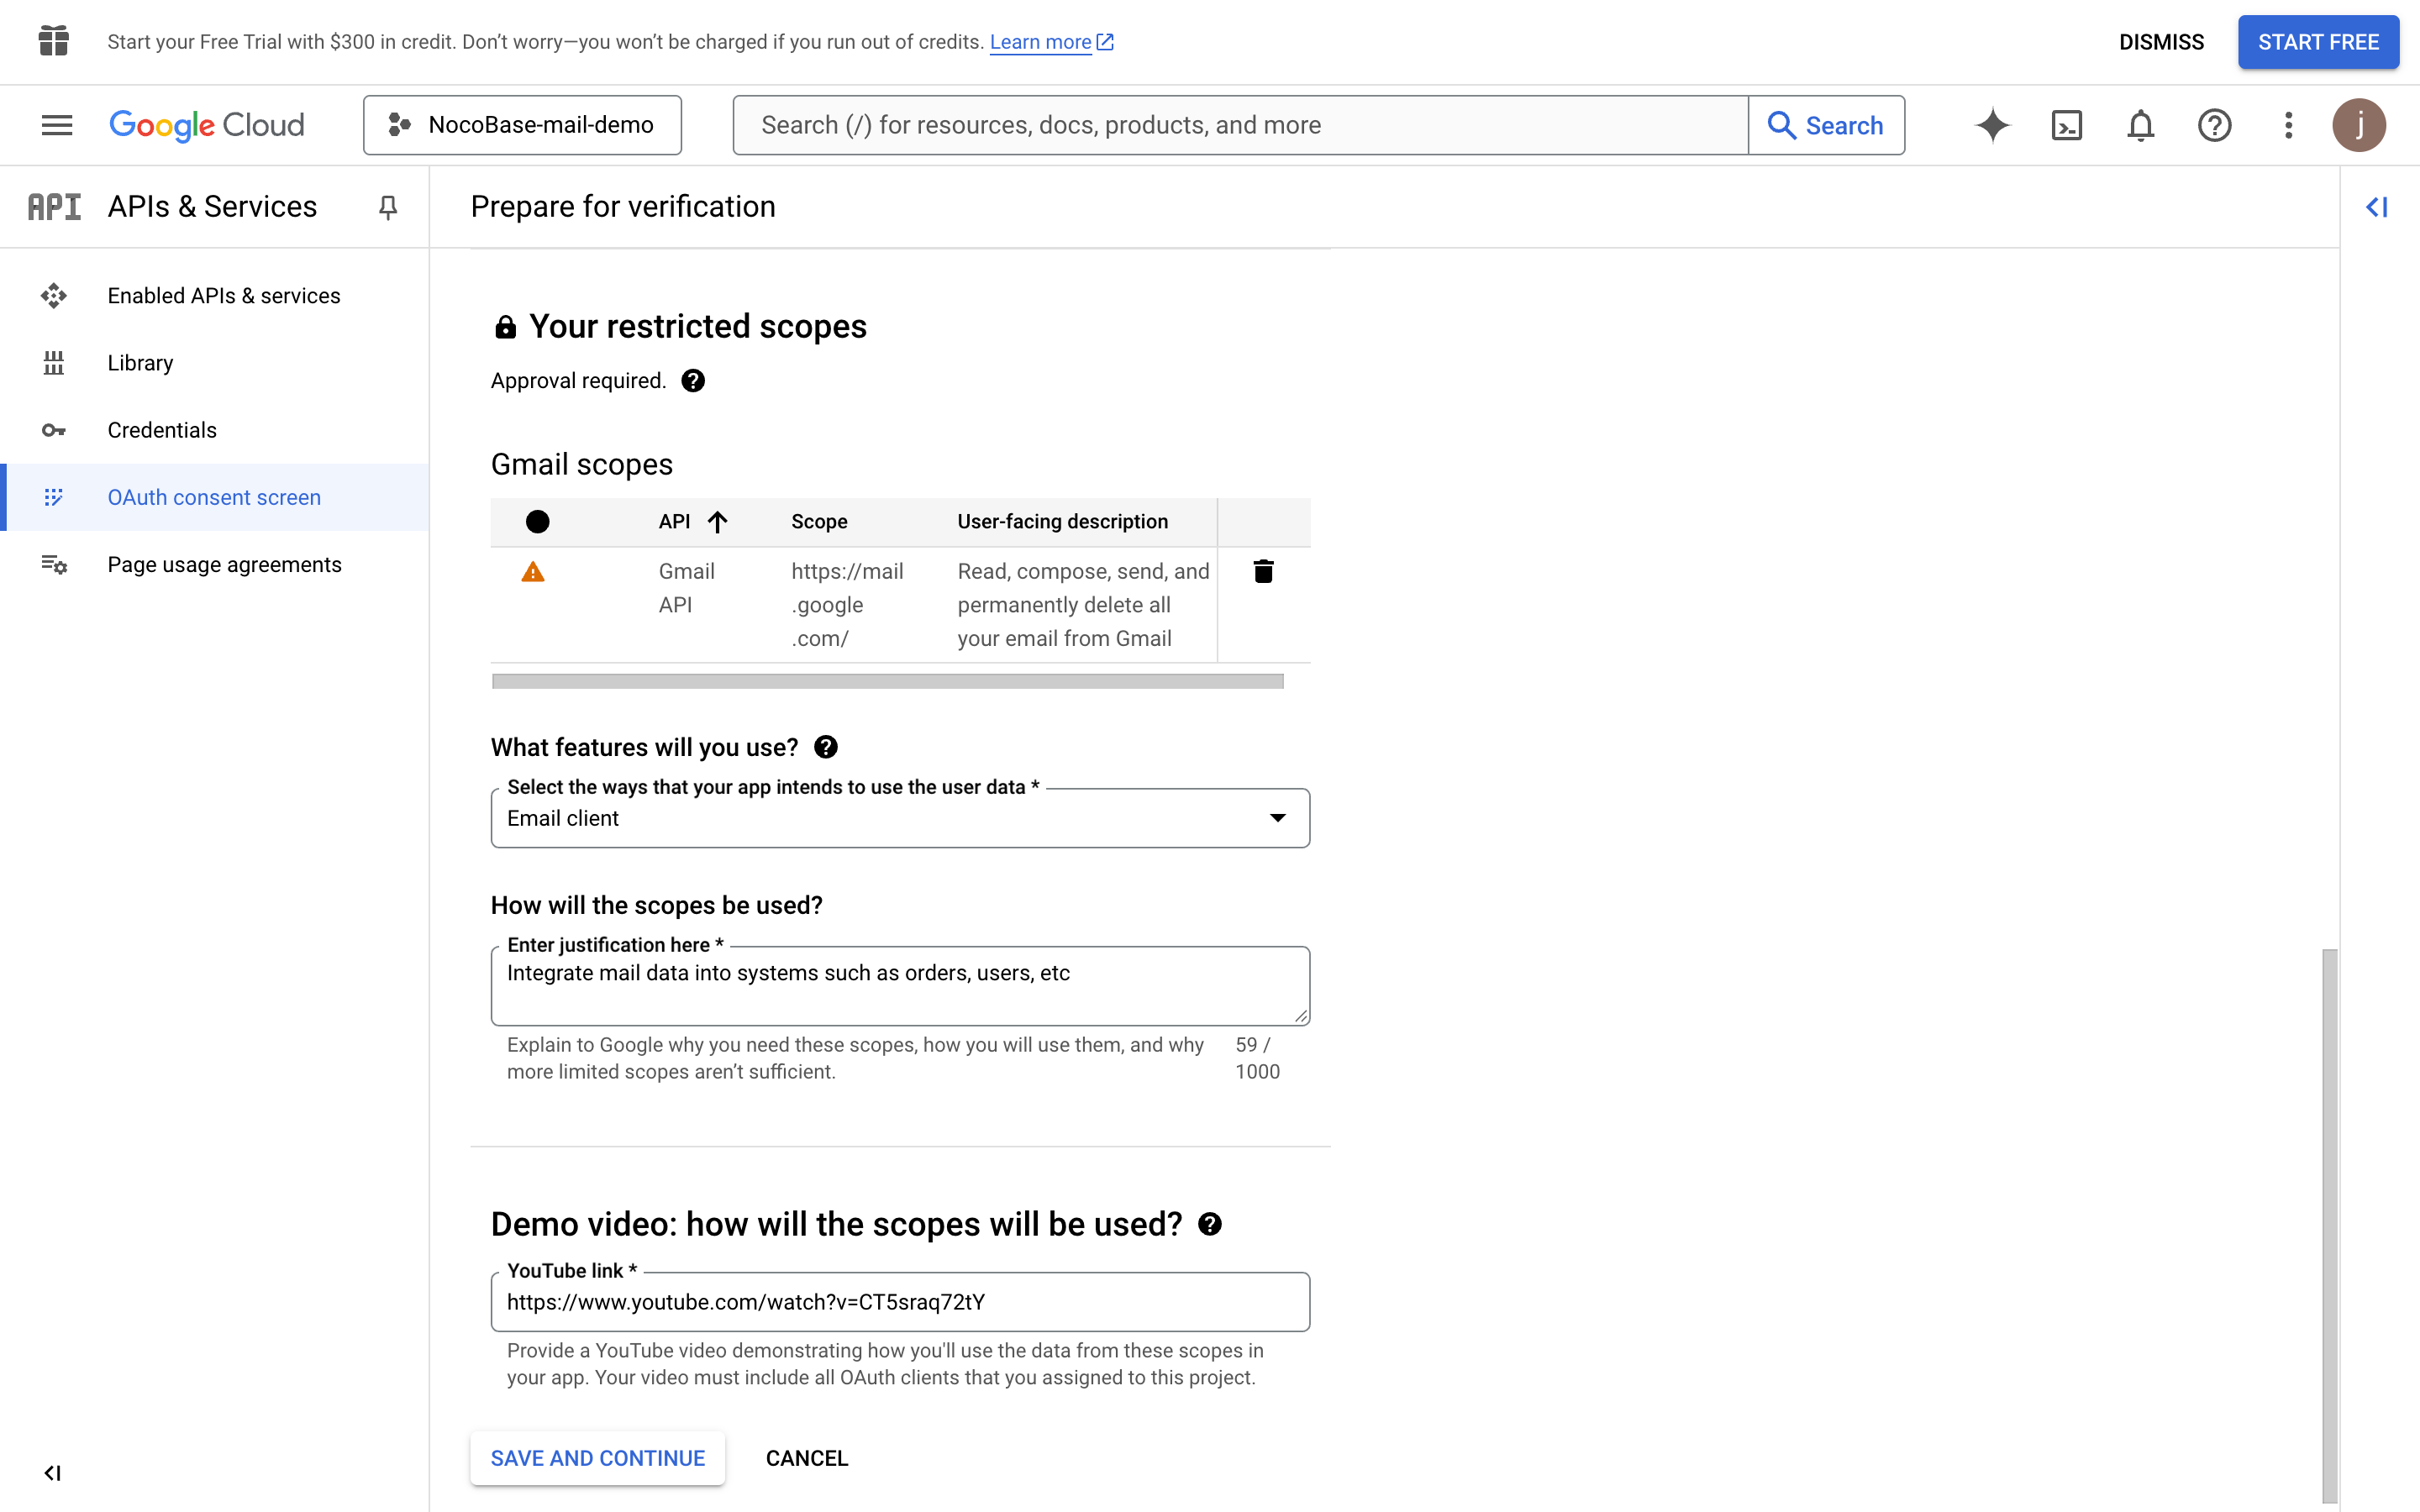
- Click the "PREPARE FOR VERIFICATION" button, fill in the required information, and click the "SAVE AND CONTINUE" button (data in the image is for example only)


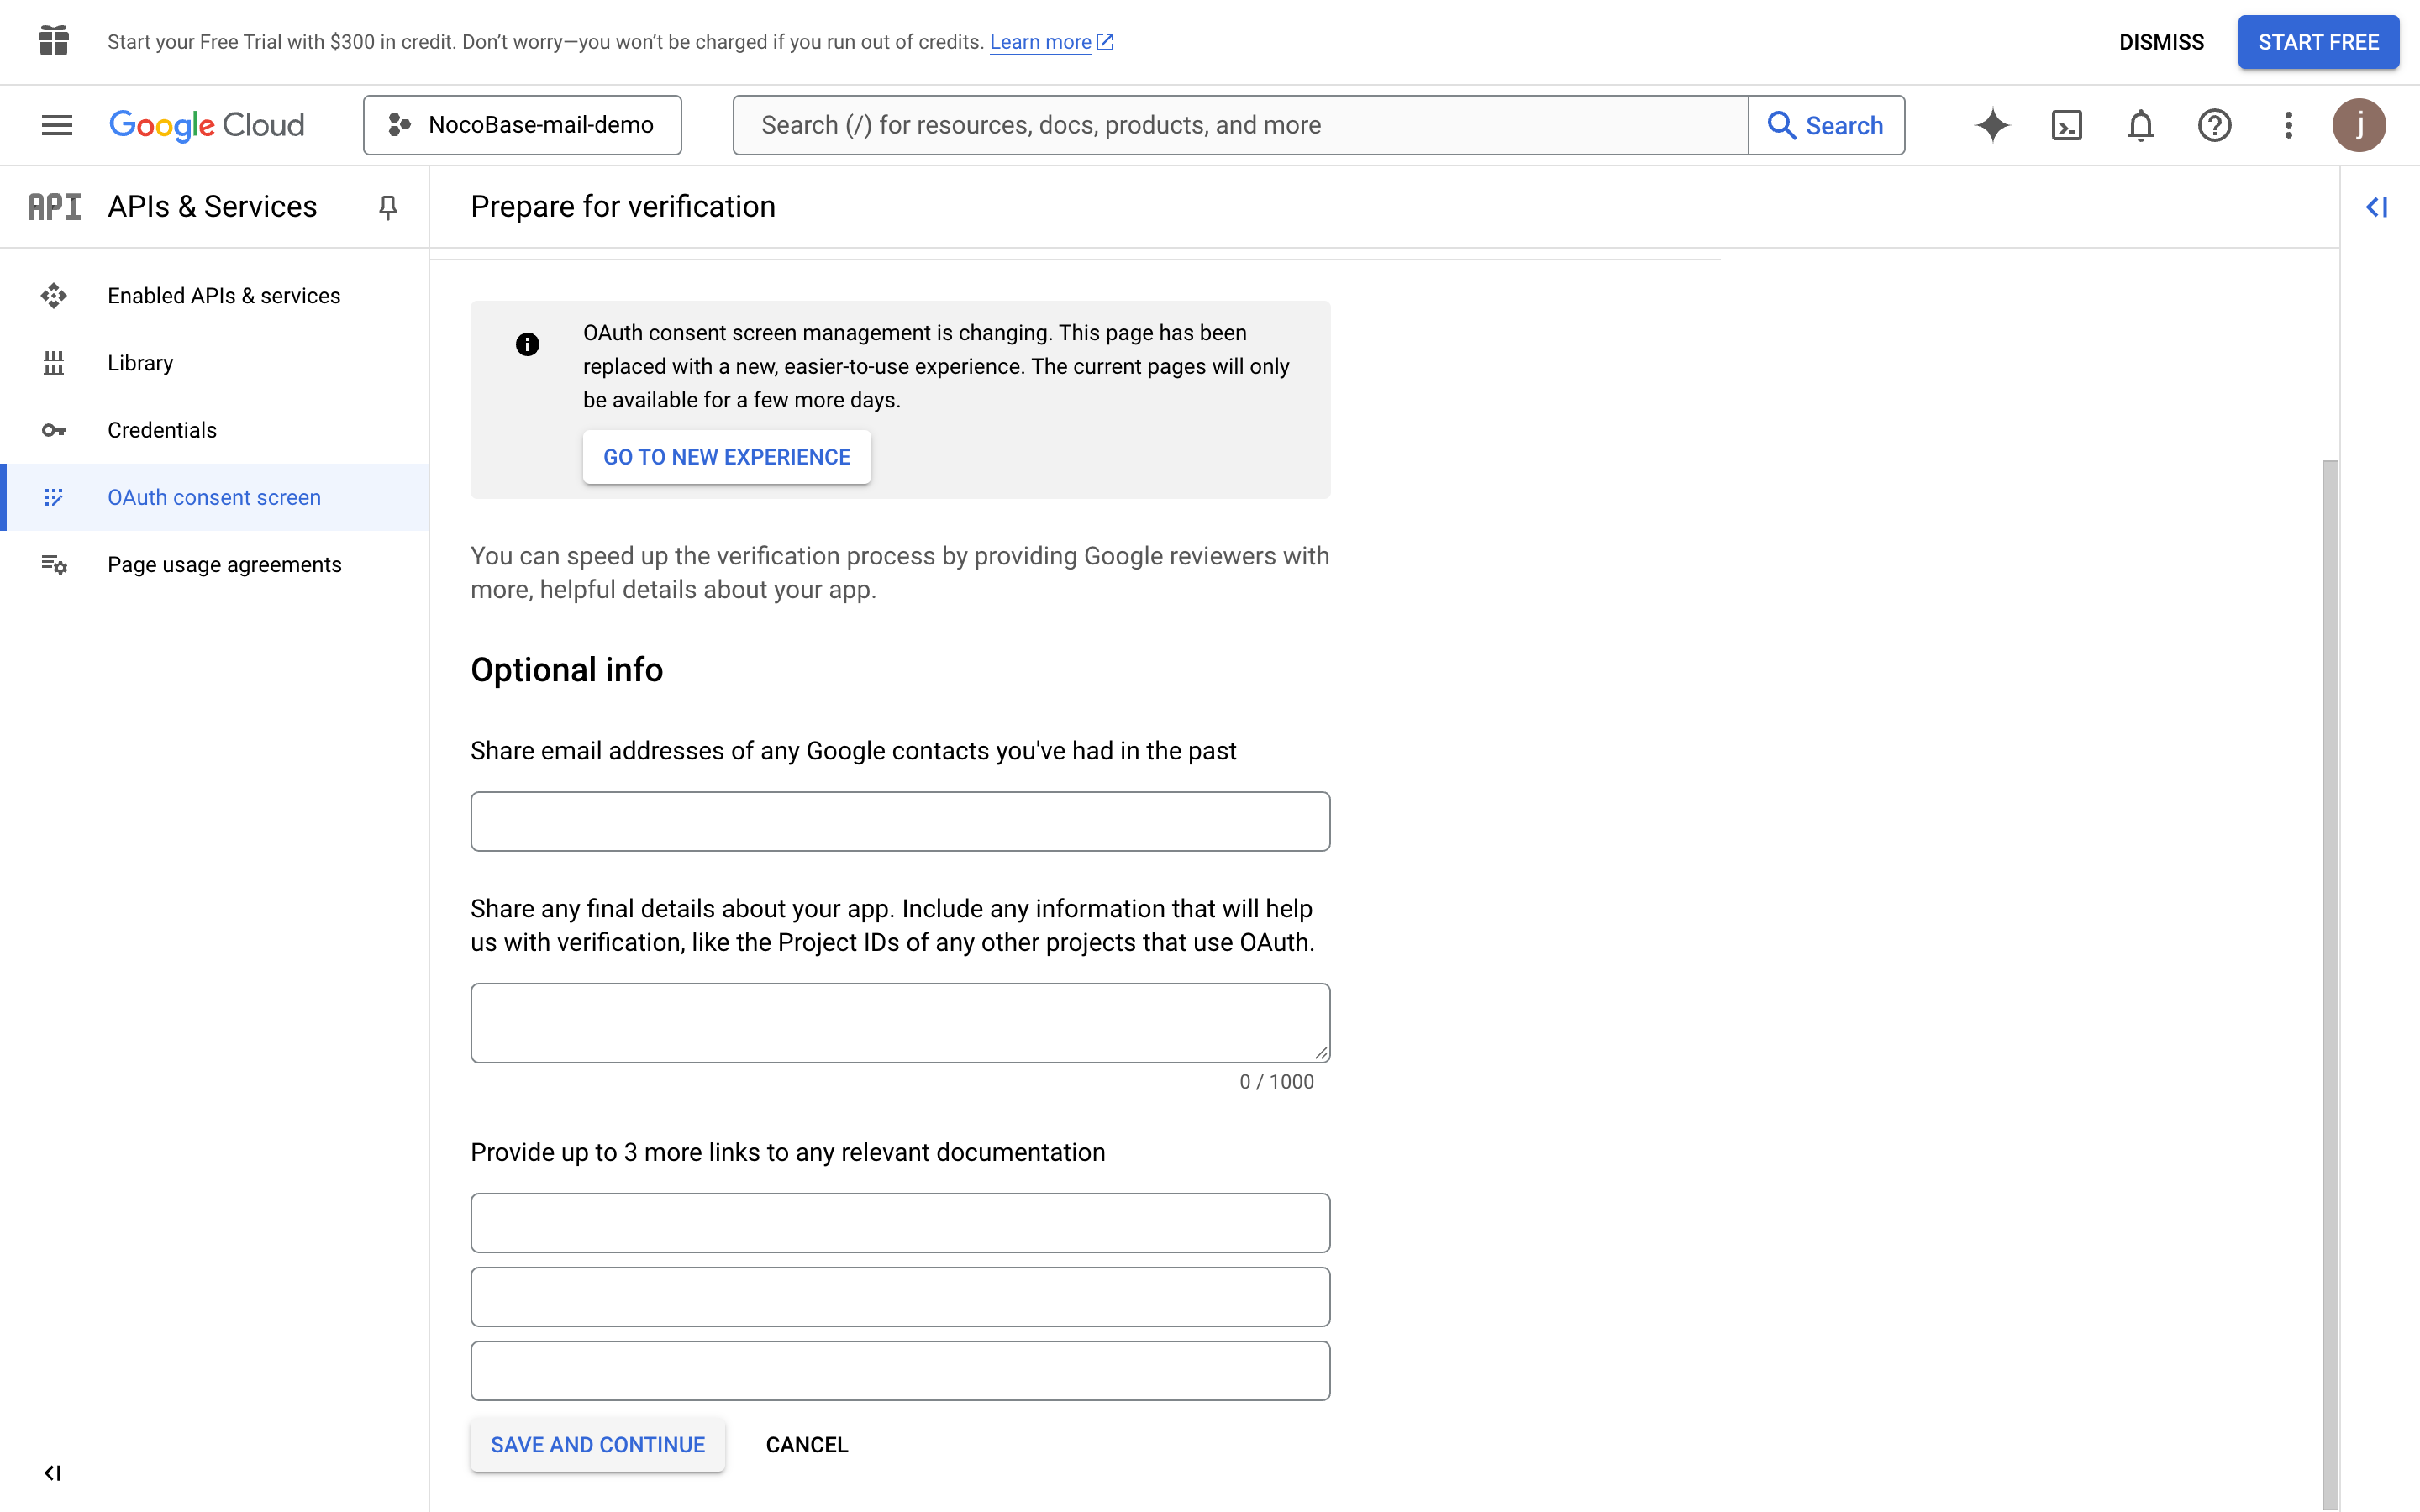
- Continue filling in the necessary information (data in the image is for example only)
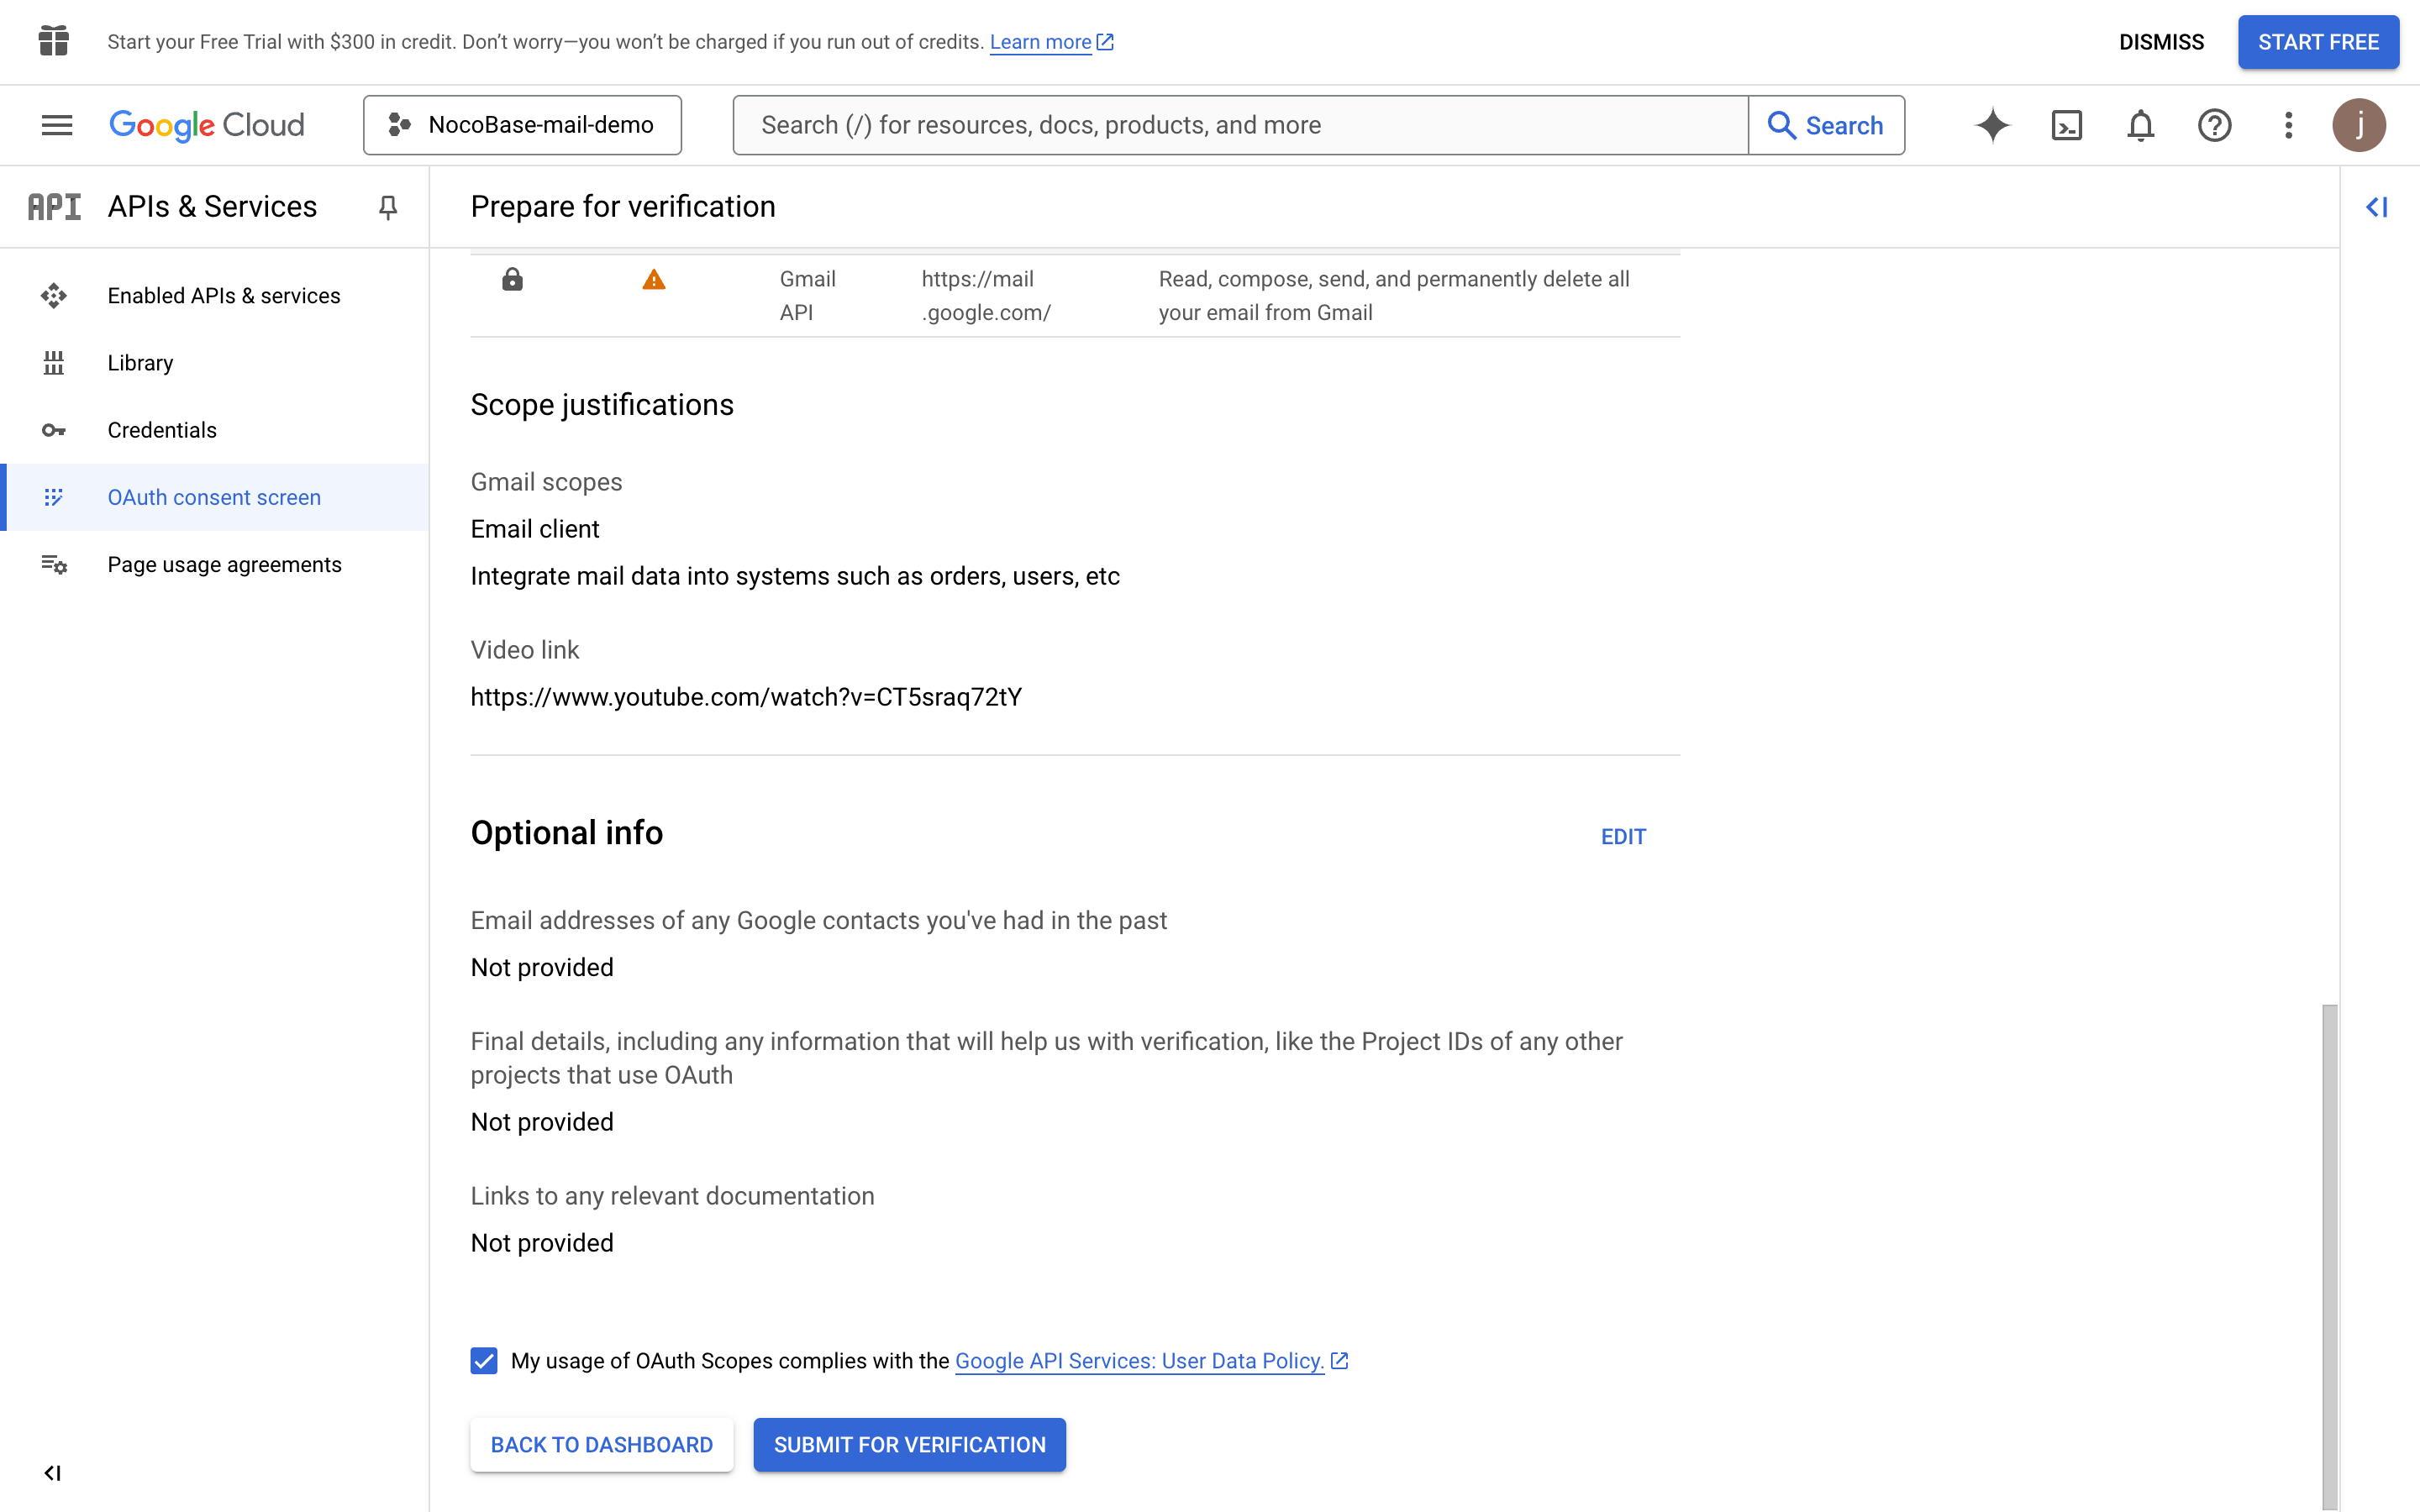
- Click the "SAVE AND CONTINUE" button
- Click the "SUBMIT FOR VERIFICATION" button to submit Verification
- Wait for the approval result
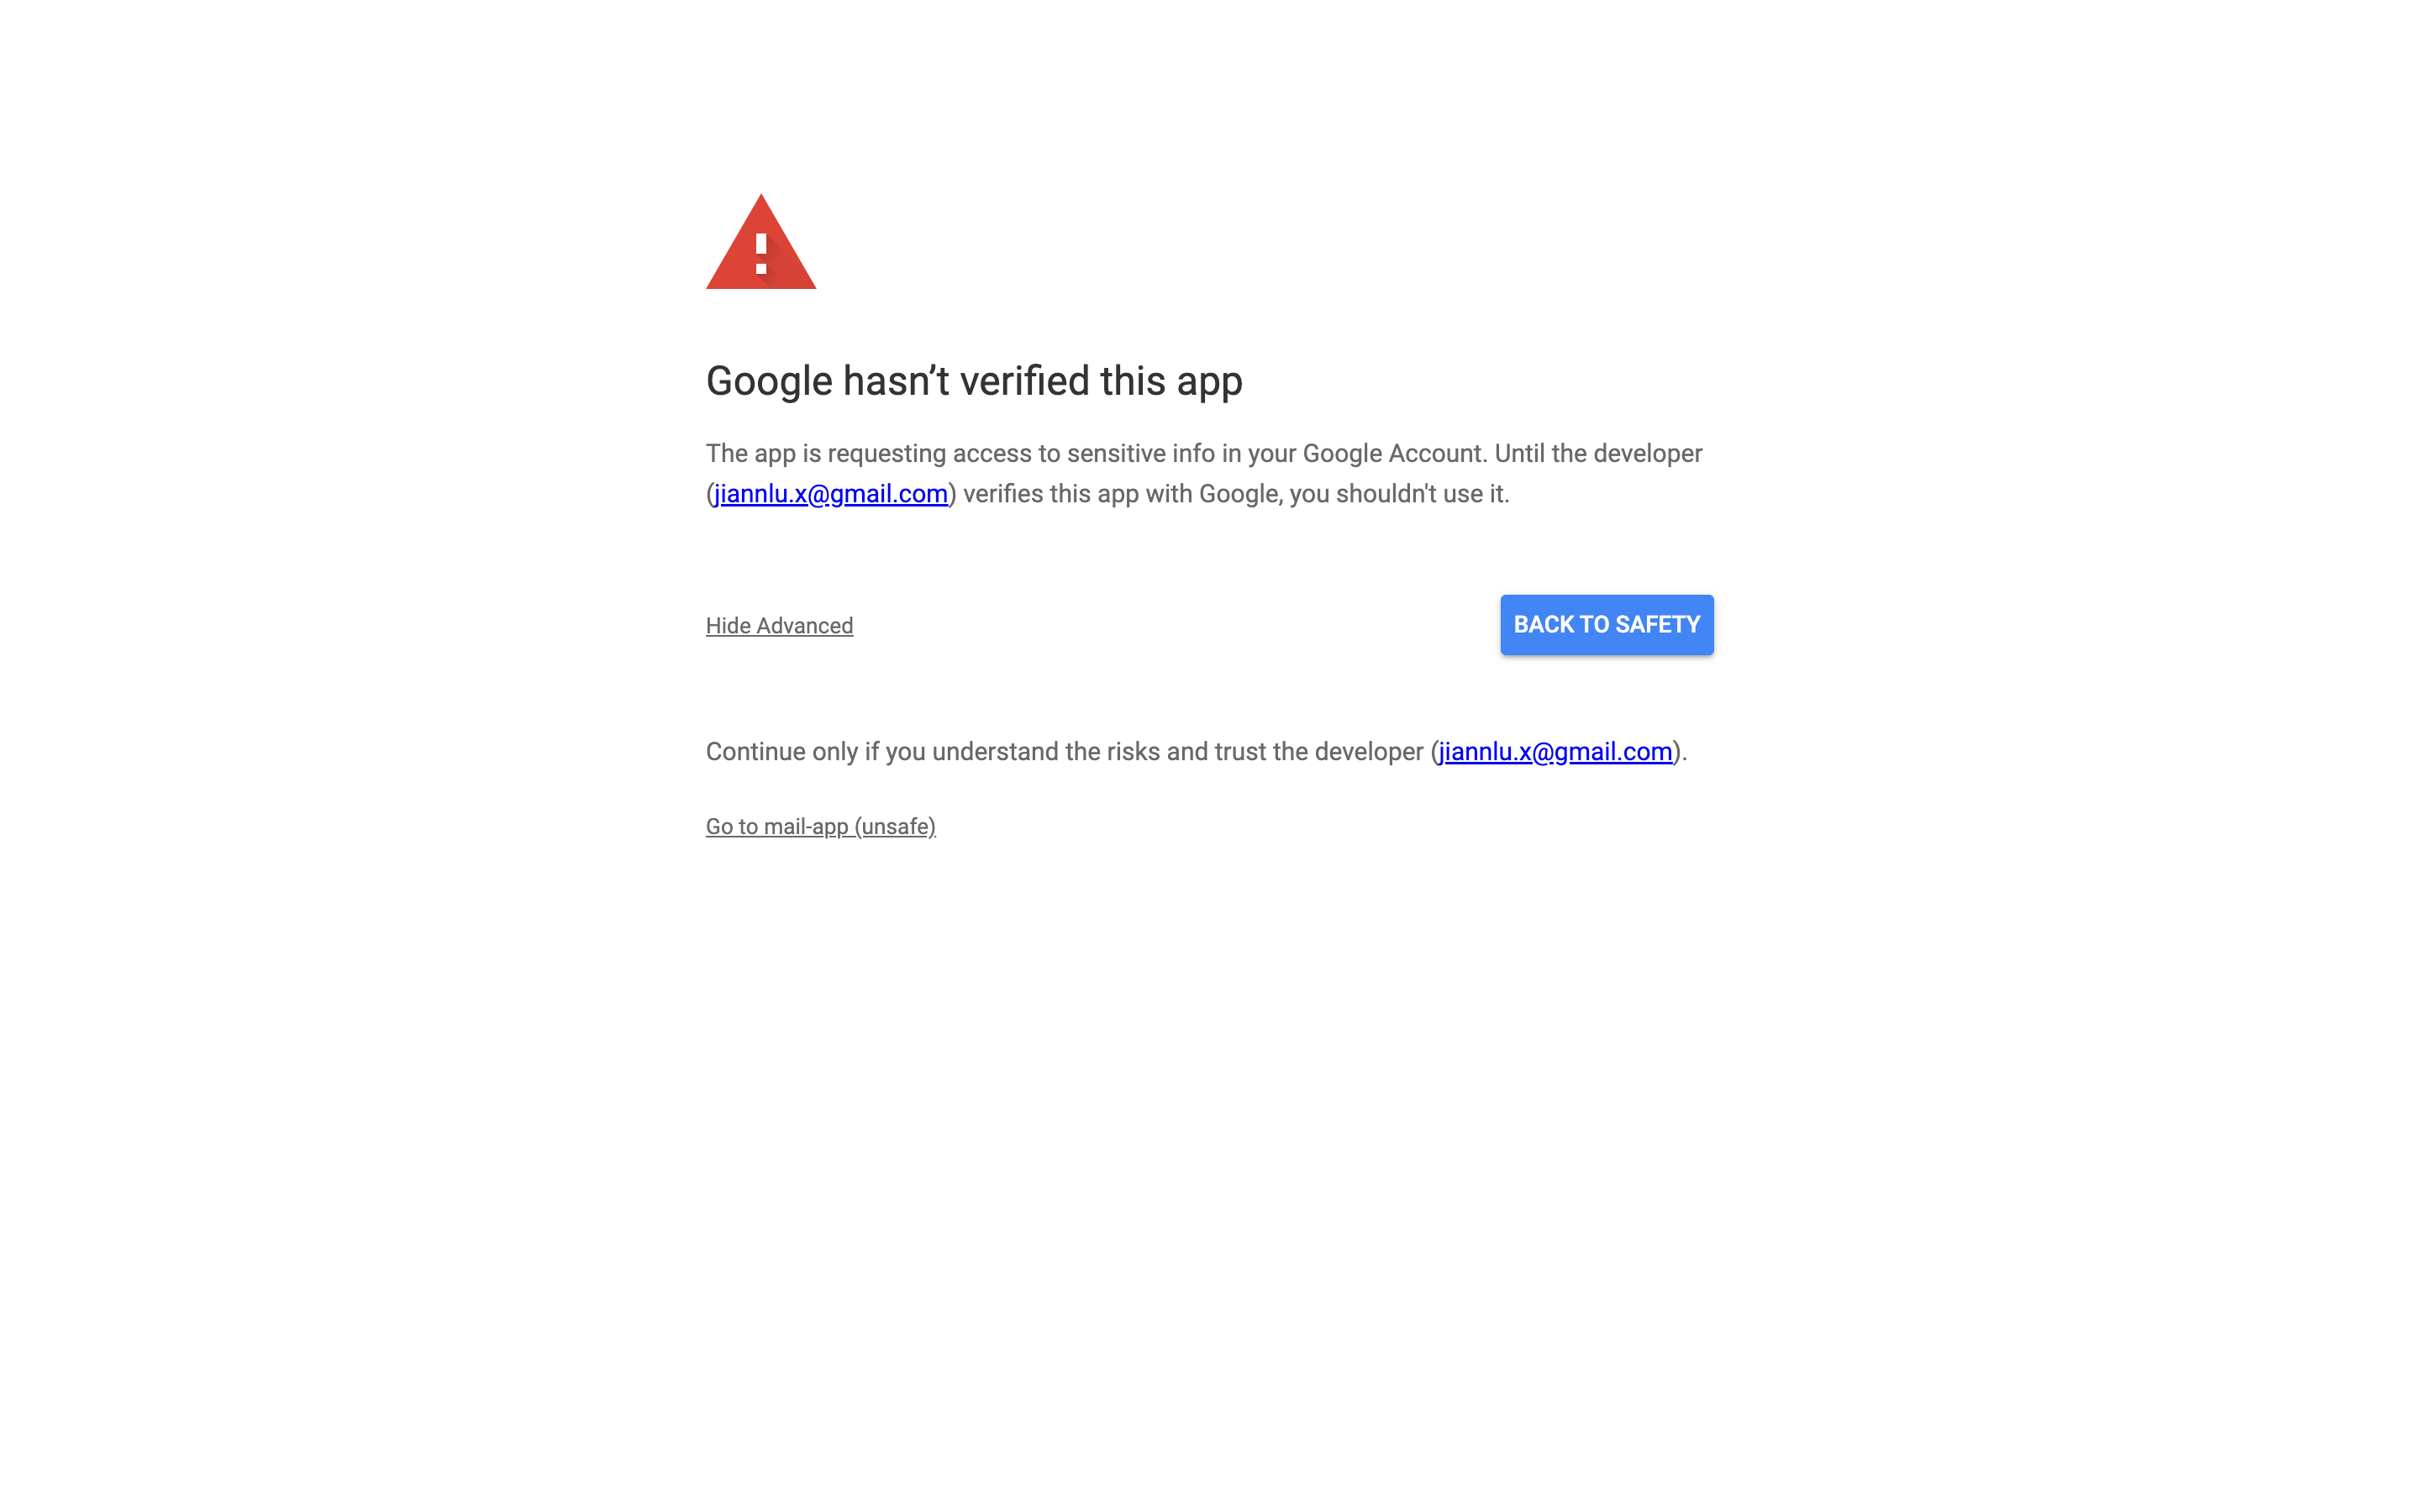
- In case the approval has not been passed yet, users can click the unsafe link to authorize login