

AI Portal Quick Start
We found that AI vibe coding can produce a good-looking page, but it has a hard time connecting to a real business system — or it ends up reimplementing authentication, permissions, and collection design from scratch.
NocoBase, as a low-code/no-code platform, already provides all of that. You can treat it as the foundation of your system kernel, letting the AI Agent focus on business logic while NocoBase supplies reliable authentication, database, API, and permission infrastructure.
For this we provide an application entry called AI Portal. Its source code lives locally and is reserved for the AI Agent to write. Code written in this entry can access NocoBase's built-in capabilities directly, and the built pages are ready to visit.
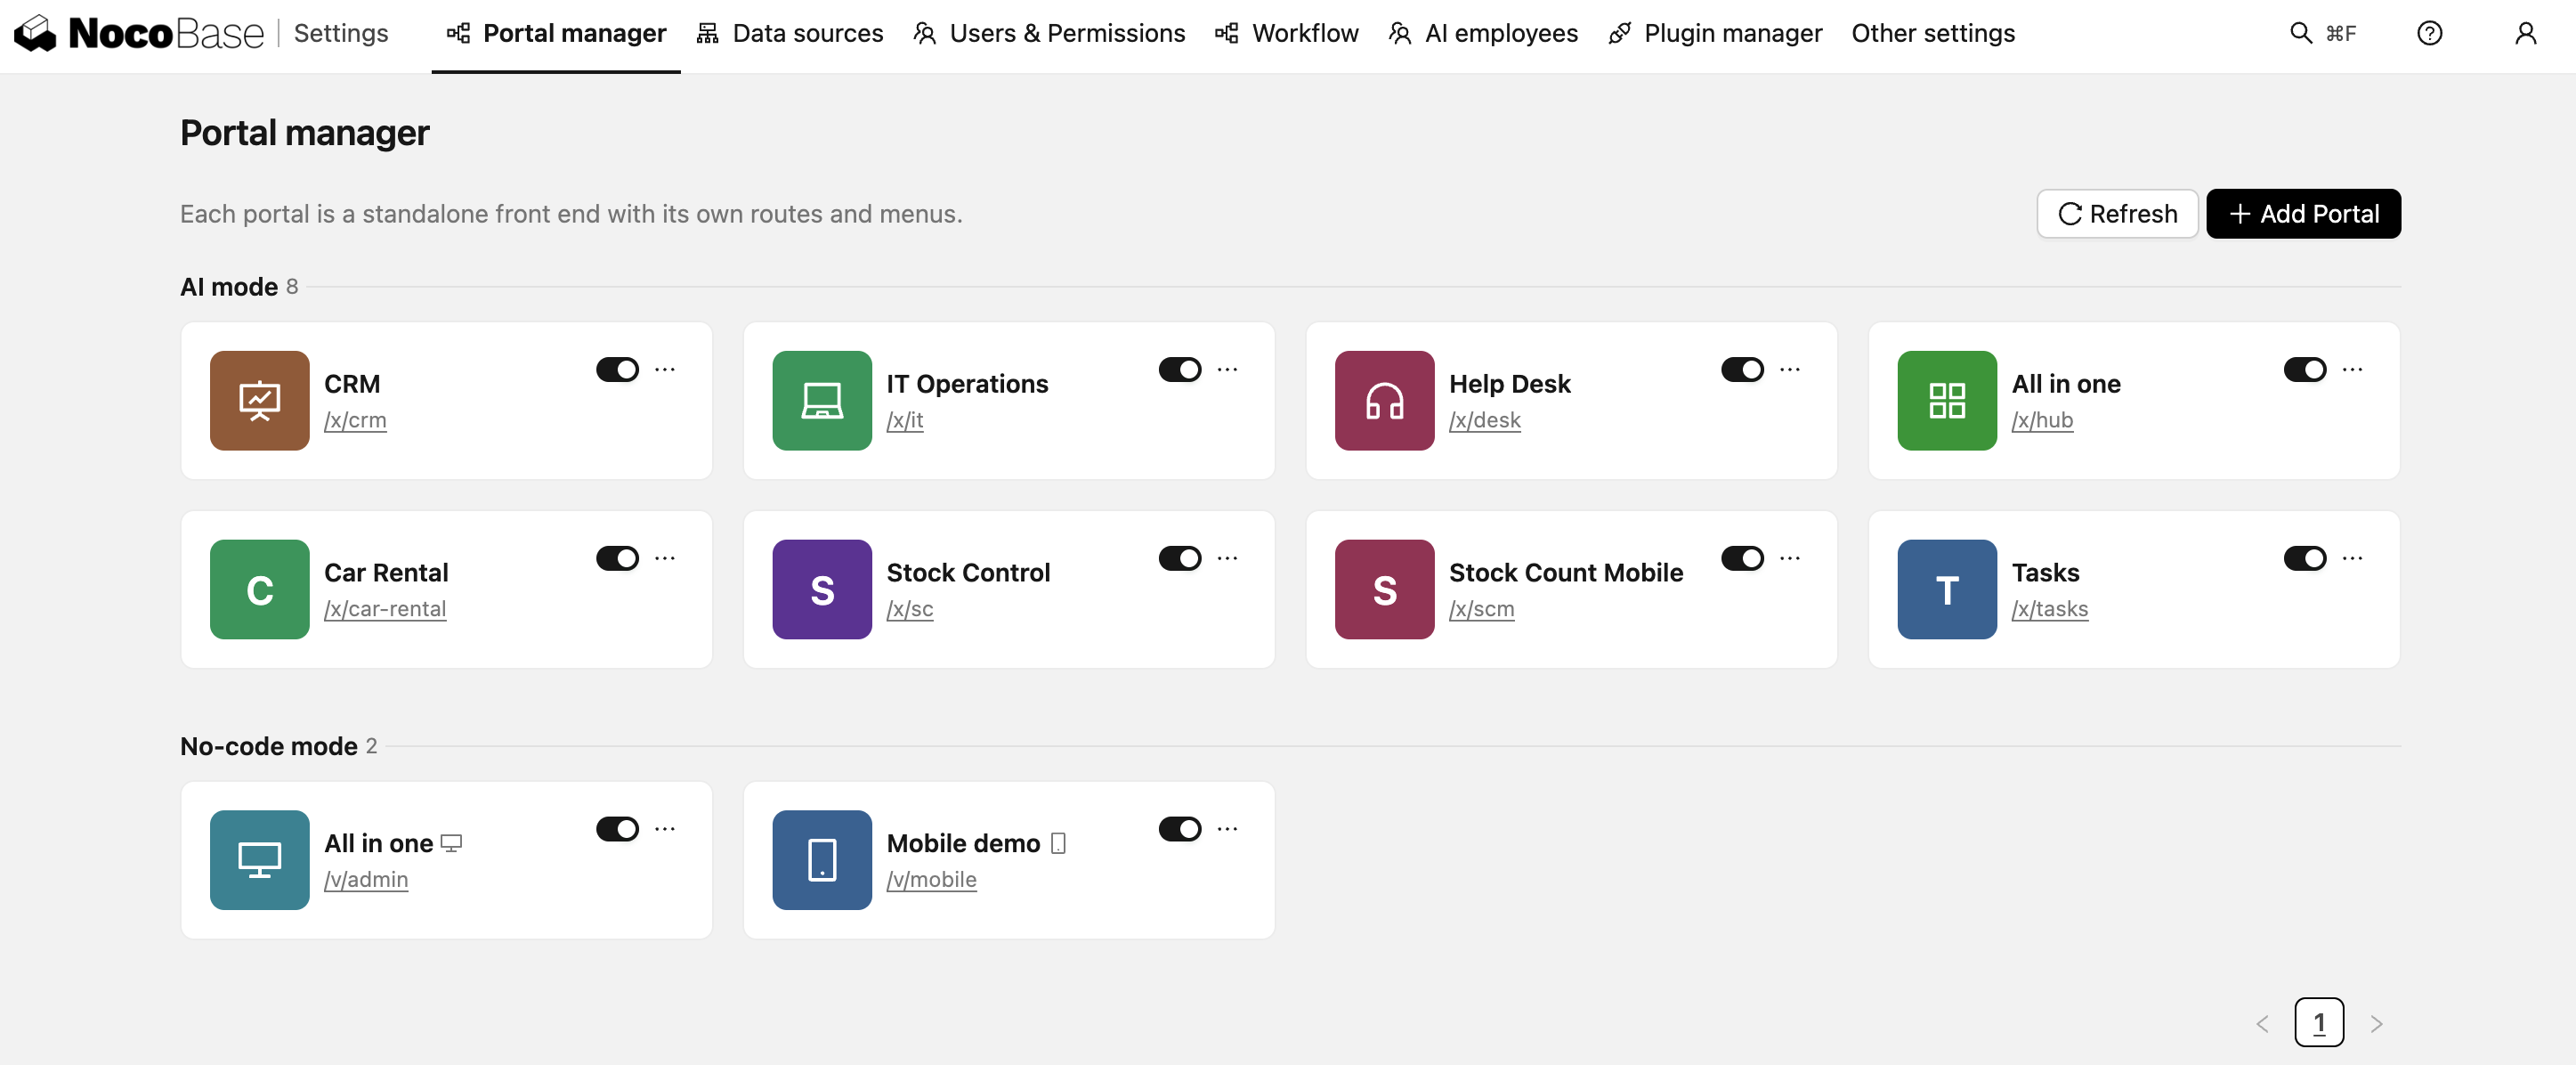
What NocoBase provides
When you build a business system, the time usually goes not into the pages but into everything behind them — user login, permission checks, collection design, CRUD APIs, file upload and download. Every system needs these, and building them from scratch each time doesn't pay off.
NocoBase already provides all of them:
- Authentication — Username and password login works out of the box. OIDC, SAML, CAS, LDAP, SMS, DingTalk, WeCom and others work once enabled on the server, and the frontend just needs to hook into them
- Database and multiple data sources — Built-in collection management, plus connections to external data sources such as MySQL and PostgreSQL
- REST API — Once a collection exists, its CRUD endpoints come with it, supporting filtering, sorting, pagination, and association fields
- Access control — Role-based ACL down to the field and record level. The frontend can read the current user's permissions and decide what to show
- Workflow — Business process automation, triggered from the frontend or by data changes
- File storage — Upload and download
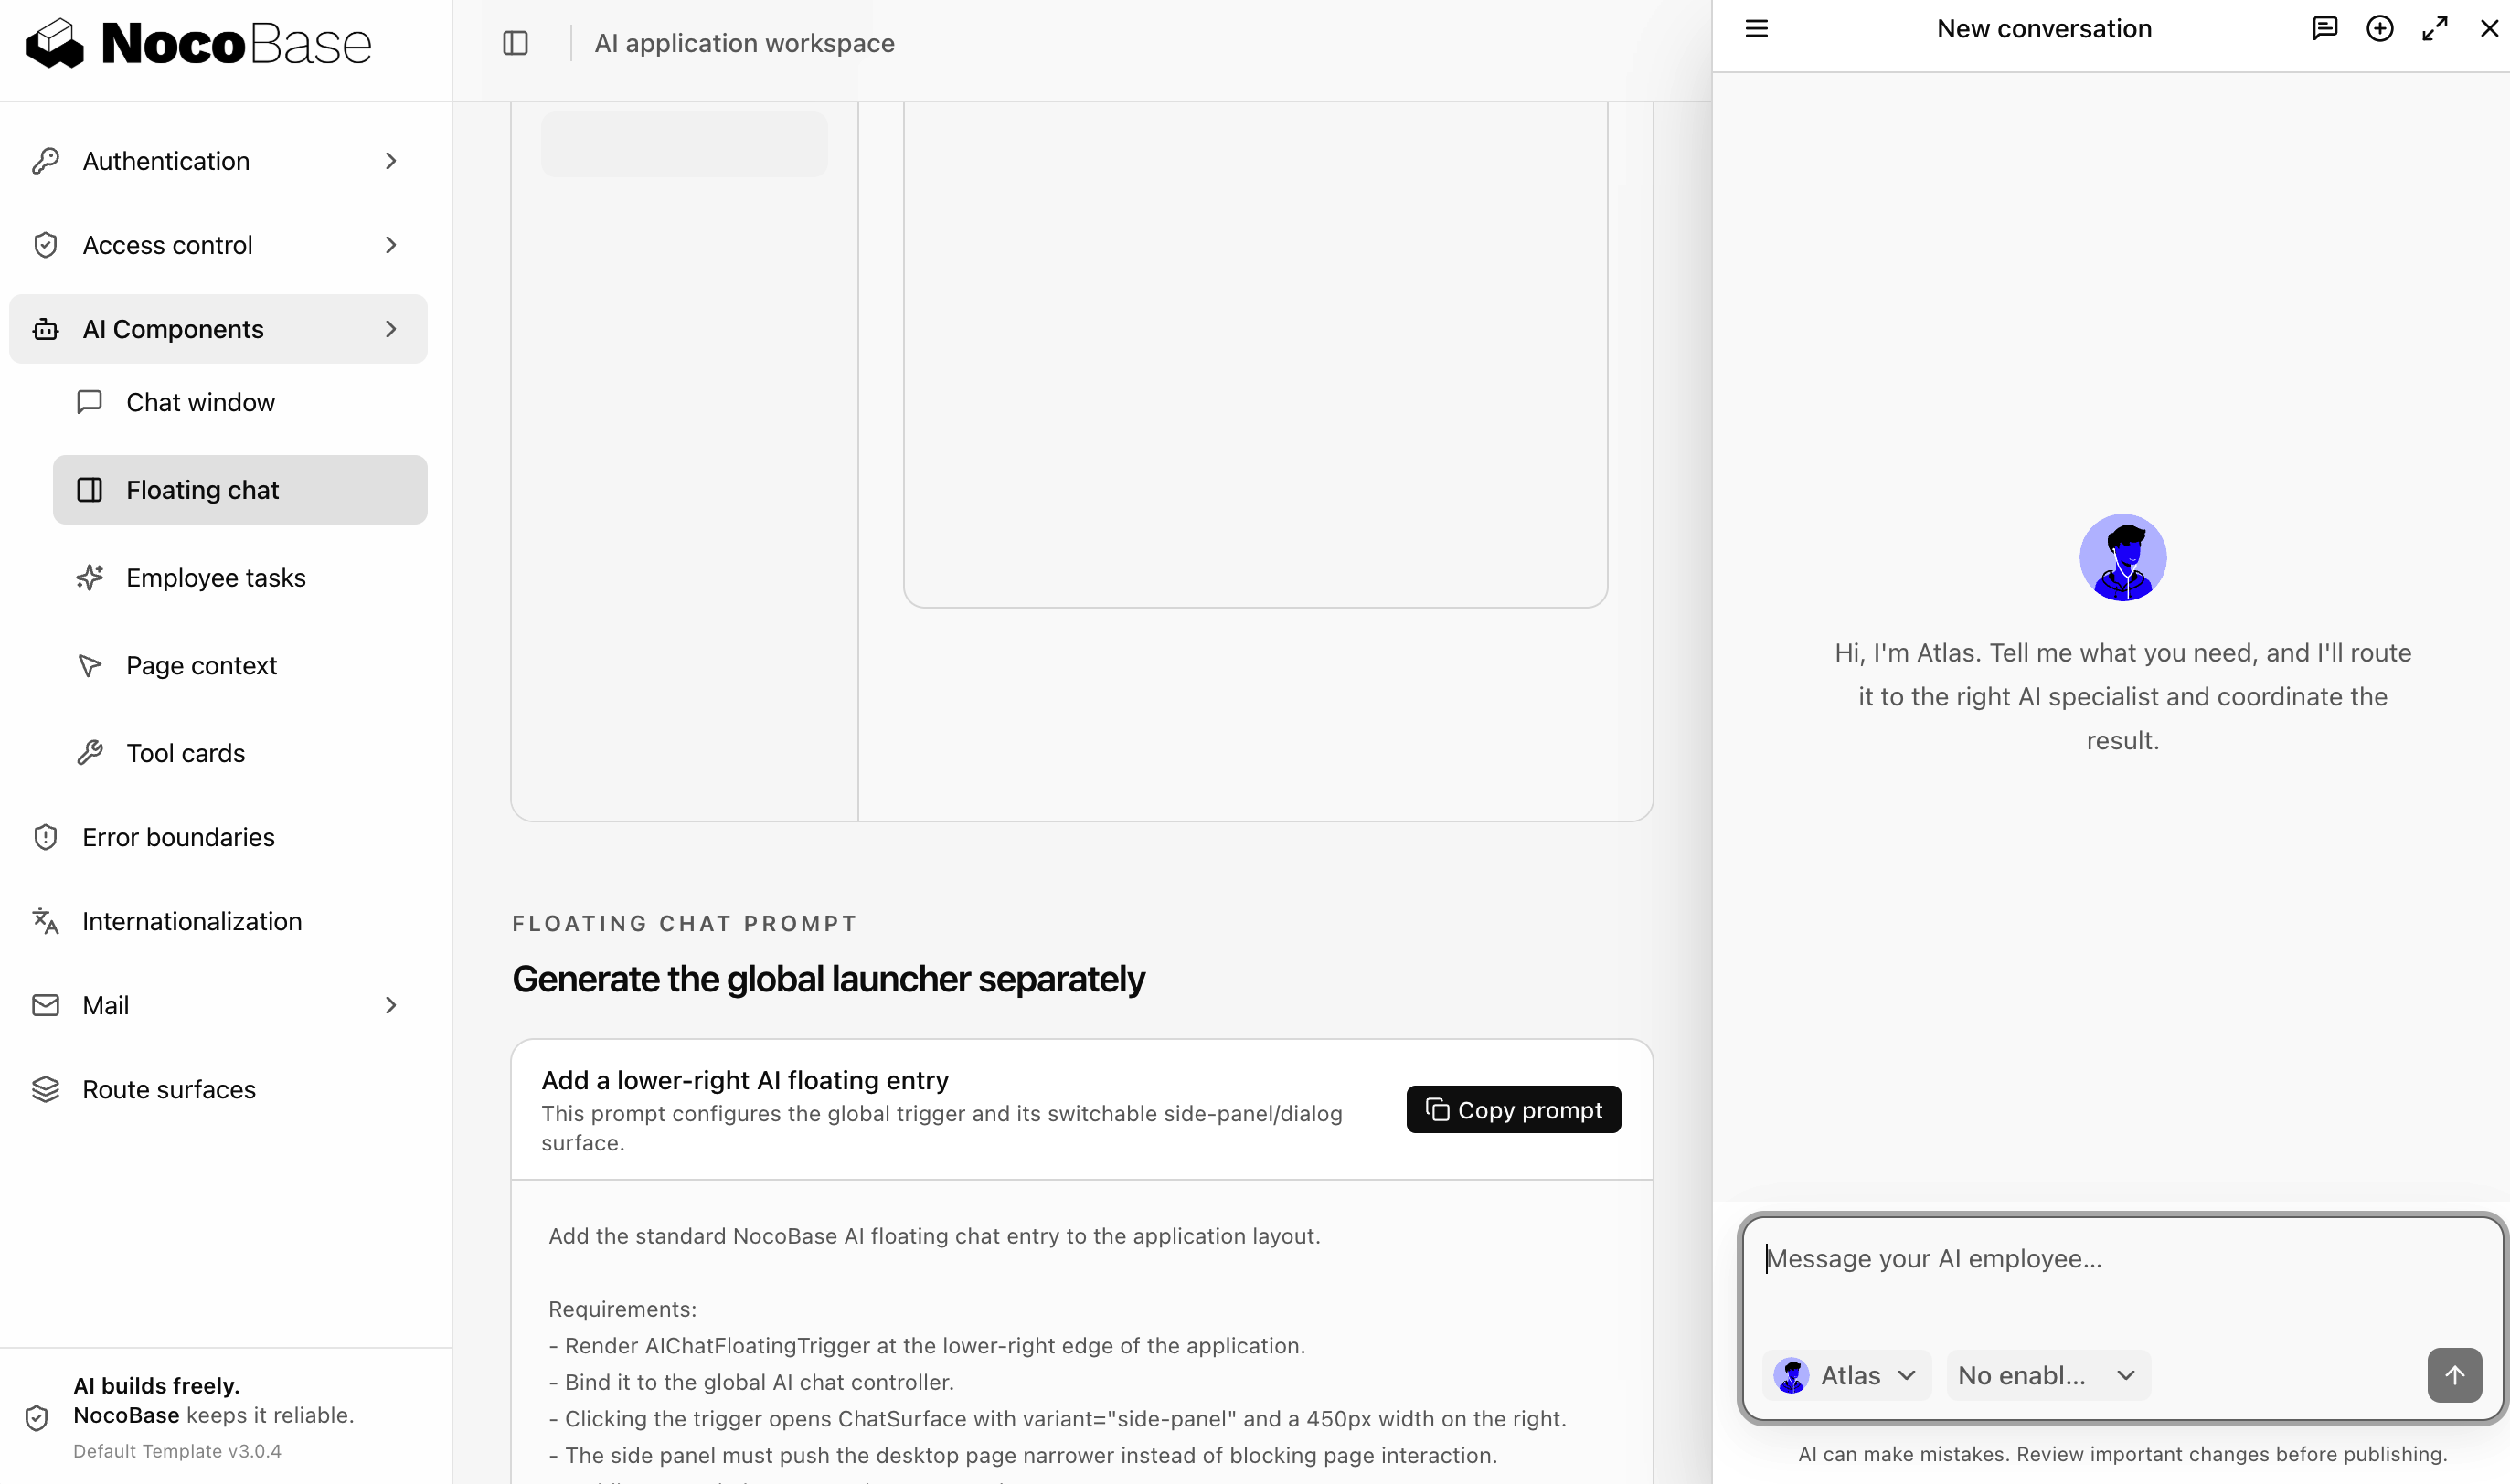
On top of these capabilities we built a standard system template that the AI Agent can copy to get a working application running. NocoBase also provides a set of Skills such as Data Modeling and ACL Configuration, so once you describe your business requirements, the AI Agent not only generates frontend pages but also creates the collections and configures the permissions, giving you a complete business system.
Prerequisites
- NocoBase >= 3.0.0-alpha.6
- Node.js >= 22
- pnpm — the Portal template uses it to install dependencies and start the dev server
- The alpha version of
nocobase cli(note: only the alpha version is supported for now)npm install -g @nocobase/cli@alpha- Plus a NocoBase application already initialized through
nb init --ui. See the AI Agent Integration Guide
- An AI Agent, such as Claude Code, Codex, or Cursor
Step 1: Confirm you already have an AI Portal
First confirm the default main is there:

The output lists the Portal name, access URL, Portal type, source storage, dev path, enabled status, and default status.
After pulling the source, info gives you more detail, such as where the dev path and the deploy path each point:
Step 2: Start development mode
The dev server runs on http://localhost:5173 by default.
The template ships with a user management page built on NocoBase's users collection. Log in and take a look — it also makes a good starting sample for the AI to follow.
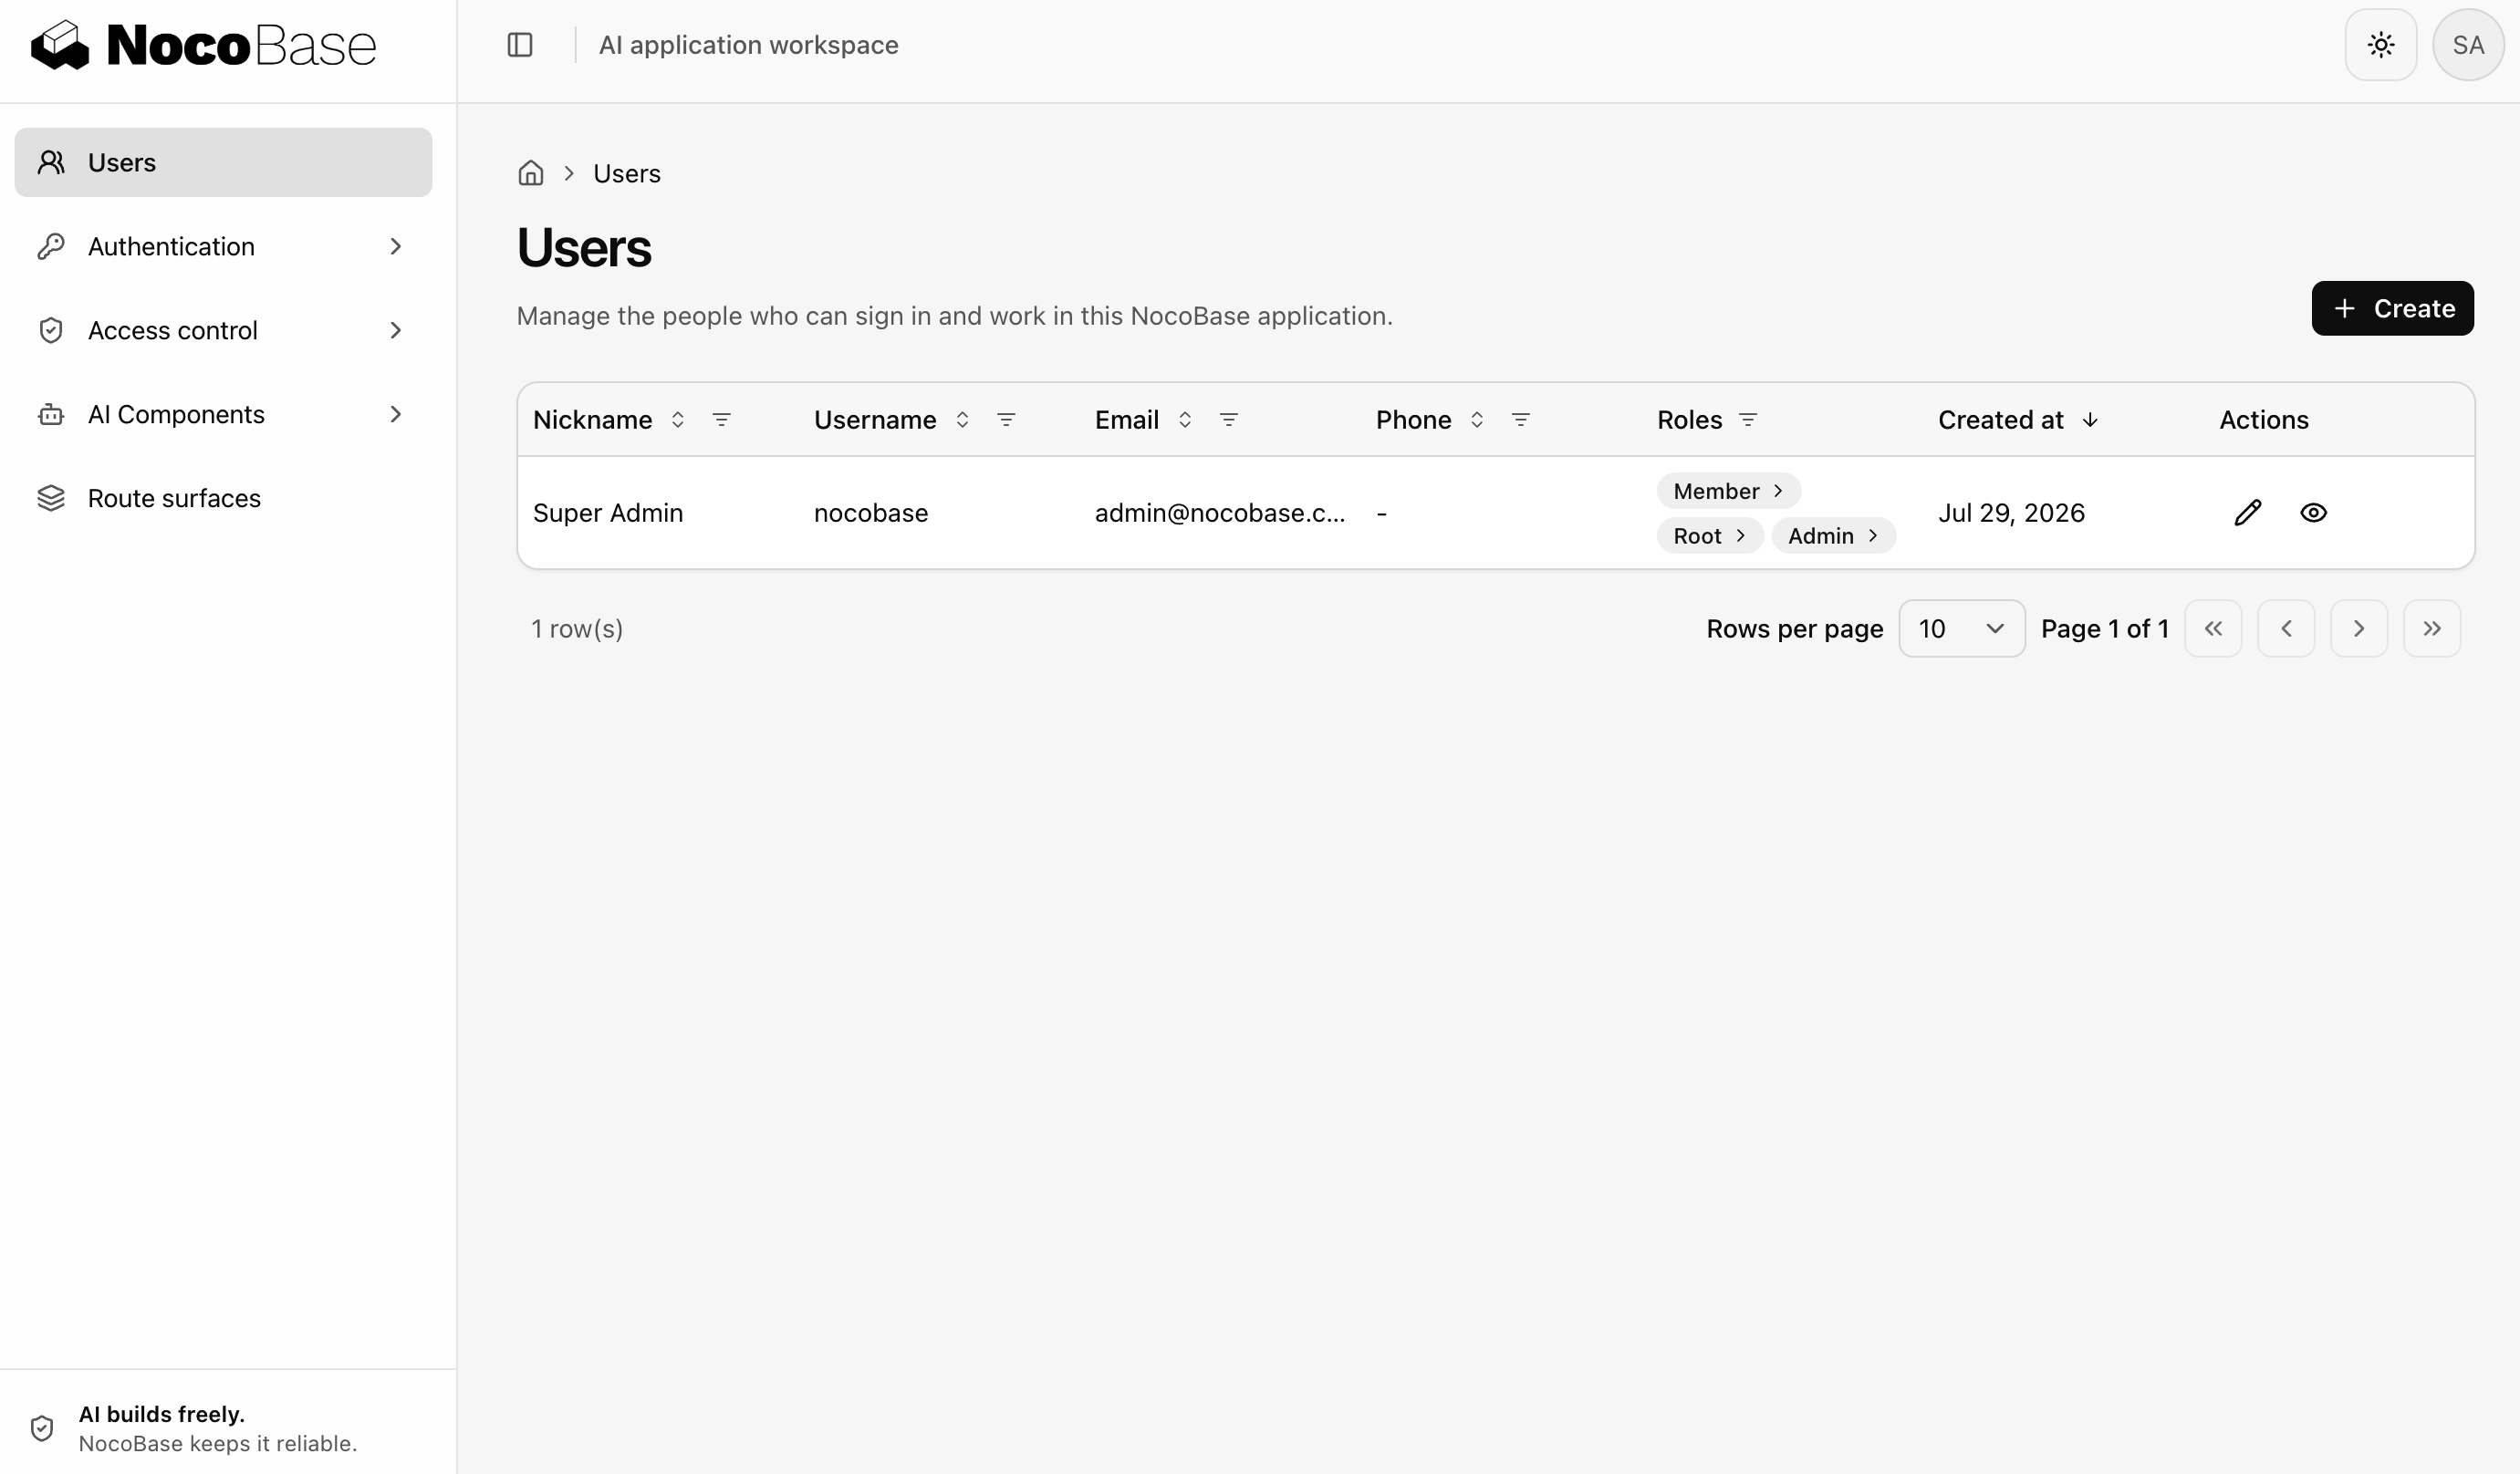
Step 3: Have the AI change a page
Go into the Portal's dev workspace (pull puts it in ./main by default; if you're not sure, check the dev path with nb portal info main), open your AI Agent there — Claude Code, Codex, Cursor, whichever — and give it a prompt:
The AI reads through the existing pages and extensions, writes the new page following the template's conventions, and you'll see the result at http://localhost:5173.
To learn how to work with an AI Agent effectively, see Building with an AI Agent.
Step 4: Deploy
Once the local changes look right, push the source to the remote, then build and deploy:
Where push sends the source depends on this Portal's source storage setting. The default is nocobase, where NocoBase manages the source. If you set it to git with nb portal config, push commits and pushes the source to the Git repository you specified, and --message becomes the Git commit message. See Deployment and Source Management for details.
Once deployed, visit /x/main/ to see your changes.
That completes the full loop — describe what you need, the AI writes the code, you check it locally, then push and deploy.
When you need more entries
An application can have several Portals. Internal staff use one, external customers another — pages and permissions stay fully separate while the data is shared:
Creating generates ./customer in the current directory as the dev workspace, or you can point it elsewhere with --path. A new Portal is developed with nb portal dev and deployed with nb portal deploy just like the first one — go into its workspace and open your AI Agent. See Deployment and Source Management for details.
Try the demo
If you want to see AI Portal building in action, request a demo environment at https://demo.nocobase.com/new. After you fill in the form, we generate a dedicated demo environment for you, containing several AI Portal applications built on the NocoBase foundation.
Then pick an AI Portal and go in:
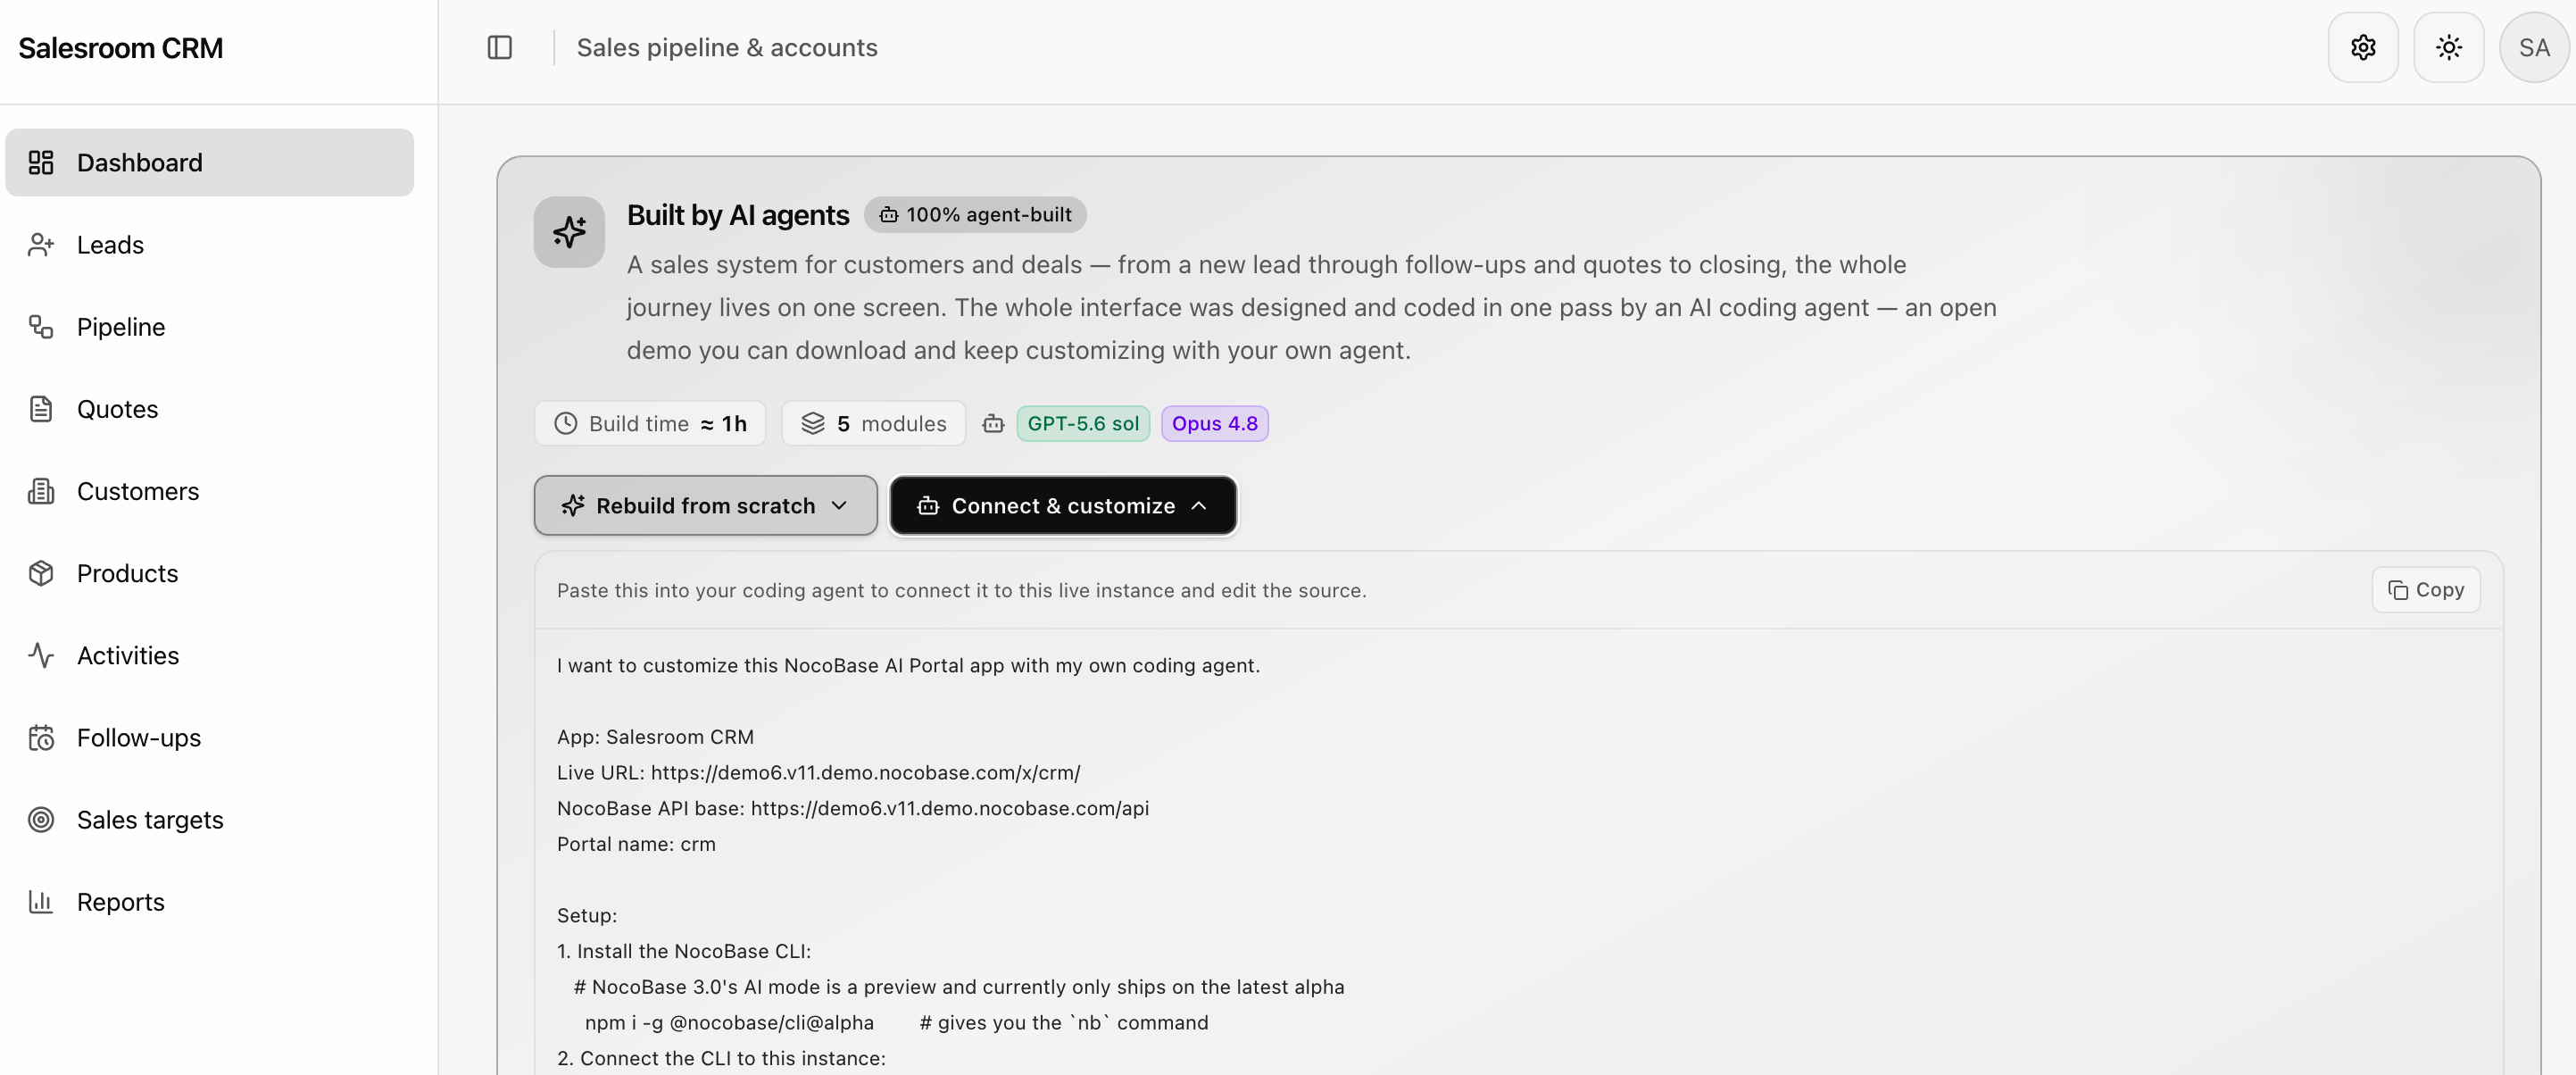
The Portal welcome page also gives you a prompt that lets your AI Agent connect to this AI Portal application directly, pull the application code, start a dev server locally, change pages, then push and deploy back to the demo environment. Refresh the page after a successful deployment and you'll see the result.
What's next
- Building with an AI Agent — How to write prompts, and how to roll back when the AI gets it wrong
- Project Structure and Tech Stack — The template's directory conventions and common commands
- Deployment and Source Management — Putting Portal source under Git, and multi-environment deployment
Related Links
- Building with an AI Agent — Drive the AI to write Portal pages in natural language
- Project Structure and Tech Stack — The template's directory conventions and common commands
- Standard Components and Extensions — The shadcn/ui component base and the extension mechanism
- Deployment and Source Management — The full develop, push, and deploy flow
- AI Agent Integration Guide — Install NocoBase CLI and complete initialization
- AI Builder Quick Start — The other way to build, without writing code
- Version Control — Version snapshots for no-code building
nb portalCommand Reference — Complete parameter reference for all Portal commands