
During development, itam-lite runs in pnpm dev with the development database. This chapter deploys it to a server with Docker, where it runs on its own. The app ships with a Dockerfile and the deployment skill nocobase-deployment, and the agent follows them. To choose between Docker and PM2, see Choose a deployment method.
1. Prepare the server
A Linux server with Docker and the Docker Compose plugin installed, which the development machine can reach over SSH. Decide the deployment directory, the URL and the administrator password. Domains, HTTPS and the reverse proxy are configured on the server.
2. Have the agent deploy
Start a new session in the itam-lite directory and replace the parts in angle brackets:
Deploy this app with Docker to the server <user>@<server address>, in <path>/itam-lite, at https://<domain>/itam/, with a new empty database.
Keep the configuration and data in the deployment directory so that recreating the container loses nothing. I will give you the administrator password separately; do not put it in the code or the report.
After deploying, sign in, create a device, recreate the container, and confirm the device is still there. Finally, tell me what is not configured yet, such as HTTPS.
What the agent did:
| Step | What it does |
|---|---|
| Build | Builds dist/ on the development machine for the server's platform, packages it into the image itam-lite:1 with the Dockerfile, and transfers it to the server |
| Configure | In the deployment directory, generates config/config.yml (including the app secret) with a command from the image, and sets the administrator password |
| Run | Writes compose.yml: the configuration is mounted read-only at /app/config.yml, storage/ is mounted at /app/storage, and APP_BASE_PATH is set to /itam |
| Check | config check --connect checks the configuration and the database connection, and up -d --wait waits until the health check passes |
For every command and the full Compose file, see Deploy with Docker.
3. Keep configuration, data and the image apart
| Where | How to keep it | |
|---|---|---|
| Image | itam-lite:1 on the server, or an image registry | One tag per version; it can be rebuilt from the code at any time |
| Configuration | config/config.yml in the deployment directory | Contains secrets, so it goes into neither the code repository nor the image; back it up together with the database, and do not regenerate it |
| Data | storage/ in the deployment directory: the SQLite database and uploaded files | Back up regularly, and before every upgrade |
The new database holds only the tables created by migrations, the initial administrator and the three roles. Alice, Ben, Cathy and the devices and requests from development do not come along; once live, create the real users in System settings › Users and assign their roles.
4. Verify
Open https://<domain>/itam/, sign in as the administrator, and create a device:
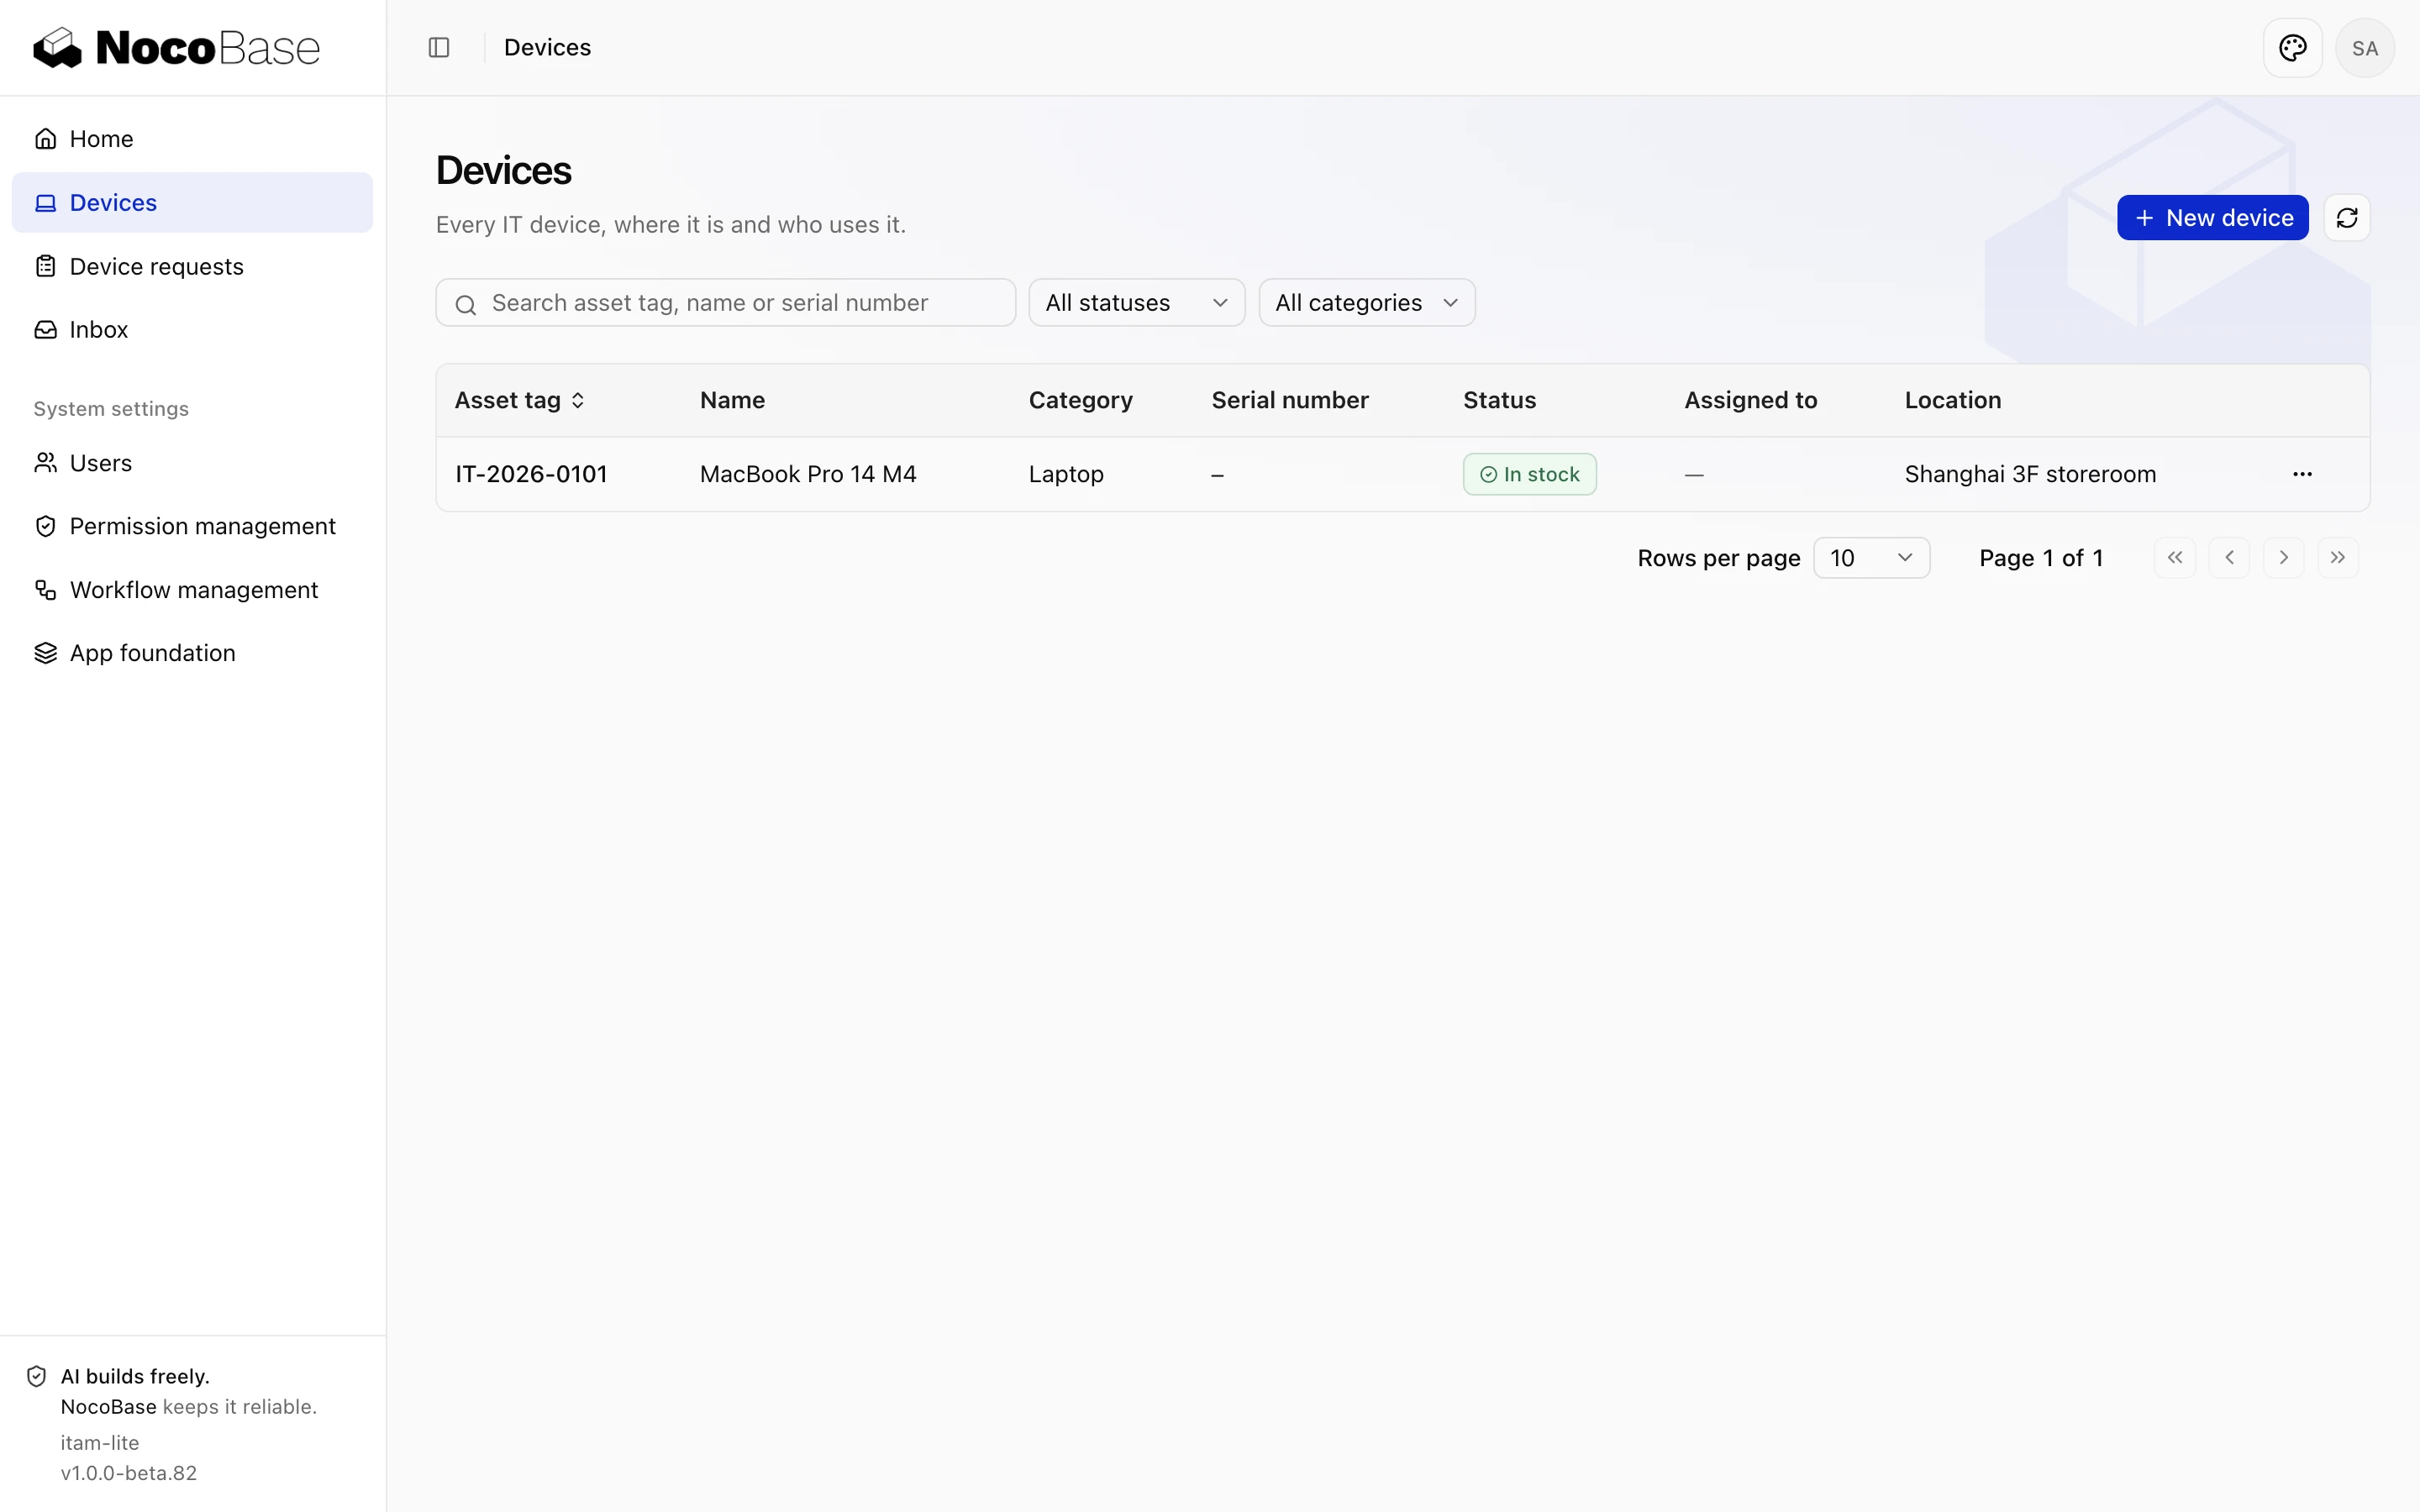
After the agent recreates the container, the device is still there, and so is the sign-in session.
To release a new version, build an image with a new tag, back up the deployment directory first, then swap the image while keeping the existing configuration and data; see Publish a new release.
5. Record the deployment
Deployment changes no code. Have the agent record the deployment method and the verification results in the README.
Done whenthe URL opens and the administrator can sign in; a device created before recreating the container is still there afterwards; config.yml and the database are in the deployment directory on the server, not in the image or the code repository.