
This chapter does step 2 of the design document: employees submit device requests; requests for laptops and phones, and requests from people who already have the maximum number of devices, go to an asset manager for approval; then IT support issues the device, and the register records the user automatically.
1. Make the request
Do step 2 of docs/design.md: device requests and approval. Notify the people involved at each step; administrators can adjust which categories need approval and the device limit per person.
Create the Employee, IT support and Asset manager roles now; who can see which records comes in step 3.
What the agent built:
| Part | Core capability used |
|---|---|
| The request workflow: Draft → Pending approval / Ready to issue → Issued, plus Rejected and Withdrawn | Workflows (@nocobase/lifecycle): the status changes only along declared transitions, every step records who and when, and a stale page cannot overwrite someone else's decision |
| Approval rules: the categories that need approval and the per-person device limit | Workflow parameters, adjusted by administrators in System settings › Workflow management and read when a request is submitted |
| In-app messages: needs approval, ready to issue, approved, rejected, issued | The notification and in-app message plugins; sent as follow-up actions of the workflow and retried automatically on failure |
| The Employee, IT support and Asset manager roles | The permission plugin: each action is a separate business permission |
| The Device requests page, the Inbox entry in the sidebar, the Workflow management page | The process diagram and workflow management components that ship with the template |
For the list of capabilities, see NocoBase Core; for the package that provides workflows, see the Core and tool package index; for notifications, see Notifications. If you need multi-level approval, countersigning or delegation and have a license for the commercial approval plugin, you can use Approvals instead.
2. Prepare three accounts
Create three test users: Alice Wang is an employee, Ben Zhou is IT support, and Cathy Liu is an asset manager. Tell me their usernames and passwords.The agent creates these three accounts:
| User | Role |
|---|---|
| Alice Wang | Employee |
| Ben Zhou | IT support |
| Cathy Liu | Asset manager |
3. Walk through the workflow
Sign in as each of them in a different browser (or a private window):
-
Alice opens Device requests › New request, chooses a laptop, writes what it is for, and submits. The request goes to Pending approval. Alice then submits a monitor request, which goes straight to Ready to issue.
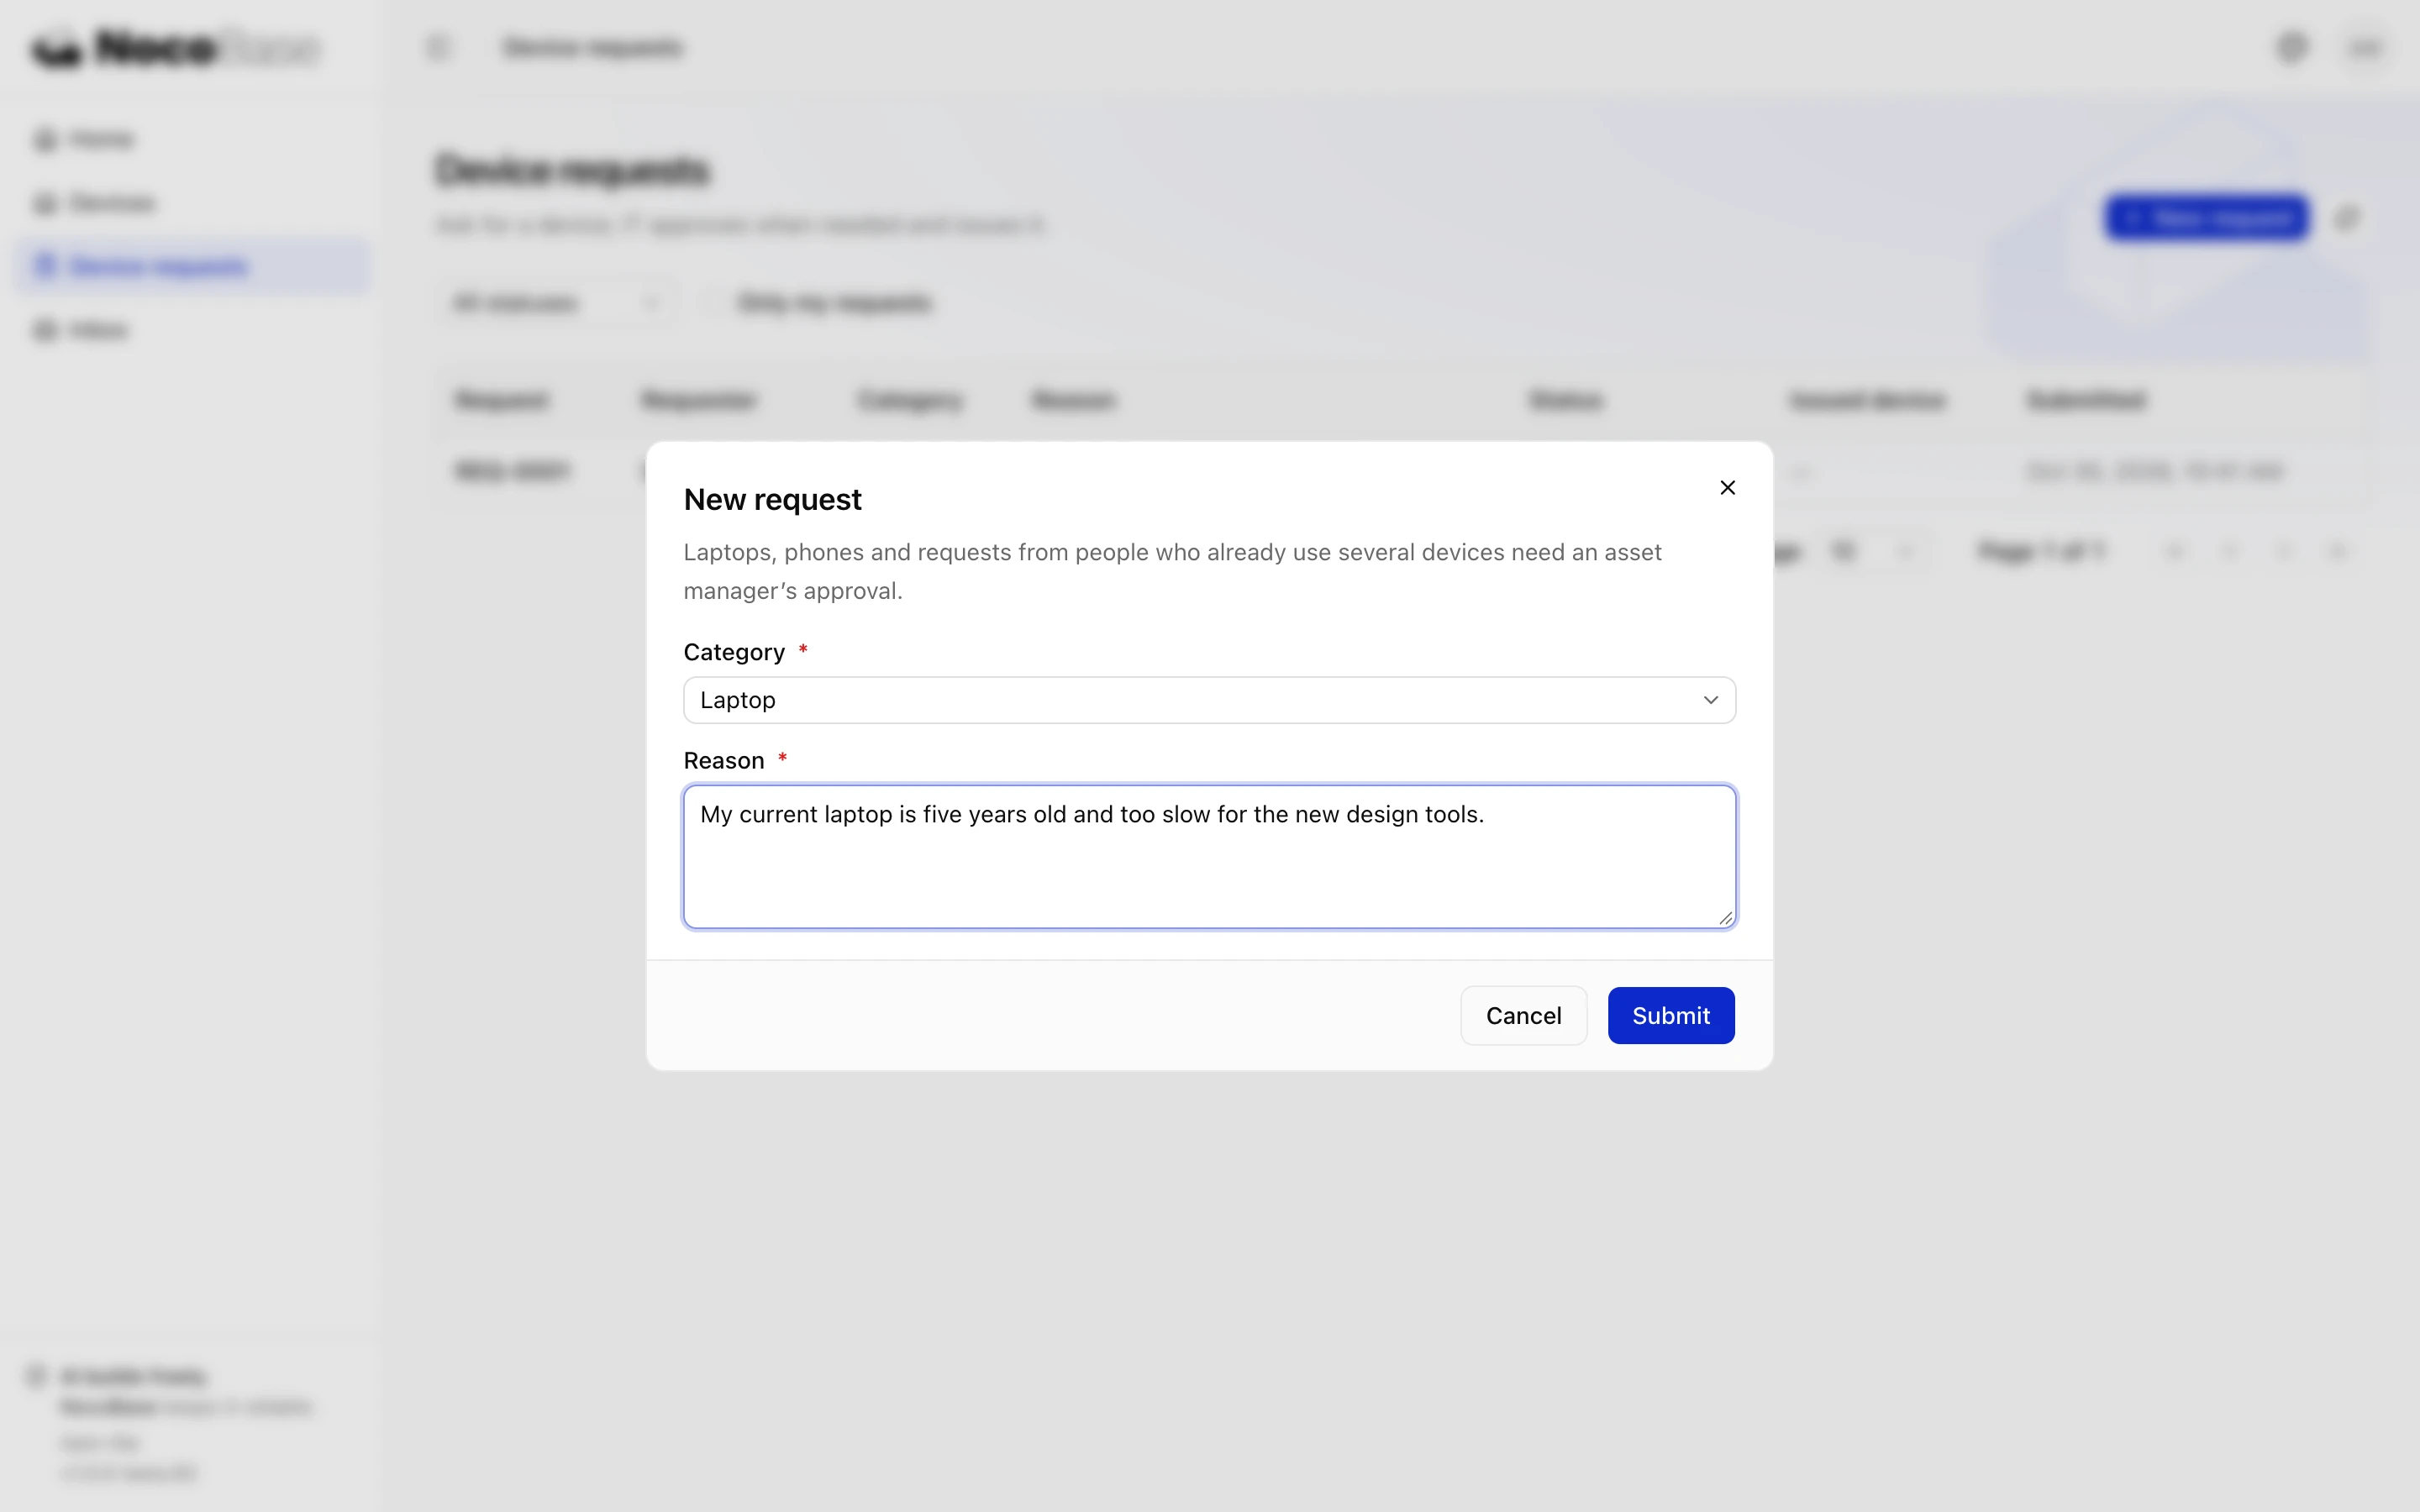
Submitting a device request -
Cathy opens Inbox, clicks the message to open the request, and clicks Approve.
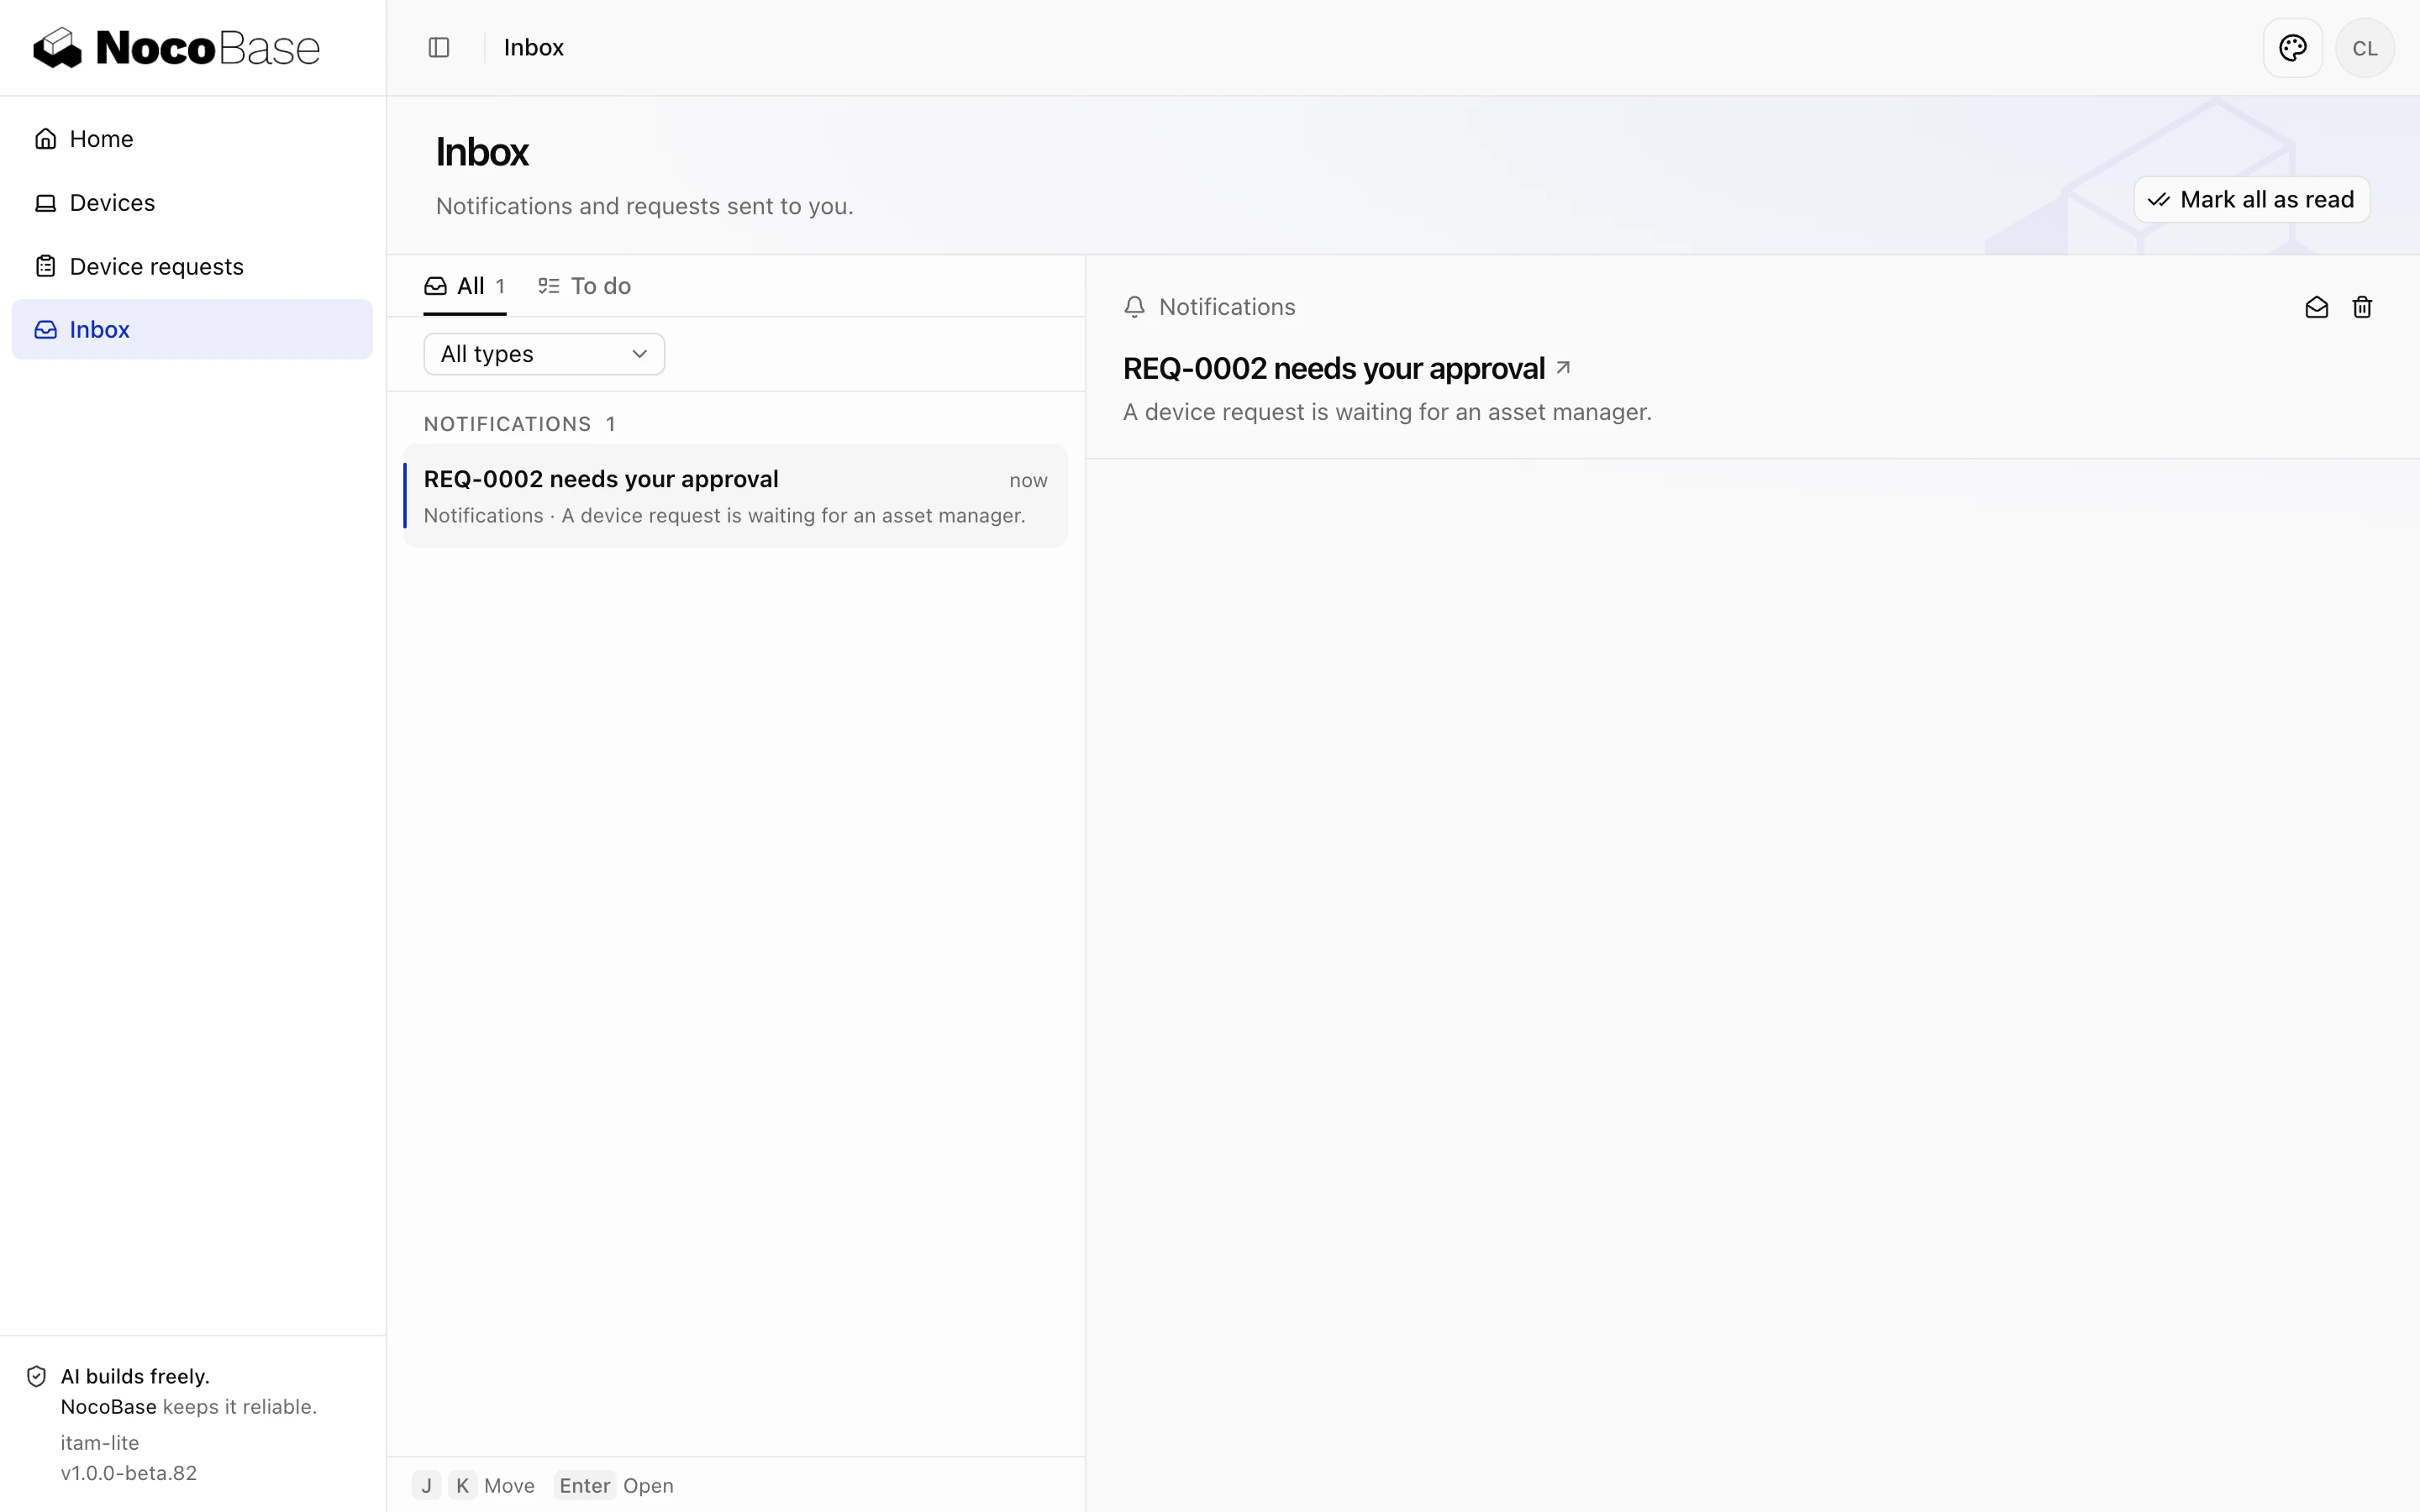
The asset manager gets an in-app message about a request that needs approval -
Ben opens the "is ready to issue" message in Inbox, clicks Issue, and chooses a laptop that is in stock.
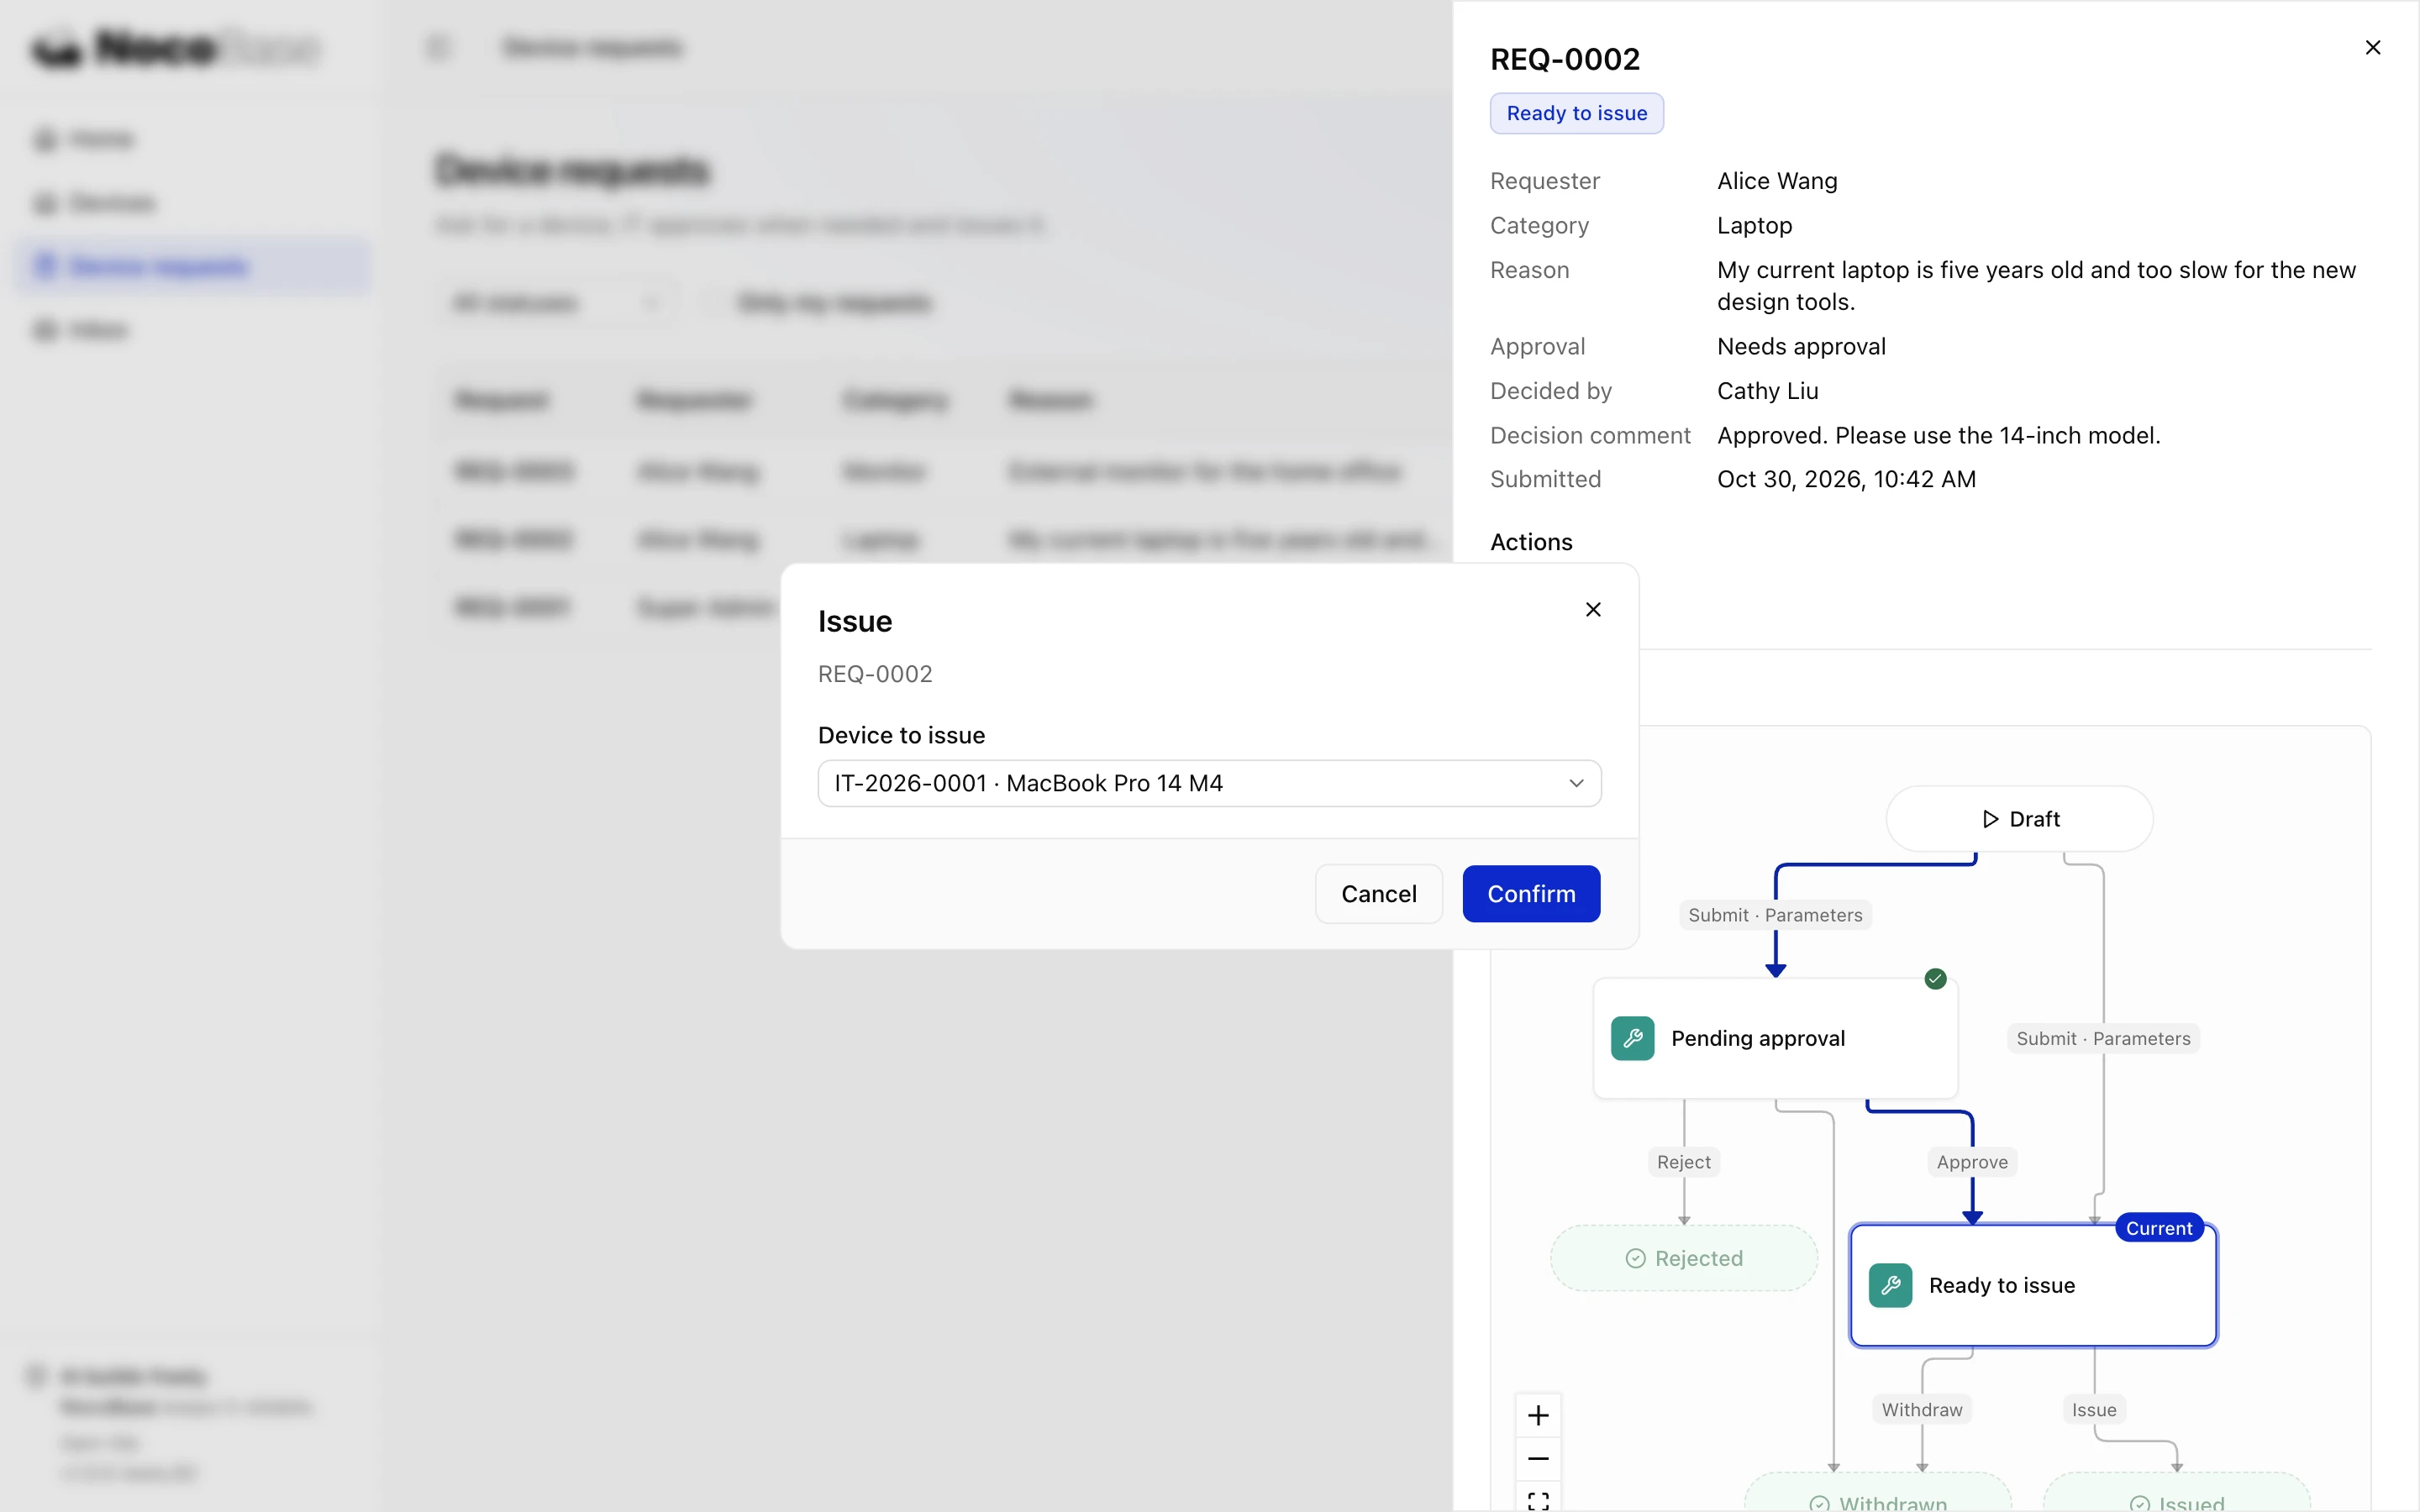
IT support chooses a device to issue -
Open Devices: the laptop is now In use and assigned to Alice. Alice gets a "your device was issued" in-app message.
4. Adjust the approval rules
An administrator opens System settings › Workflow management and clicks Device requests: the process diagram is on the left and the approval rules are on the right. After desktops are checked and saved, new desktop requests go to Pending approval; requests already submitted are not affected.
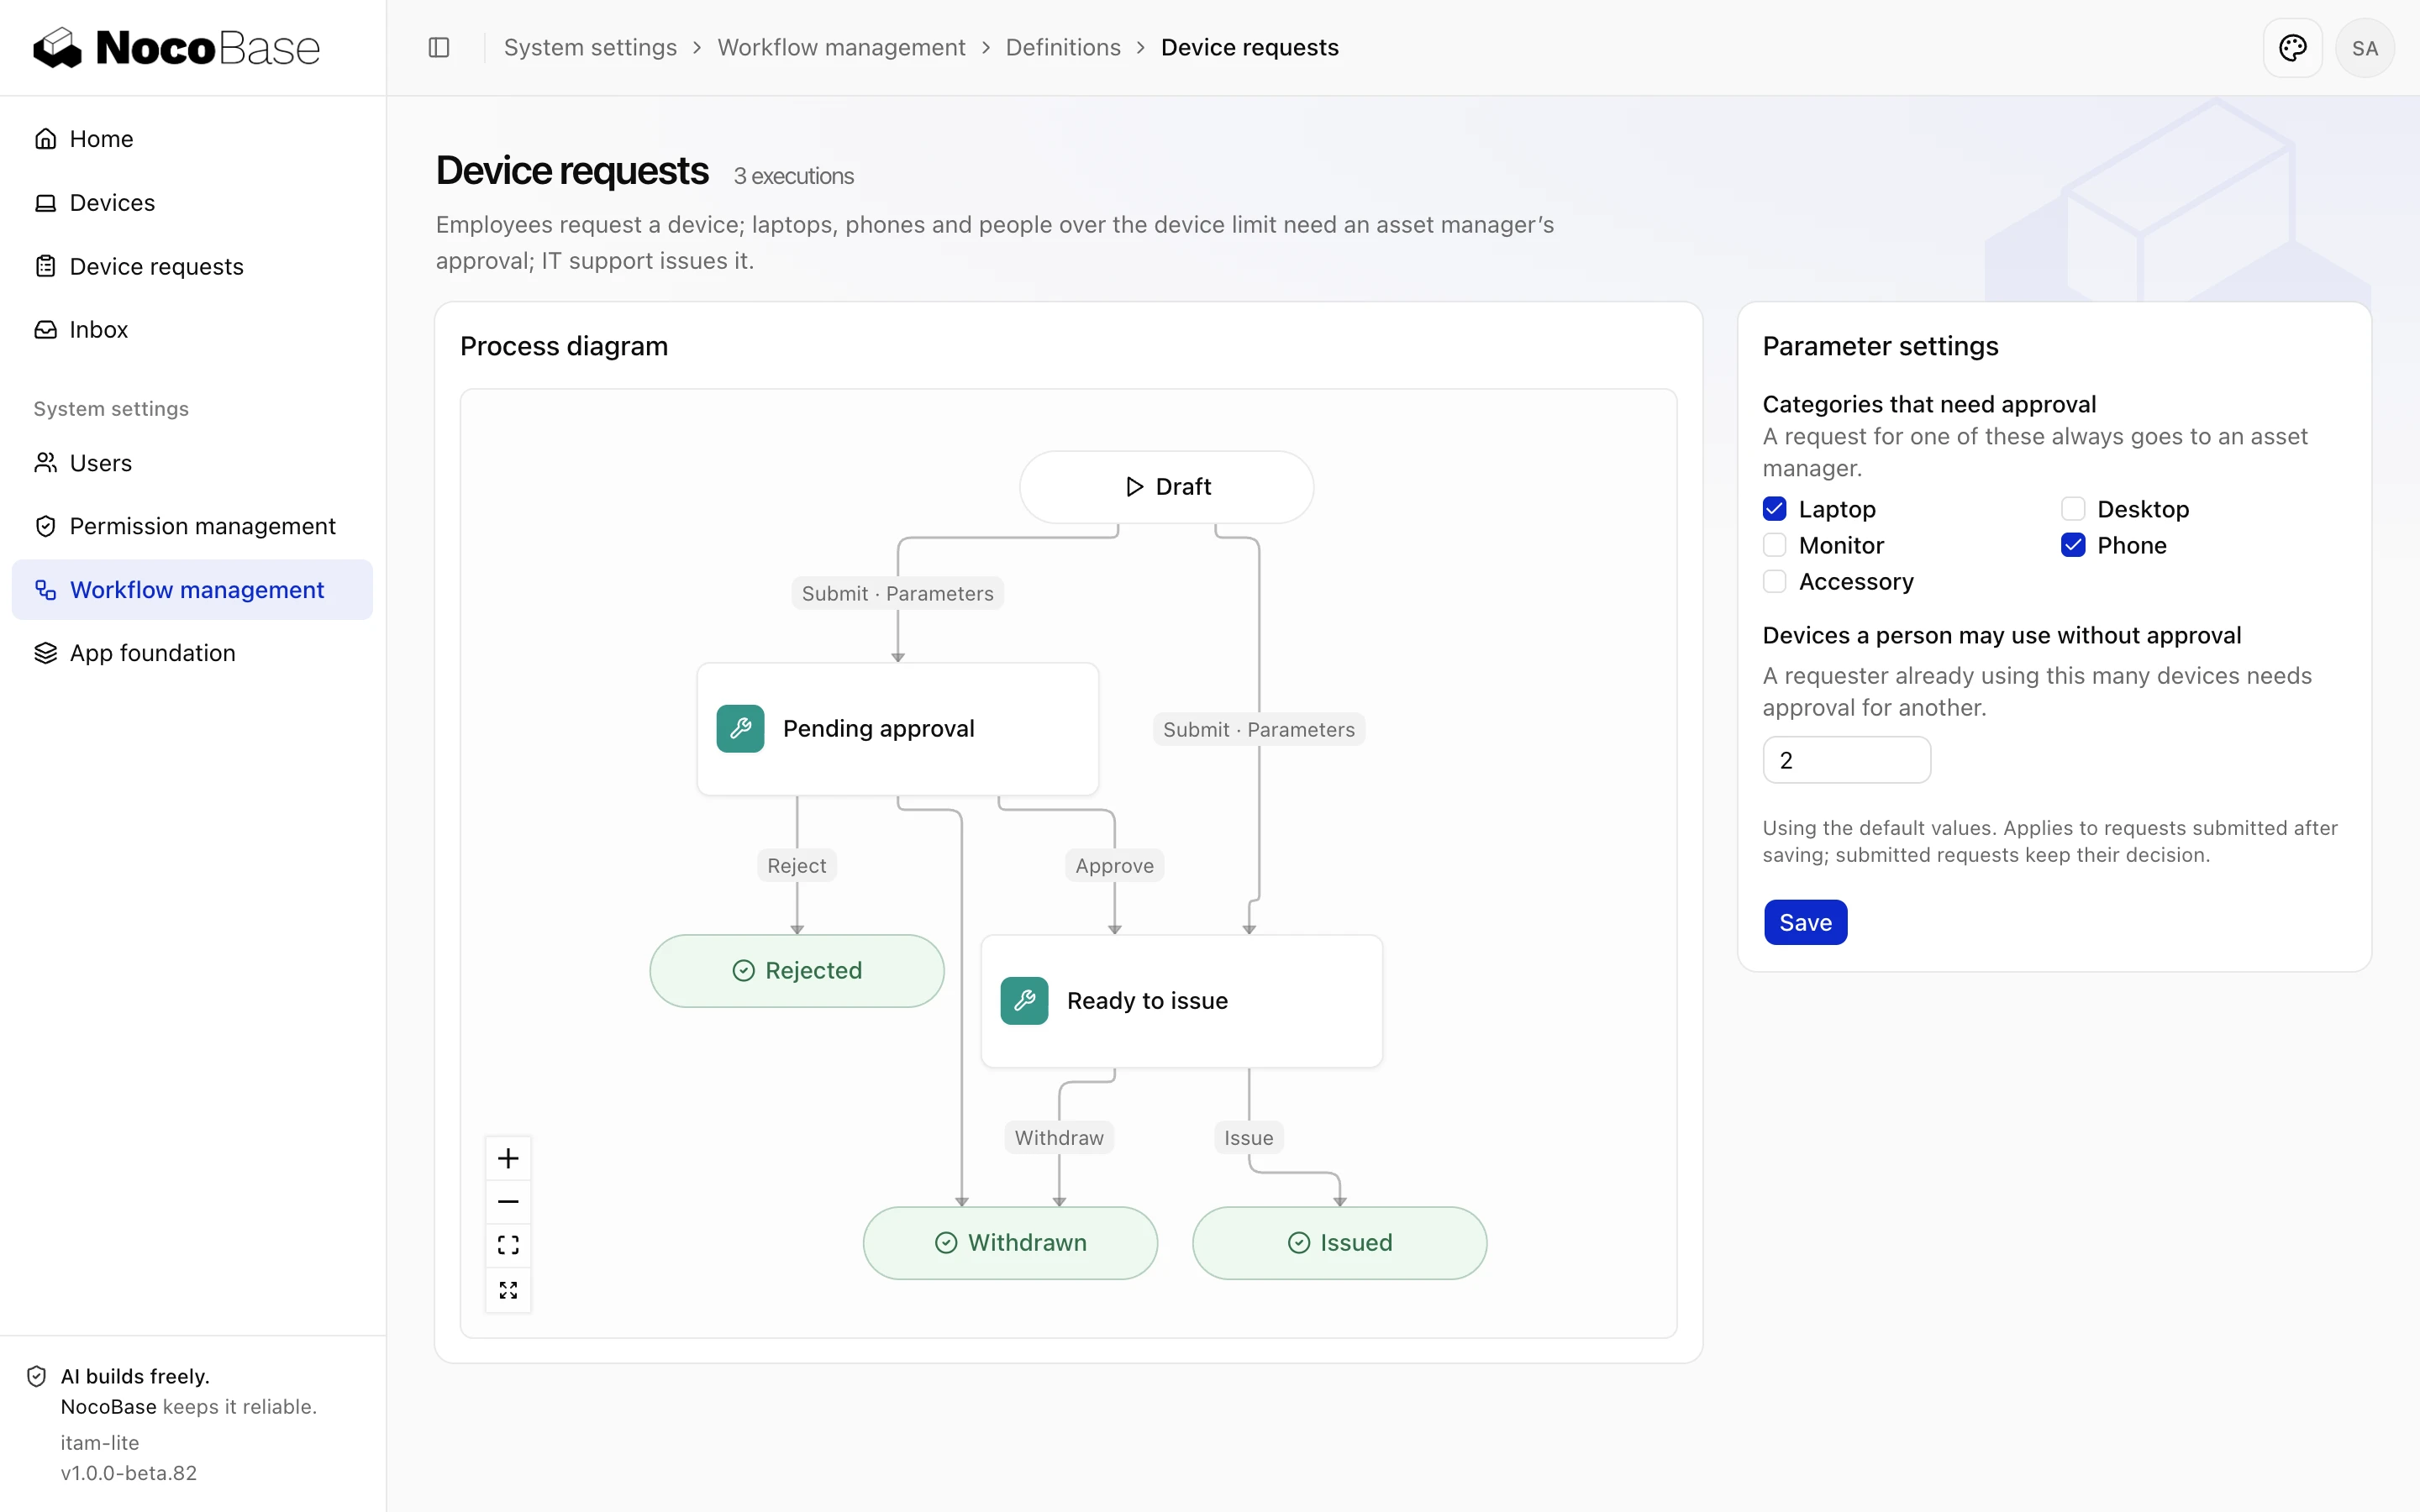
Executions has one entry per request, showing every step it went through, who did it, and whether each in-app message was sent.
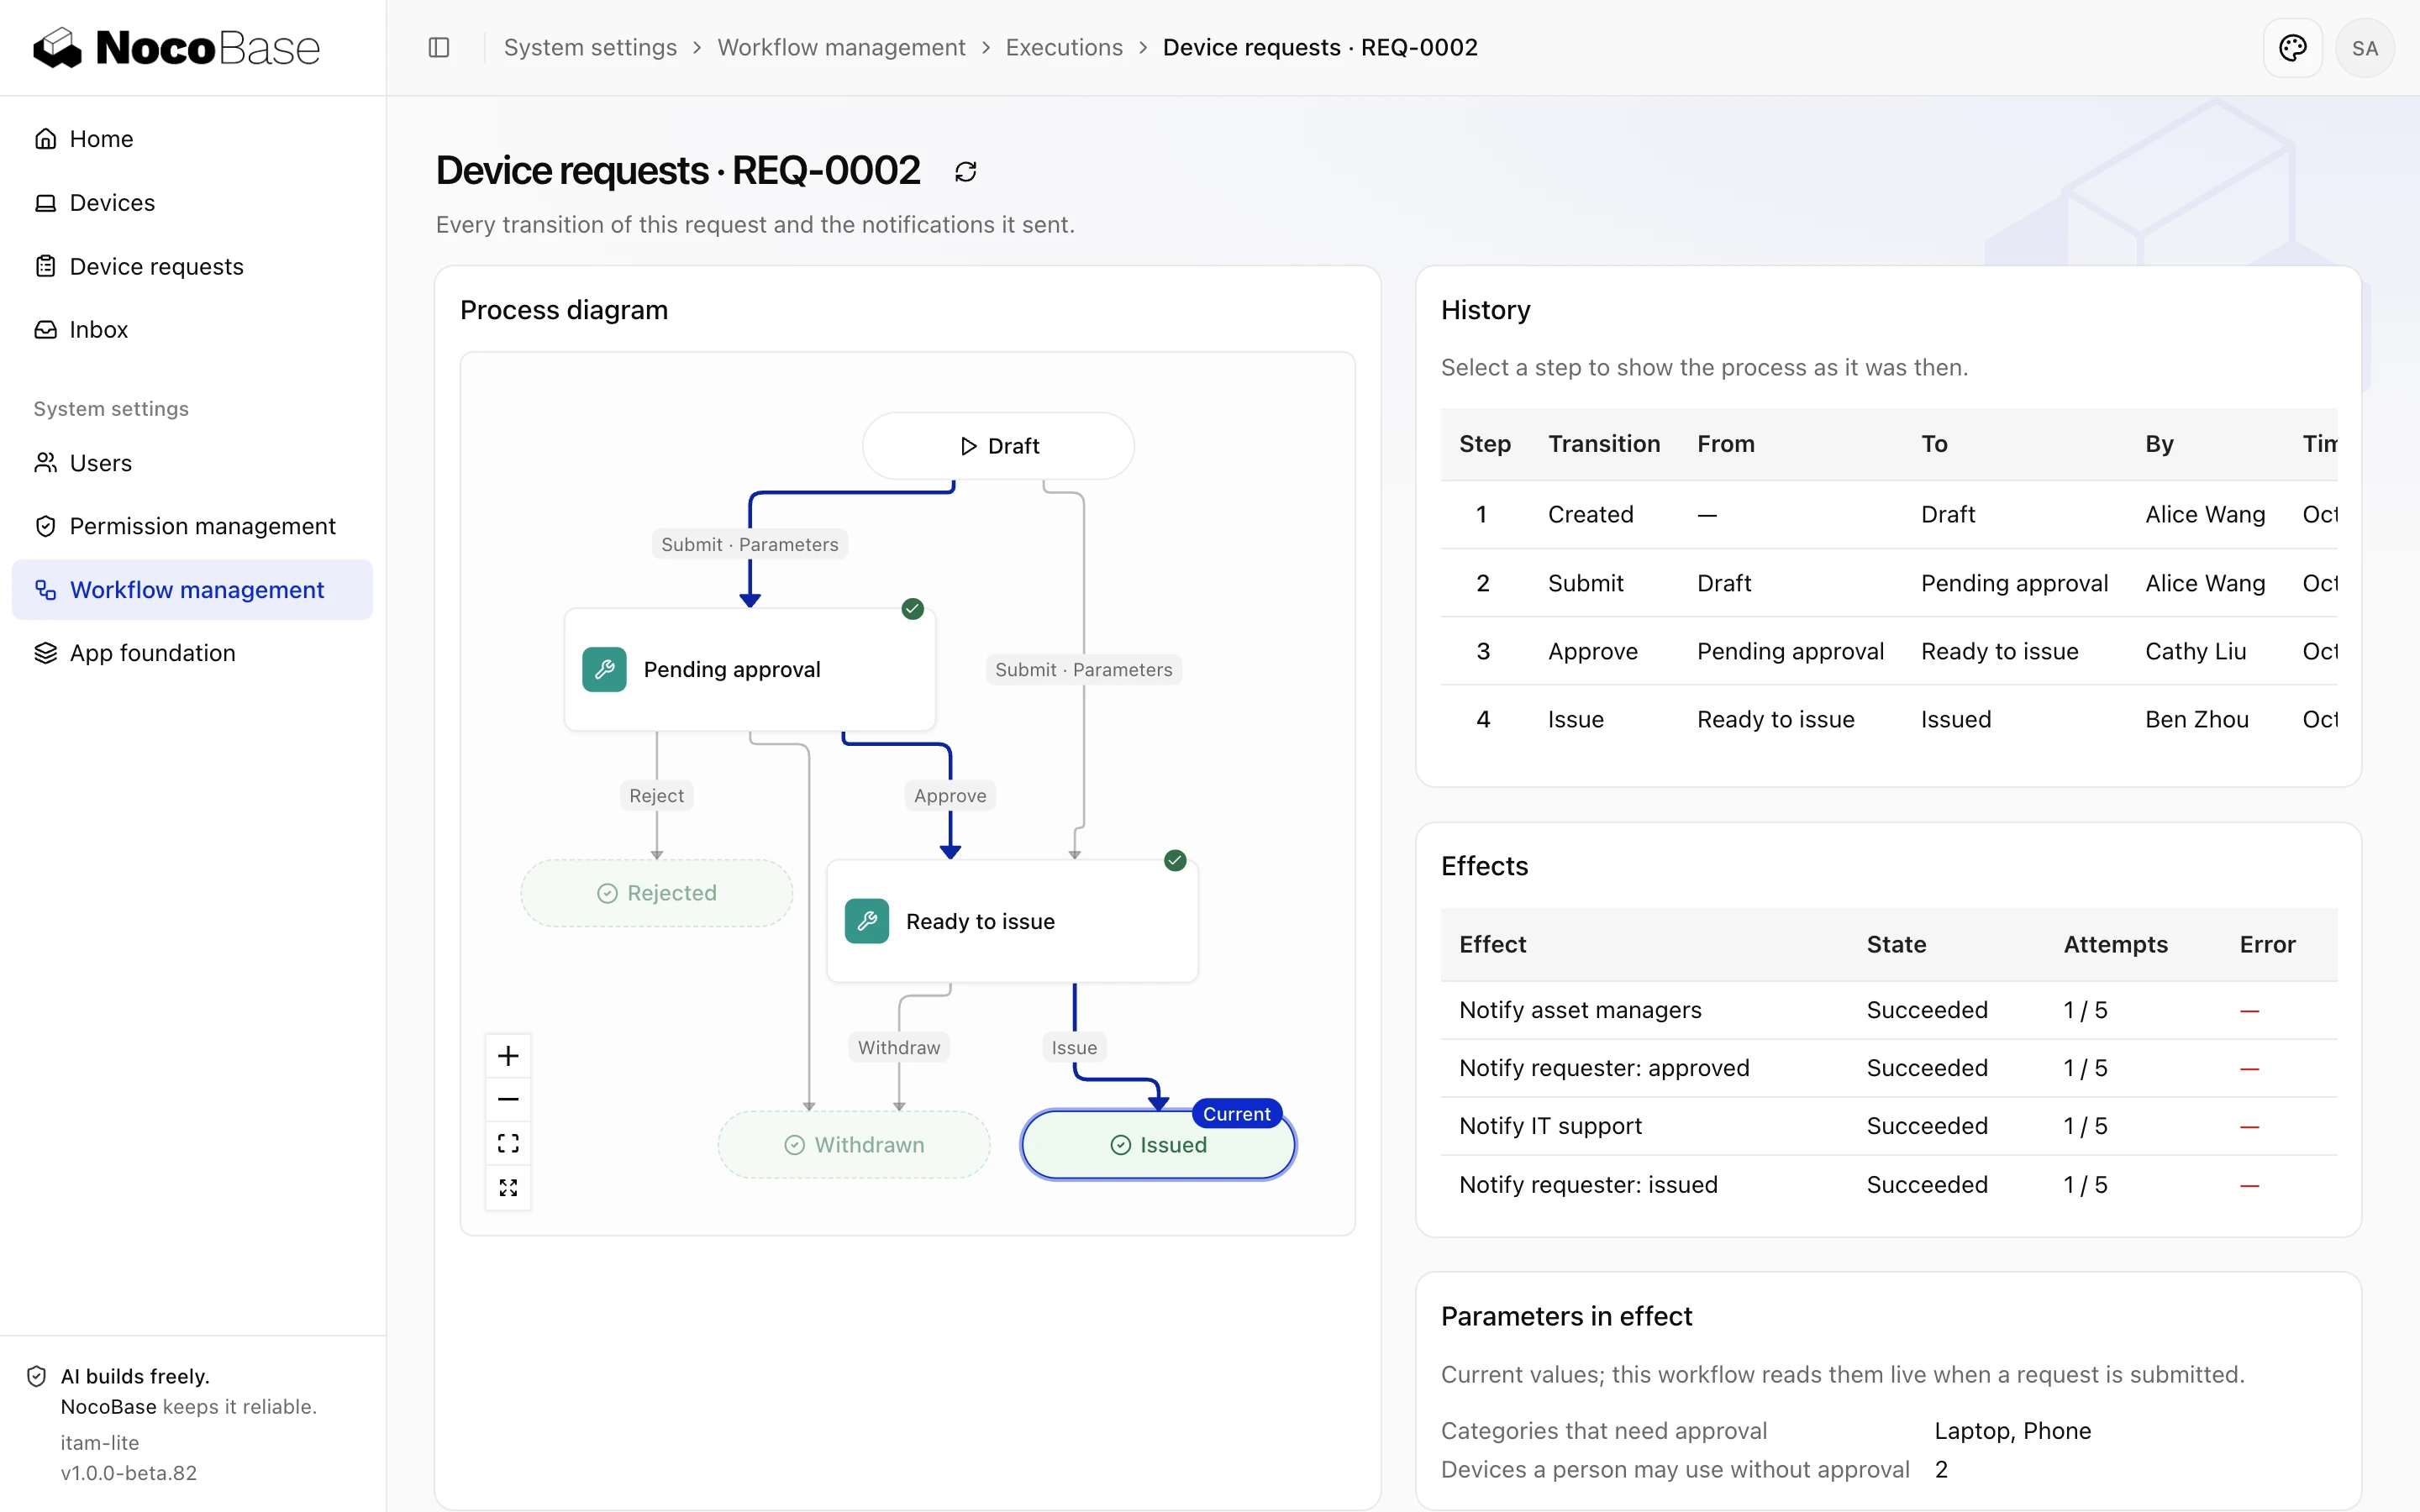
Done whenafter an asset manager approves a laptop request and IT support issues it, the device in the register is In use and assigned to the requester; a monitor request goes straight to Ready to issue; Cathy, Ben and Alice each get the matching in-app message; Workflow management shows the process diagram, the approval rules and the executions.