

Building a Plugin Settings Page
Many plugins need a settings page for users to configure parameters -- such as third-party service API Keys, Webhook URLs, etc. This example demonstrates how to build a complete plugin settings page using pluginSettingsManager + React components + ctx.api.
This example doesn't involve FlowEngine; it's purely a combination of Plugin + Router + Component + Context.
It's recommended to familiarize yourself with the following content for a smoother development experience:
- Writing Your First Plugin -- Plugin creation and directory structure
- Plugin -- Plugin entry point and
load()lifecycle - Router --
pluginSettingsManagersettings page registration - Component Development -- React component patterns and useFlowContext
- i18n Internationalization -- Translation file conventions and
useT()usage
Final Result
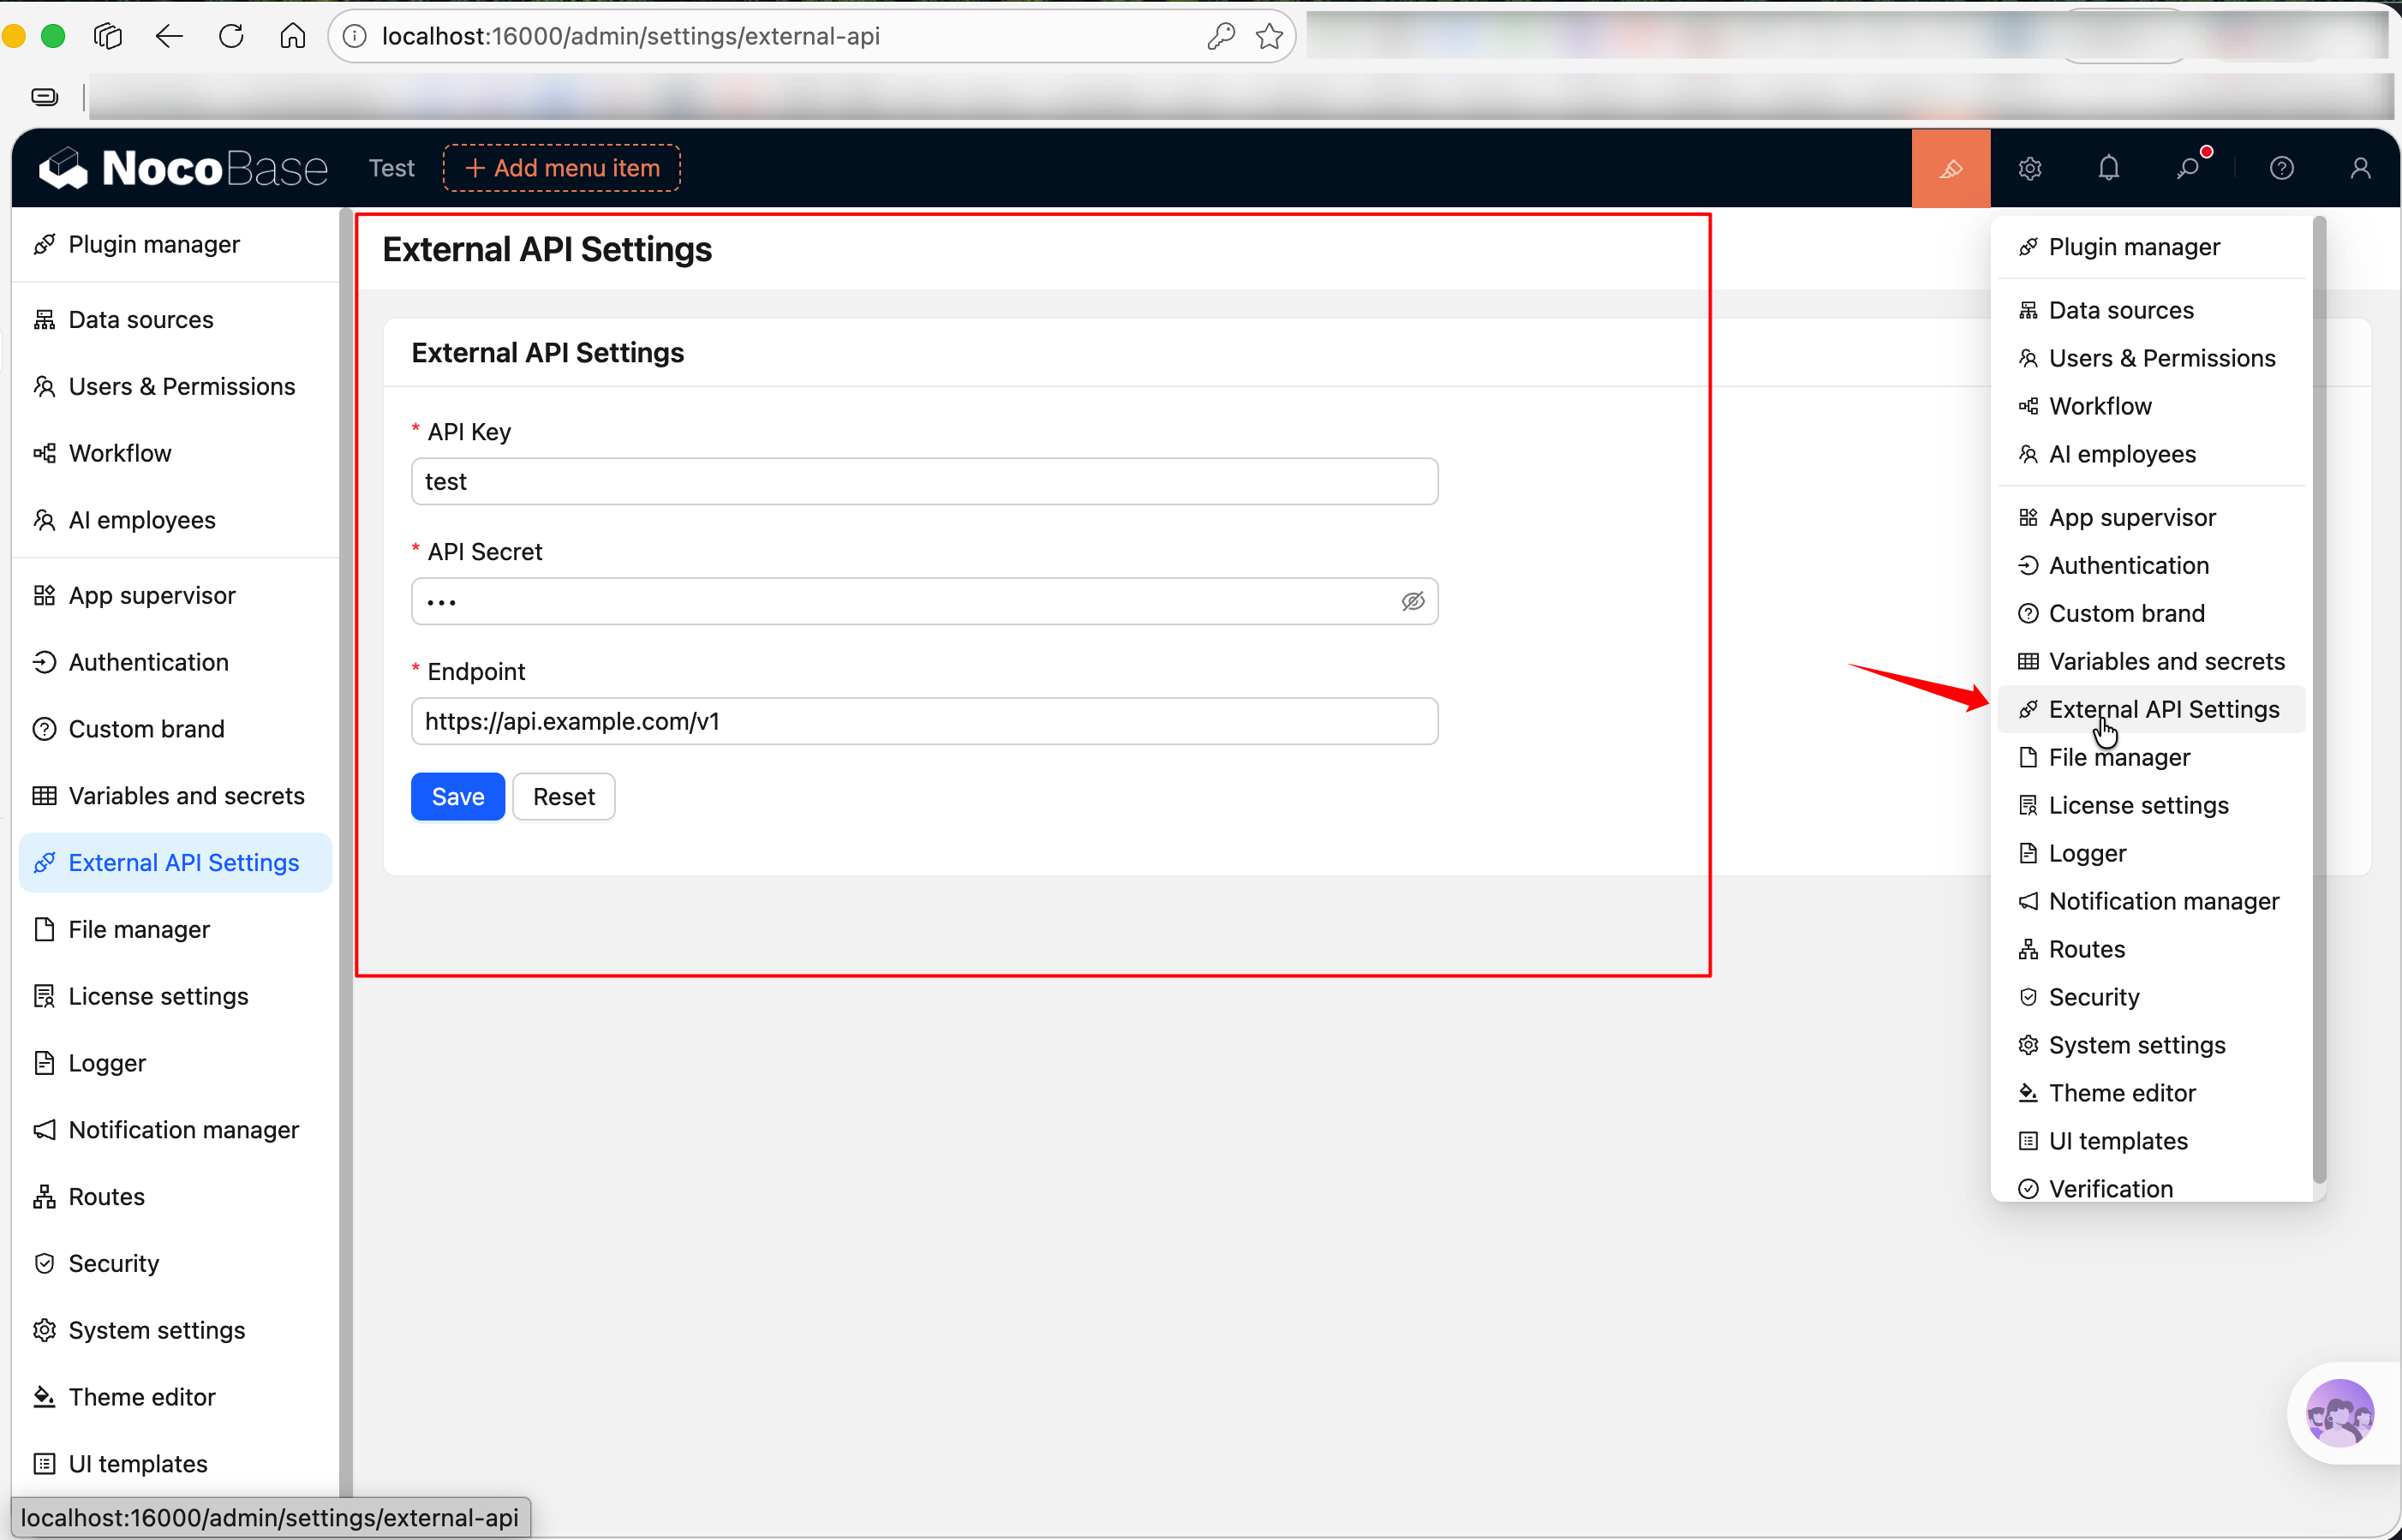
We're building an "External API Settings" page:
- Appears in the "Plugin Settings" menu
- Provides form UI with Antd Form
- Reads and saves configuration via
ctx.apicalling backend APIs - Shows a notification on successful save
Full source code is available at @nocobase-example/plugin-settings-page. If you want to run it locally:
Let's build this plugin step by step from scratch.
Step 1: Create the Plugin Skeleton
Run the following in the repository root:
This will generate a basic file structure under packages/plugins/@my-project/plugin-settings-page, including src/client-v2/, src/server/, src/locale/, and other directories. For detailed instructions, see Writing Your First Plugin.
Step 2: Register the Settings Page
Edit src/client-v2/plugin.tsx. In load(), use this.pluginSettingsManager to register the settings page. This is done in two steps -- first register the menu entry with addMenuItem(), then register the actual page with addPageTabItem():
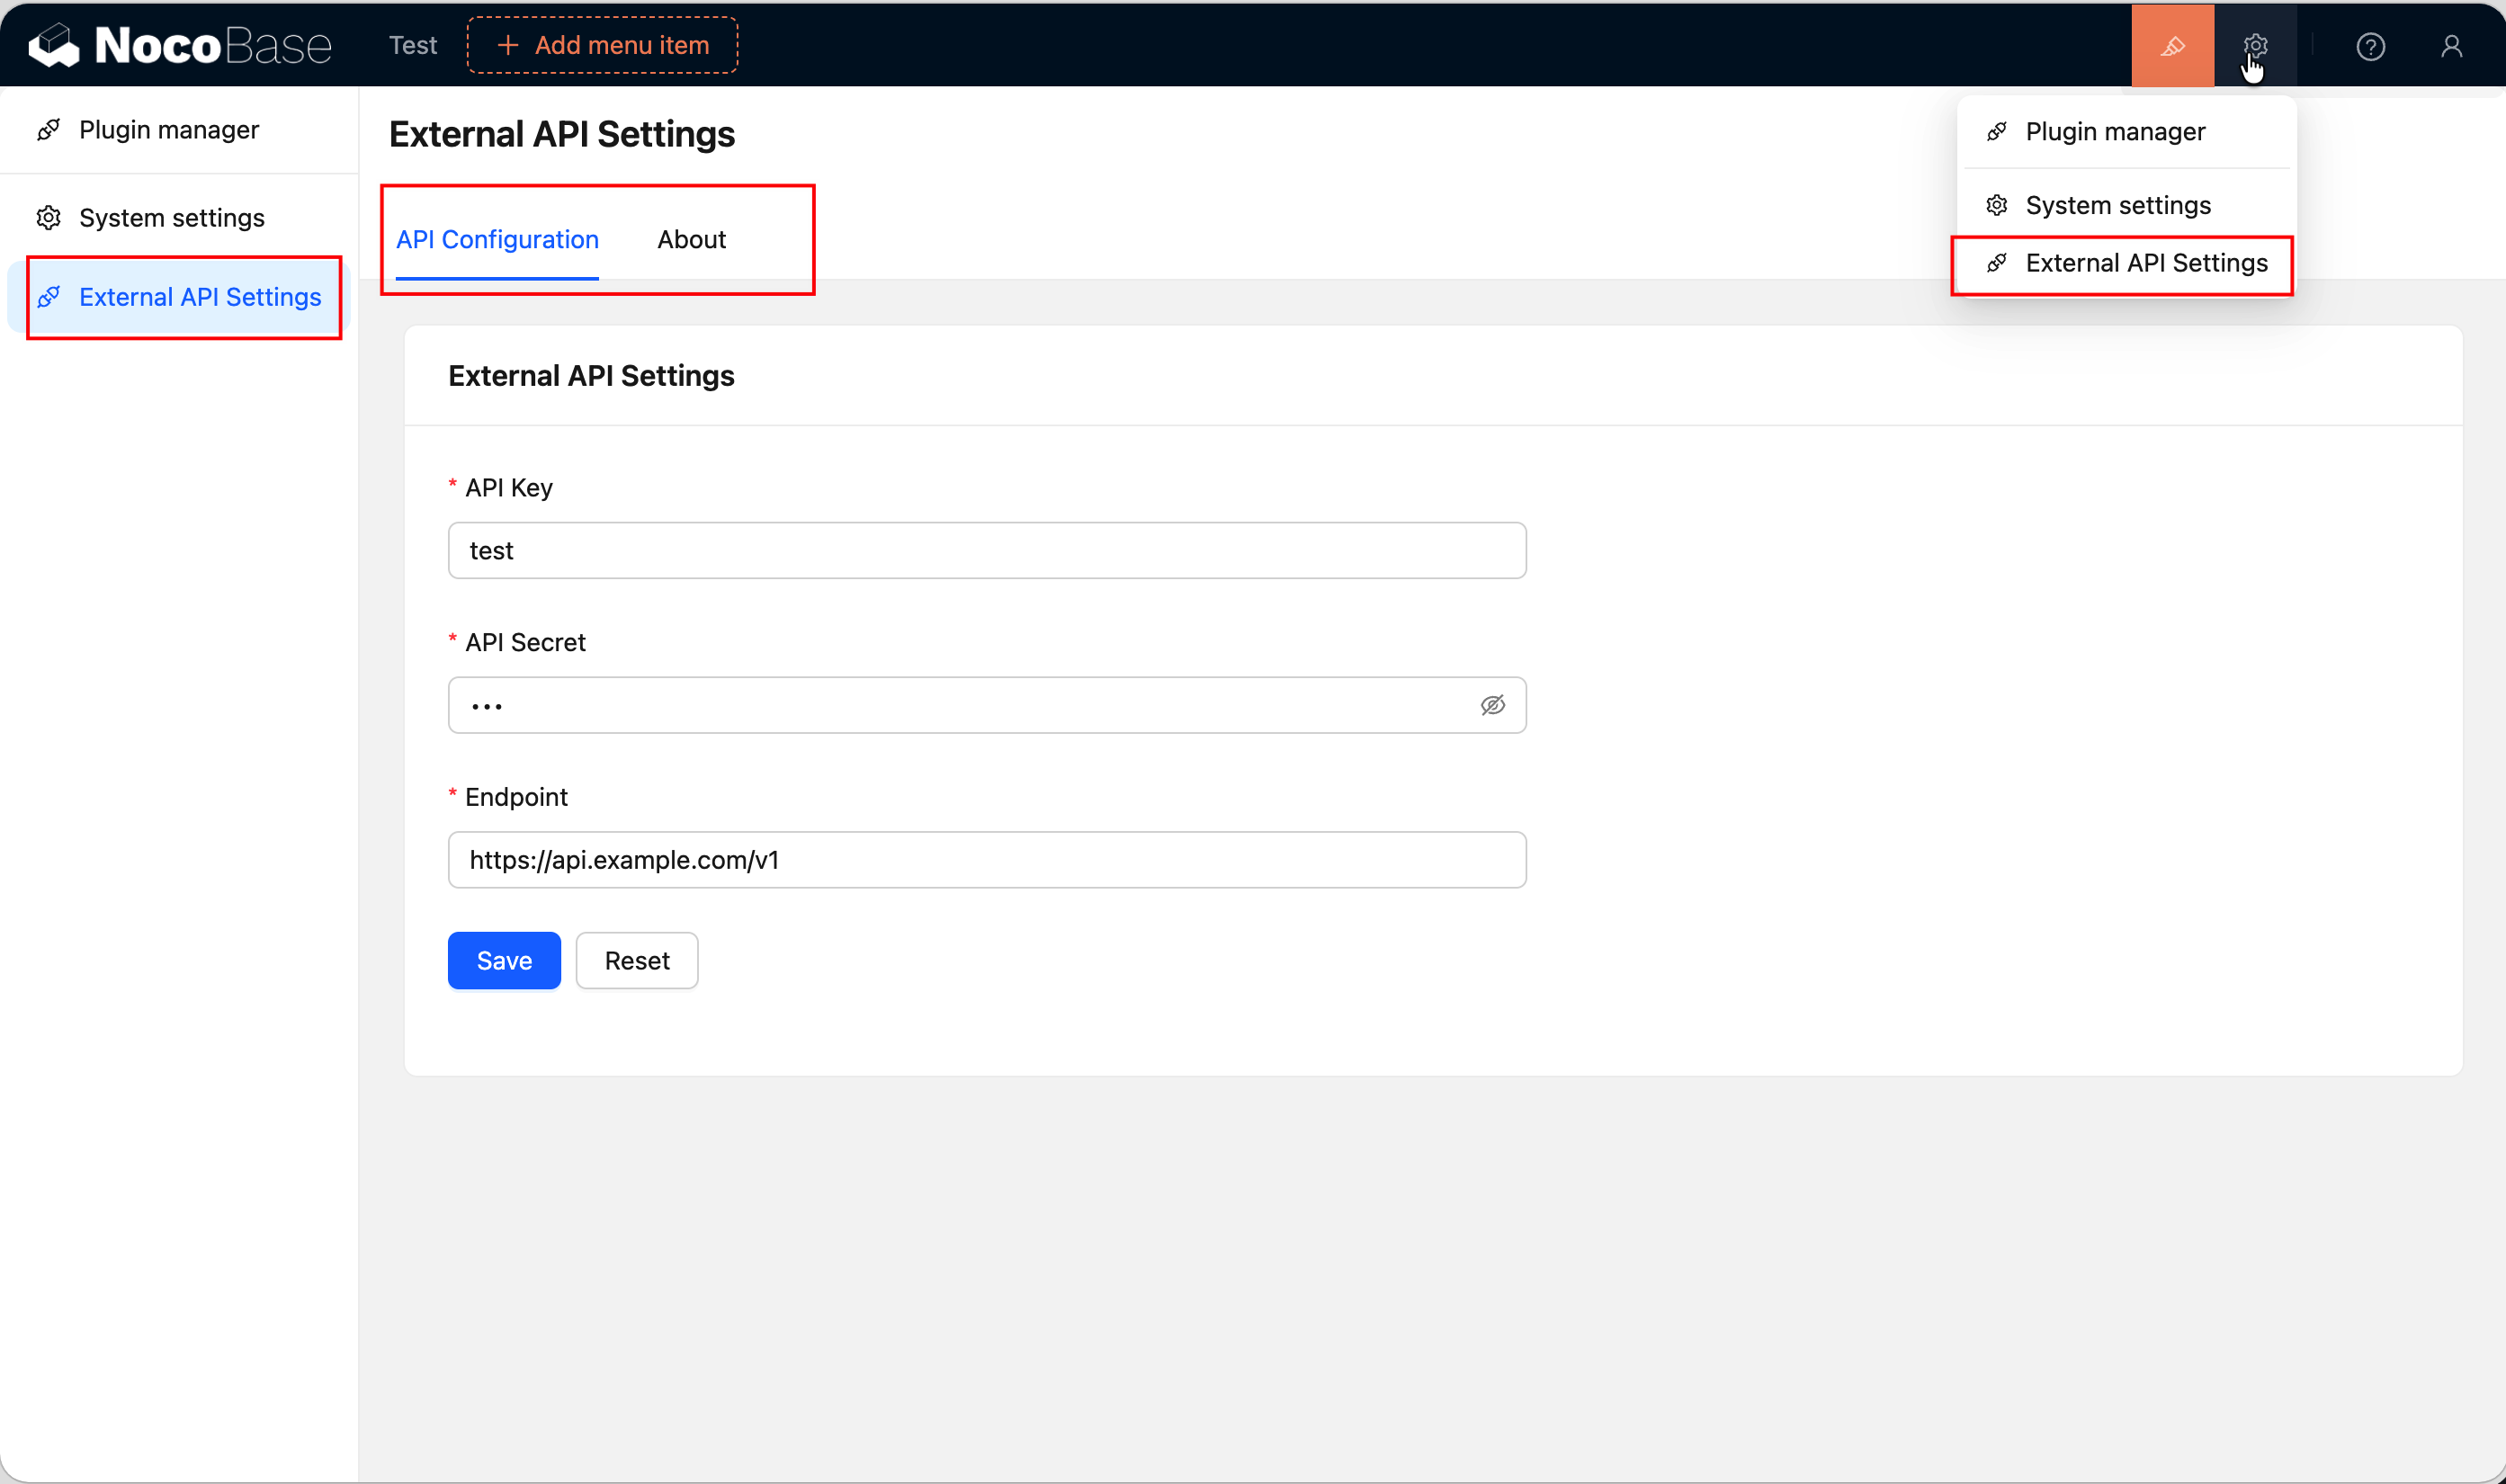
After registration, an "External API Settings" entry will appear in the "Plugin Settings" menu, with two tabs at the top -- "API Configuration" and "About". When there's only one page under a menu, the tab bar is automatically hidden; since we've registered two pages here, it will be displayed automatically. this.t() automatically uses the current plugin's package name as the i18n namespace; see Context -> Common Capabilities for details.
Step 3: Write the Settings Page Component
Create src/client-v2/pages/ExternalApiSettingsPage.tsx. A settings page is just a regular React component. Here we use Antd's Form and Card for the UI, useFlowContext() to get ctx.api for backend interaction, and useT() to get the translation function.
Key points:
useFlowContext()-- Imported from@nocobase/flow-engine, provides access toctx.apiand other context capabilitiesuseT()-- A translation hook imported fromlocale.ts, already bound to the plugin's namespace; see i18n Internationalization for detailsuseRequest()-- From ahooks, handles request loading and error states.manual: truemeans the request won't fire automatically and needs to be called manually viarun()ctx.api.request()-- Same usage as Axios; NocoBase automatically includes authentication information
Step 4: Add Multilingual Files
Edit the translation files under the plugin's src/locale/:
Adding language files for the first time requires restarting the application to take effect.
For more about translation file conventions, the useT() hook, tExpr(), and other usage patterns, see i18n Internationalization.
Step 5: Server-Side APIs
The client-side form needs two backend APIs: externalApi:get and externalApi:set. The server-side part is straightforward -- define a data table to store configuration and register two APIs.
Define the Data Table
Create src/server/collections/externalApiSettings.ts. NocoBase will automatically load collection definitions from this directory:
Register Resources and APIs
Edit src/server/plugin.ts. Use resourceManager.define() to register resources and configure ACL permissions:
Key points:
ctx.db.getRepository()-- Gets a data operation object by collection namectx.action.params.values-- The POST request body dataacl.allow()--'loggedIn'means any logged-in user can access. ThesetAPI is not explicitly allowed, so by default only administrators can call itawait next()-- Must be called at the end of every action; this is a Koa middleware convention
Step 6: Write the "About" Page
In Step 2, we registered two tabs. The "API Configuration" page component was written in Step 3. Now let's write the "About" tab page.
Create src/client-v2/pages/AboutPage.tsx:
This page is simple -- it uses Antd's Descriptions to display plugin information. In real projects, the "About" tab can be used for version numbers, changelogs, help links, etc.
Step 7: Enable the Plugin
After enabling and refreshing the page, you'll see the "External API Settings" entry in the "Plugin Settings" menu.
Full Source Code
- @nocobase-example/plugin-settings-page -- Complete plugin settings page example
Summary
Capabilities used in this example:
Related Links
- Writing Your First Plugin -- Create a plugin skeleton from scratch
- Plugin -- Plugin entry point and lifecycle
- Router -- Page routing and plugin settings page registration
- Context -> Common Capabilities -- ctx.api, ctx.t, etc.
- Component Development -- React component patterns
- Server-Side Development Overview -- Defining backend APIs
- i18n Internationalization -- Translation file conventions
- i18n Internationalization (Server) -- Server-side translations