
Before you start
Prepare Node.js 24+, pnpm compatible with the templates, and download access to both templates. The commands require compatible packages already published to your package source. If they are unavailable, obtain an available version first; a workspace source path is not an npm package name.
Configure the authorized commercial registry, replacing <read-token> with your download token:
npm config set "@nocobase:registry" "https://pkg-v3.nocobase.com/"
npm config set "//pkg-v3.nocobase.com/:_authToken" "<read-token>"
npm whoami --registry=https://pkg-v3.nocobase.com/
These commands write to your user-level ~/.npmrc, which npm and pnpm both read. Keep the token out of project files.
Choose a machine and reserve ports 13230 for Main, 13231 for its runtime node and 13240 for local child development. This walkthrough uses SQLite so no separate database server is needed. Other supported databases can be configured for your requirements.
Replace every occurrence of the example LAN IP 192.168.1.10 with your machine's address. This HTTP walkthrough is for a controlled private network. For public access, configure HTTPS first.
Step 1: Create and start Main
From the directory where you keep projects:
pnpm create @nocobase/app@beta platform --template multi-app --template-tag beta
cd platform
pnpm nocobase config init --dialect sqlite
pnpm nocobase config set server.host=0.0.0.0 server.port=13230 app.publicOrigin=http://192.168.1.10:13230
Before the first start, set a unique initial administrator password. config init writes configuration; it does not prompt for this password. The following Bash commands read it without showing it or including it in shell history. Save it securely; the default username is nocobase. Keep the generated encryption keys and this Main’s database.
read -r -s -p "Main administrator password: " MAIN_ADMIN_PASSWORD
printf '\n'
export MAIN_ADMIN_PASSWORD
pnpm nocobase config set --from-env users.initialAdmin.password=MAIN_ADMIN_PASSWORD
unset MAIN_ADMIN_PASSWORD
Merge the following into the generated config.yml. Edit an existing sso section instead of creating duplicate YAML keys:
sso:
  insecureRedirectOrigins:
    - http://192.168.1.10:13230
This Main-side exception permits child login callbacks on that controlled HTTP origin. Check the configuration and start Main:
The development server selects its port separately from config.yml. Set APP_SERVER_PORT explicitly as below and check that the printed address matches app.publicOrigin; free the chosen port if it is occupied.
pnpm nocobase config check
APP_SERVER_HOST=0.0.0.0 APP_SERVER_PORT=13230 pnpm dev
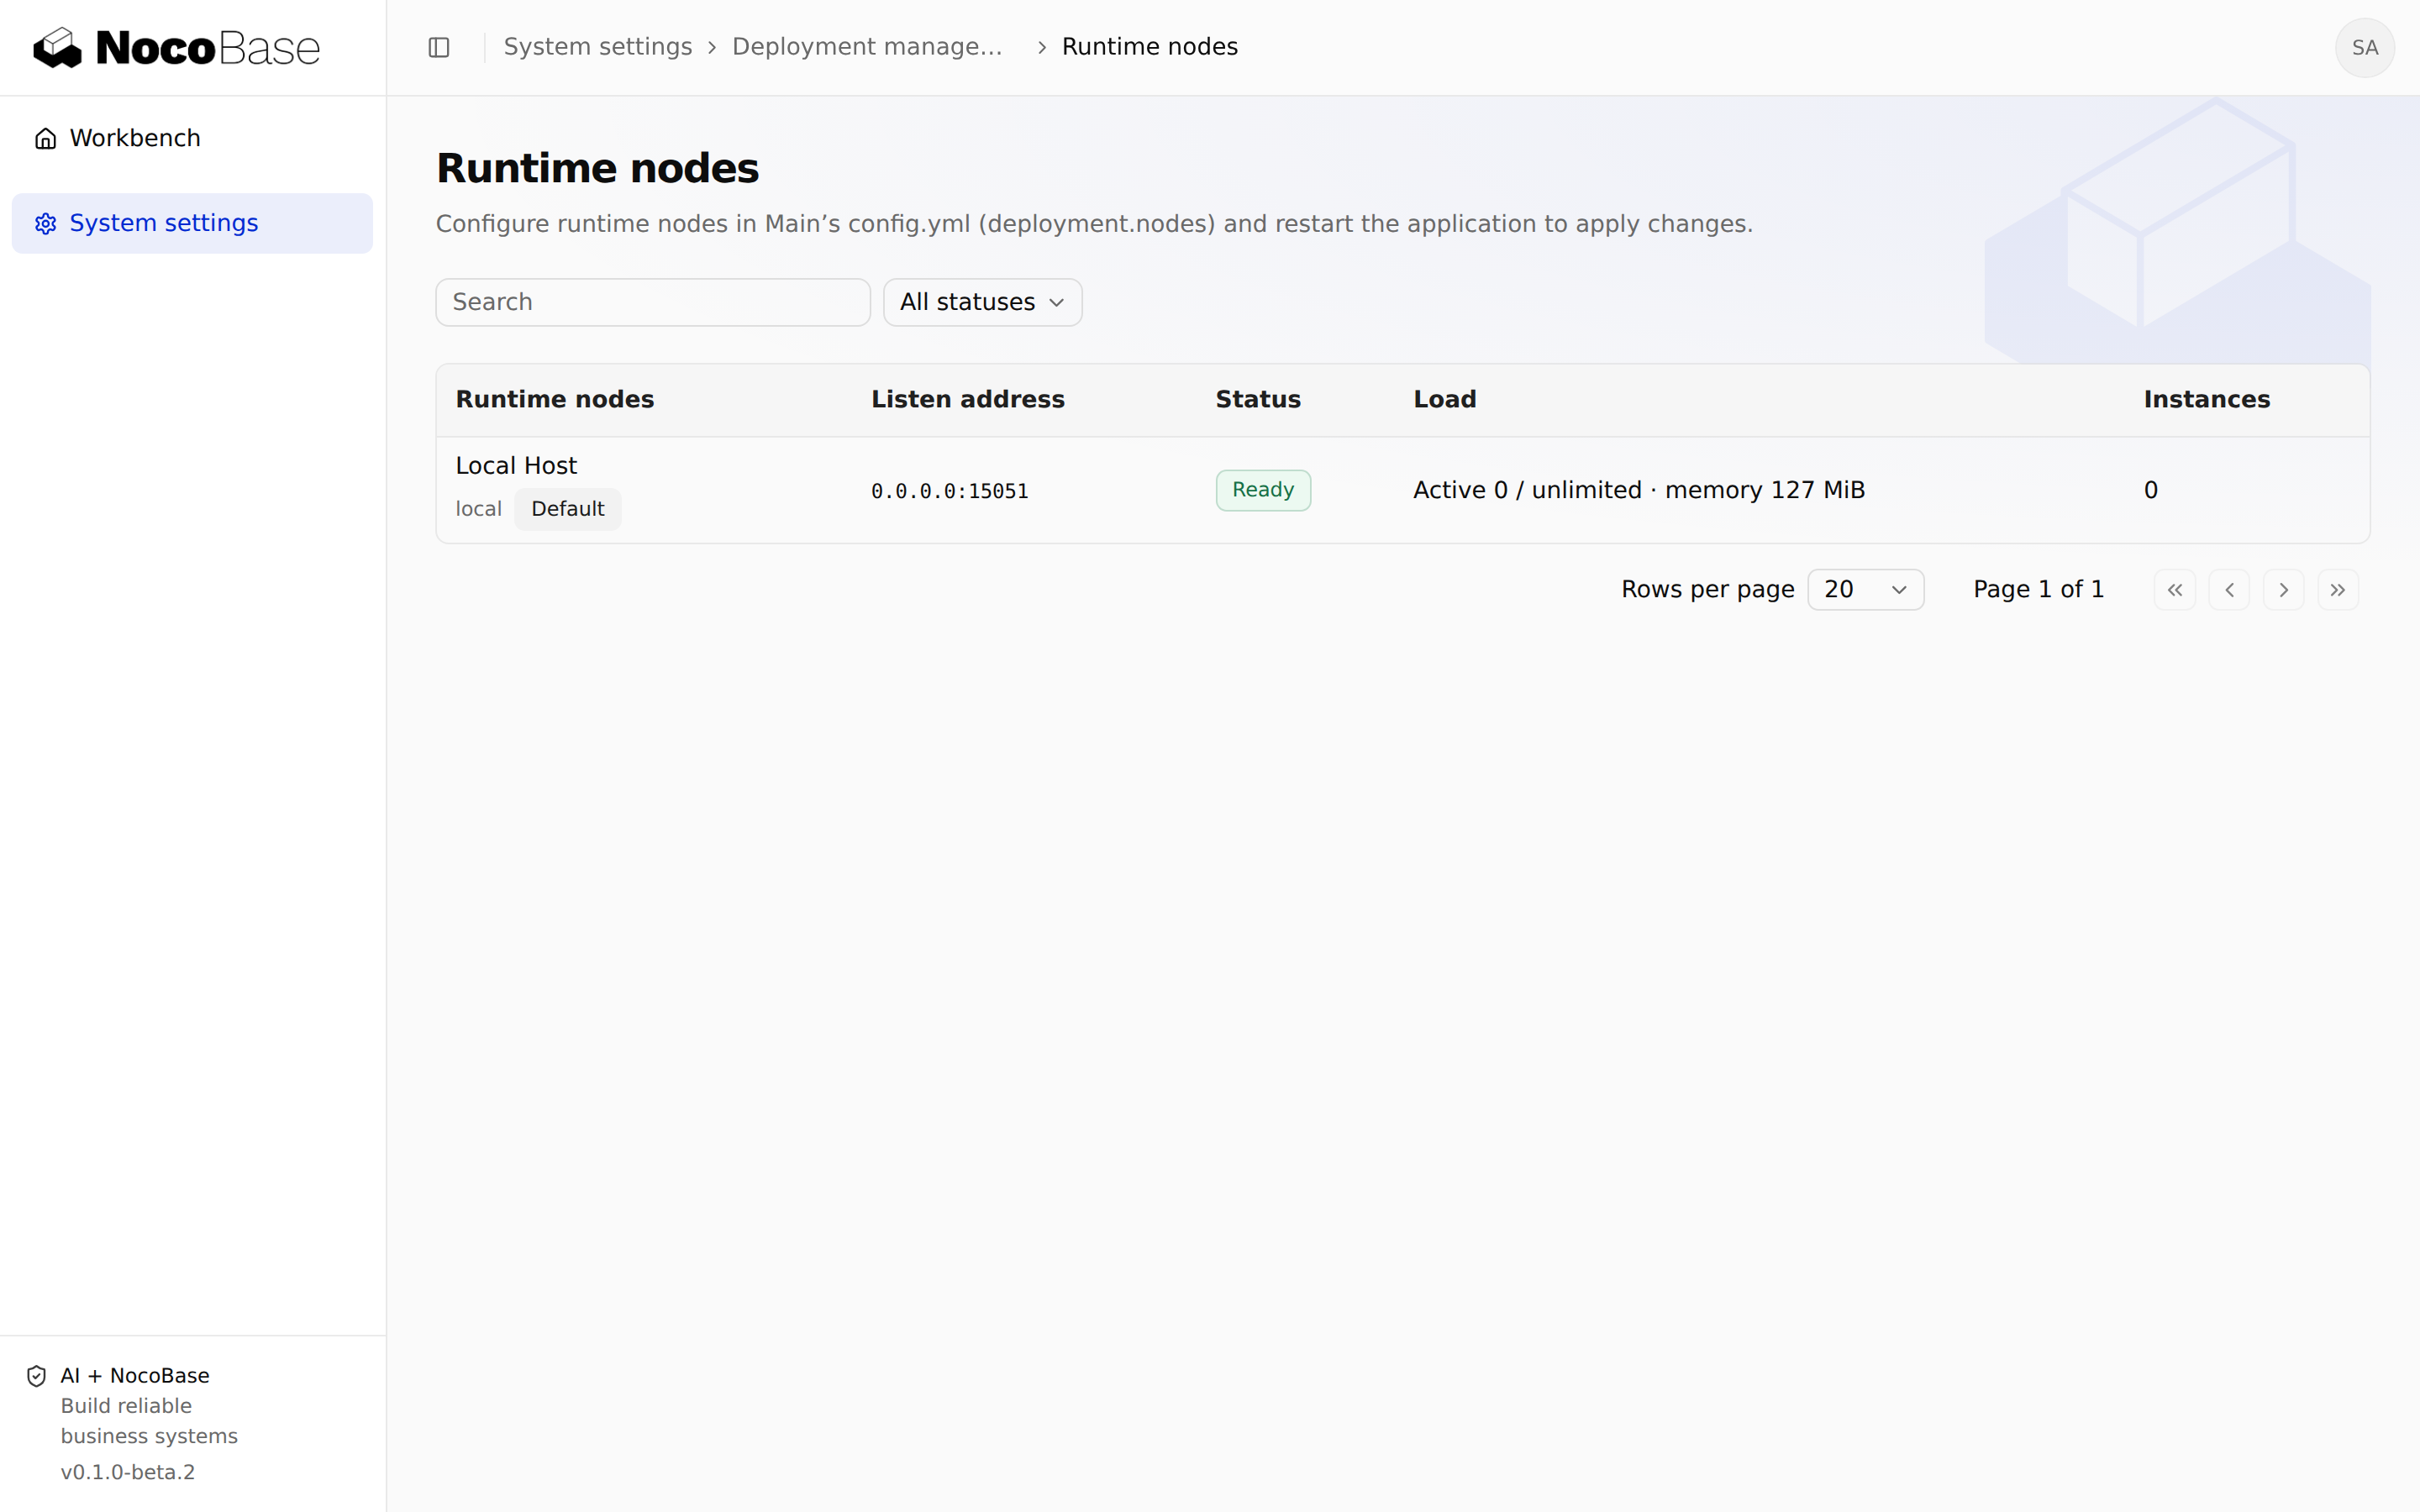
Open http://192.168.1.10:13230/main/ and sign in as the initial administrator. In System settings → Deployment management → Runtime nodes, confirm the default local node is available. Main starts it automatically; do not add it through the page.
If unavailable, check for a port conflict on 13231, a writable node directory and errors in Main's log. Browsers use Main's port, not the node's internal port.
Step 2: Create the child application
Keep Main running. In another terminal, return to the parent projects directory:
pnpm create @nocobase/app@beta child-app --template sub-app --template-tag beta
cd child-app
pnpm nocobase config init --dialect sqlite
pnpm nocobase config set server.host=0.0.0.0 server.port=13240 app.publicOrigin=http://192.168.1.10:13240
Set a different password for the child’s local administrator before starting it. The commands below use Bash, as in step 1. This account is separate from the administrator generated later for the hosted instance.
read -r -s -p "Child administrator password: " CHILD_ADMIN_PASSWORD
printf '\n'
export CHILD_ADMIN_PASSWORD
pnpm nocobase config set --from-env users.initialAdmin.password=CHILD_ADMIN_PASSWORD
unset CHILD_ADMIN_PASSWORD
pnpm nocobase config check
APP_SERVER_HOST=0.0.0.0 APP_SERVER_PORT=13240 pnpm dev
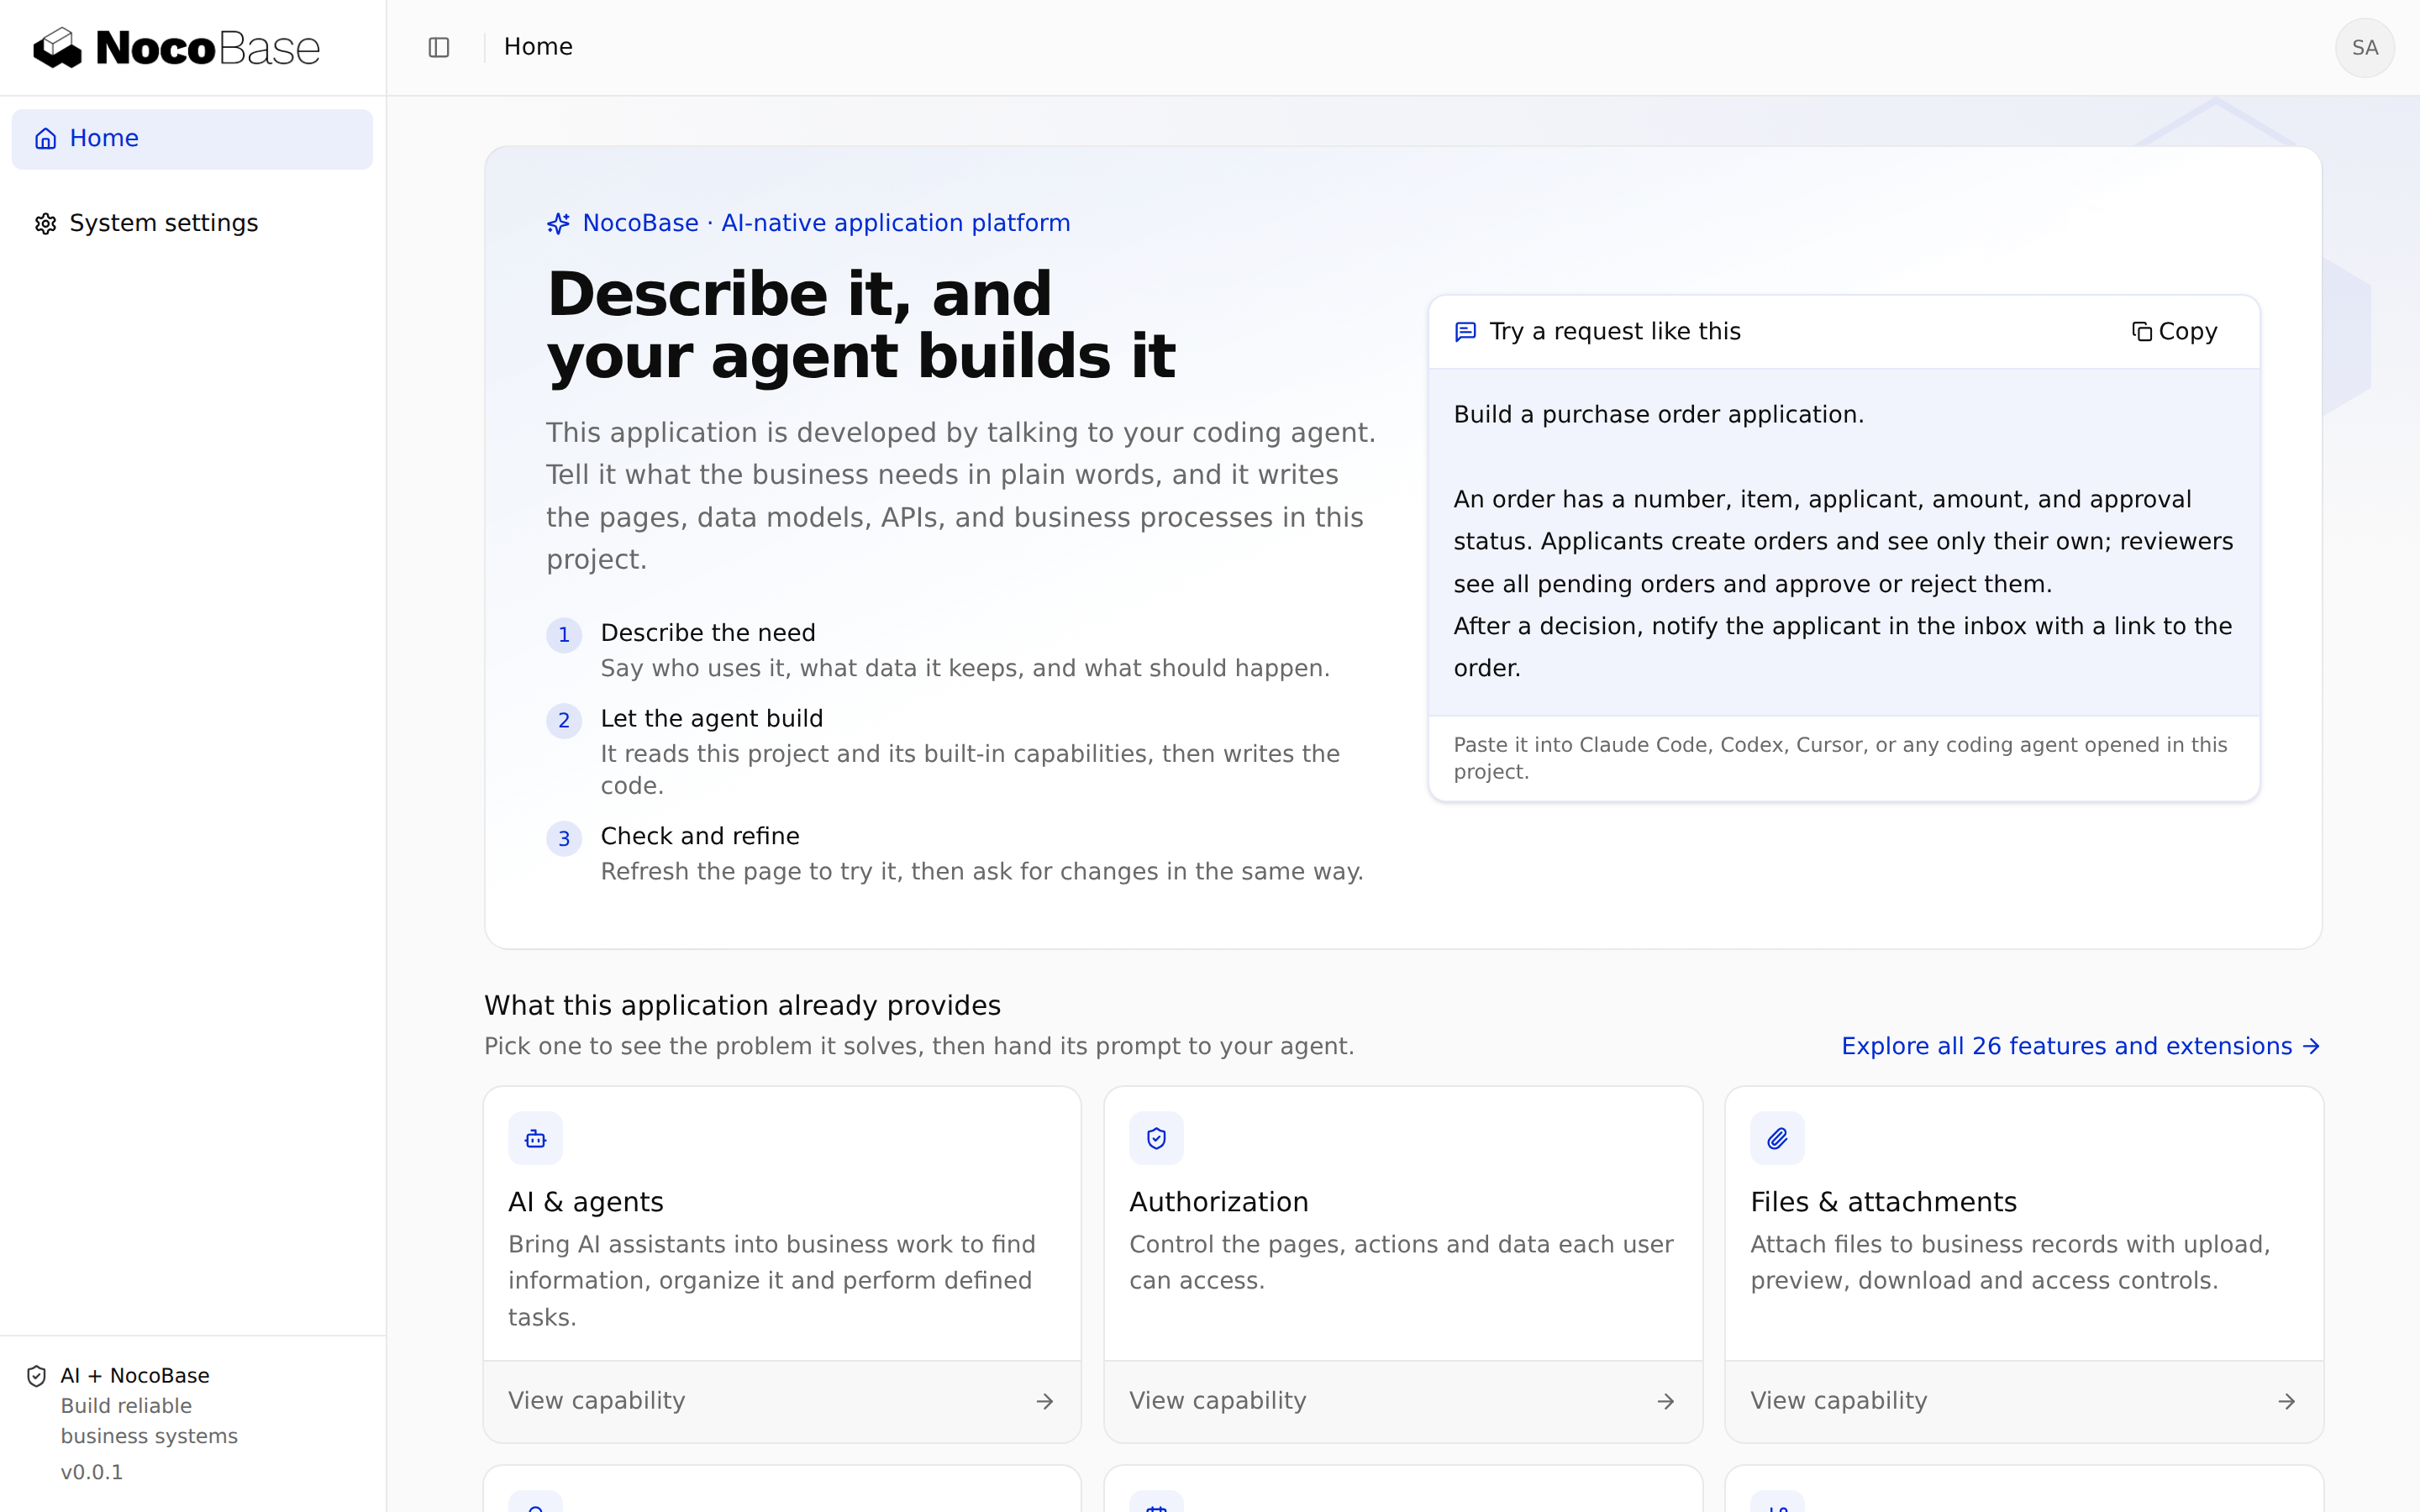
Open the application entry printed by the child terminal. Sign in using its own initial administrator and check the home page. The template includes the project deployment CLI, platform login and application switcher. Without platform credentials, local development uses local accounts.
Main and the child have separate databases and configuration. You can stop the child's development process after checking it. The hosted instance will not depend on that process.
Step 3: Configure the child's deployment management
Run these commands in the child-app root:
pnpm nocobase deploy init --server http://192.168.1.10:13230/main --instance dev --id quickstart-child --node local
pnpm nocobase deploy auth
pnpm nocobase deploy validate
pnpm nocobase deploy doctor
init creates deploy.yml. dev is its local instance key, quickstart-child is the instance ID in Main, and local is the runtime node ID. Include /main in the server address.
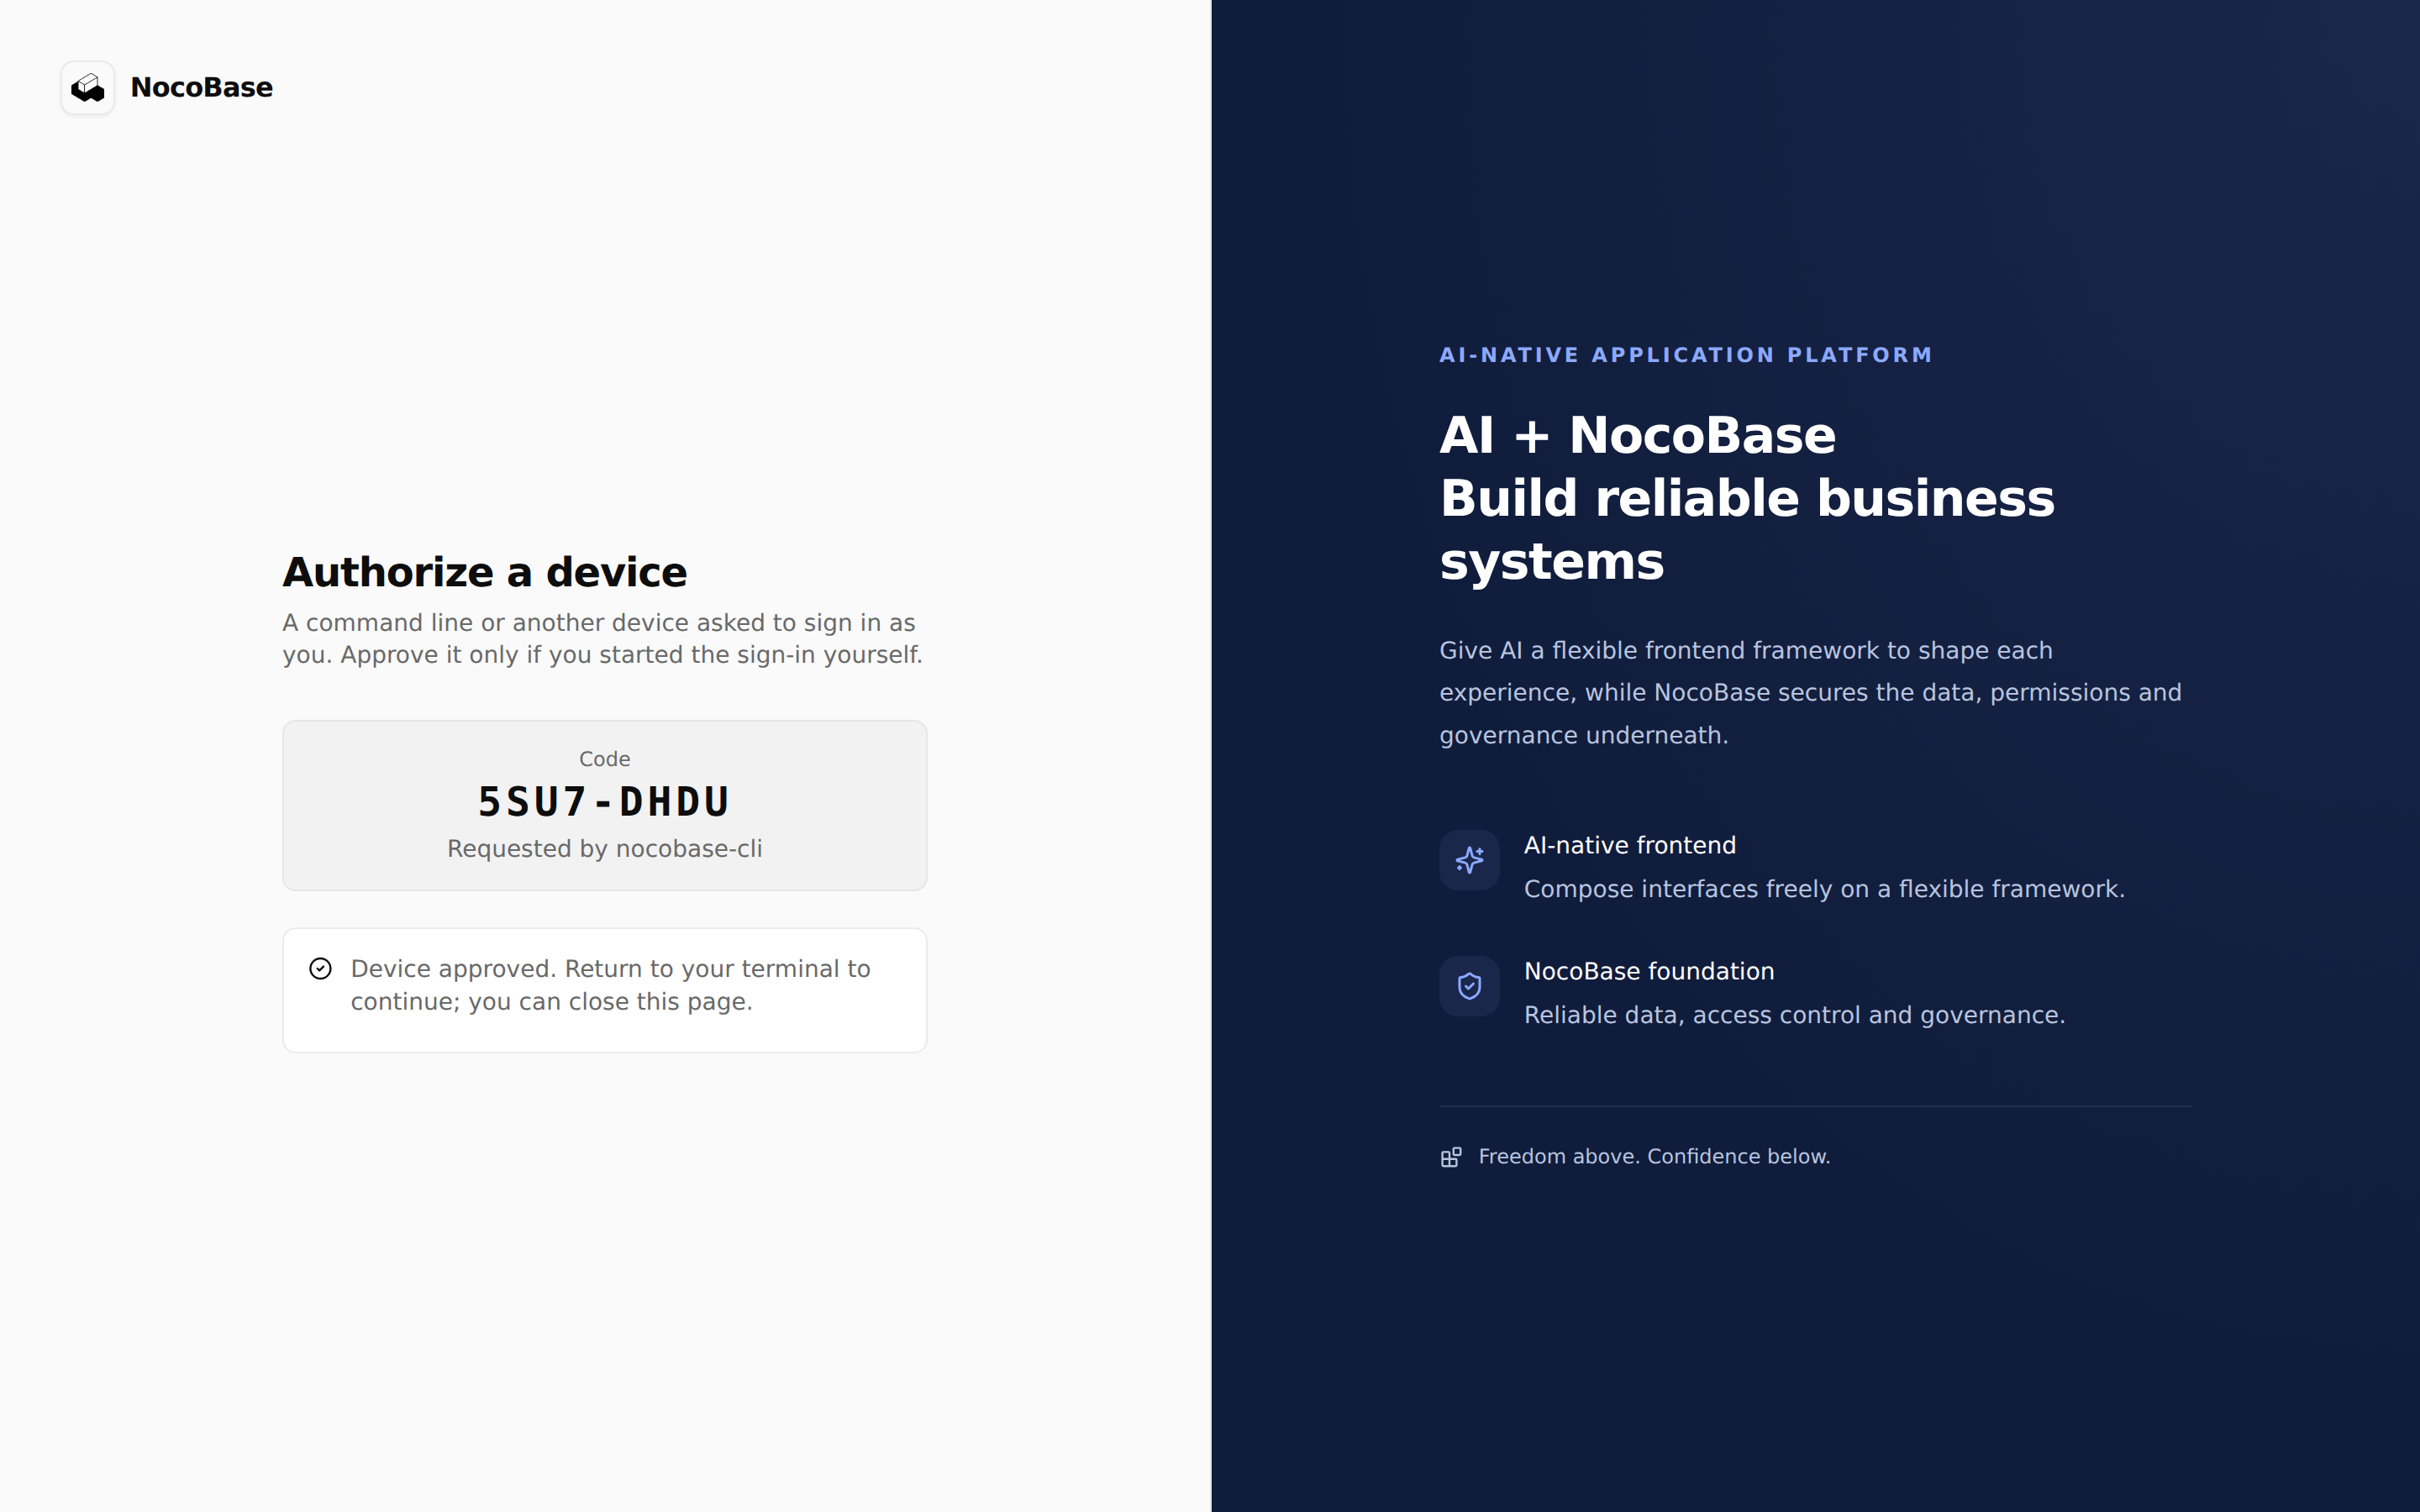
auth starts browser authorization. Sign in with a platform account permitted to deploy, review the target Main and authorization request, approve it, and return to the terminal to confirm success. This authorizes project deployment, separately from child user SSO.
The default configuration generates an administrator for the new instance and enables platform SSO. Check the server, instance ID and node in deploy.yml before proceeding.
Step 4: Build and deploy the child
Build and upload the current code:
pnpm nocobase deploy artifact upload --build --yes
pnpm nocobase deploy instance plan dev --action create
Upload publishes an application version and creates its package on the first upload. The build must match the node's platform; follow the CLI's rebuild instructions if it reports a mismatch.
Review the version, node, instance ID and configuration in the plan. Resolve blockers, then replace <planId> with the returned value:
pnpm nocobase deploy instance create dev --plan <planId> --yes --wait
pnpm nocobase deploy instance status dev
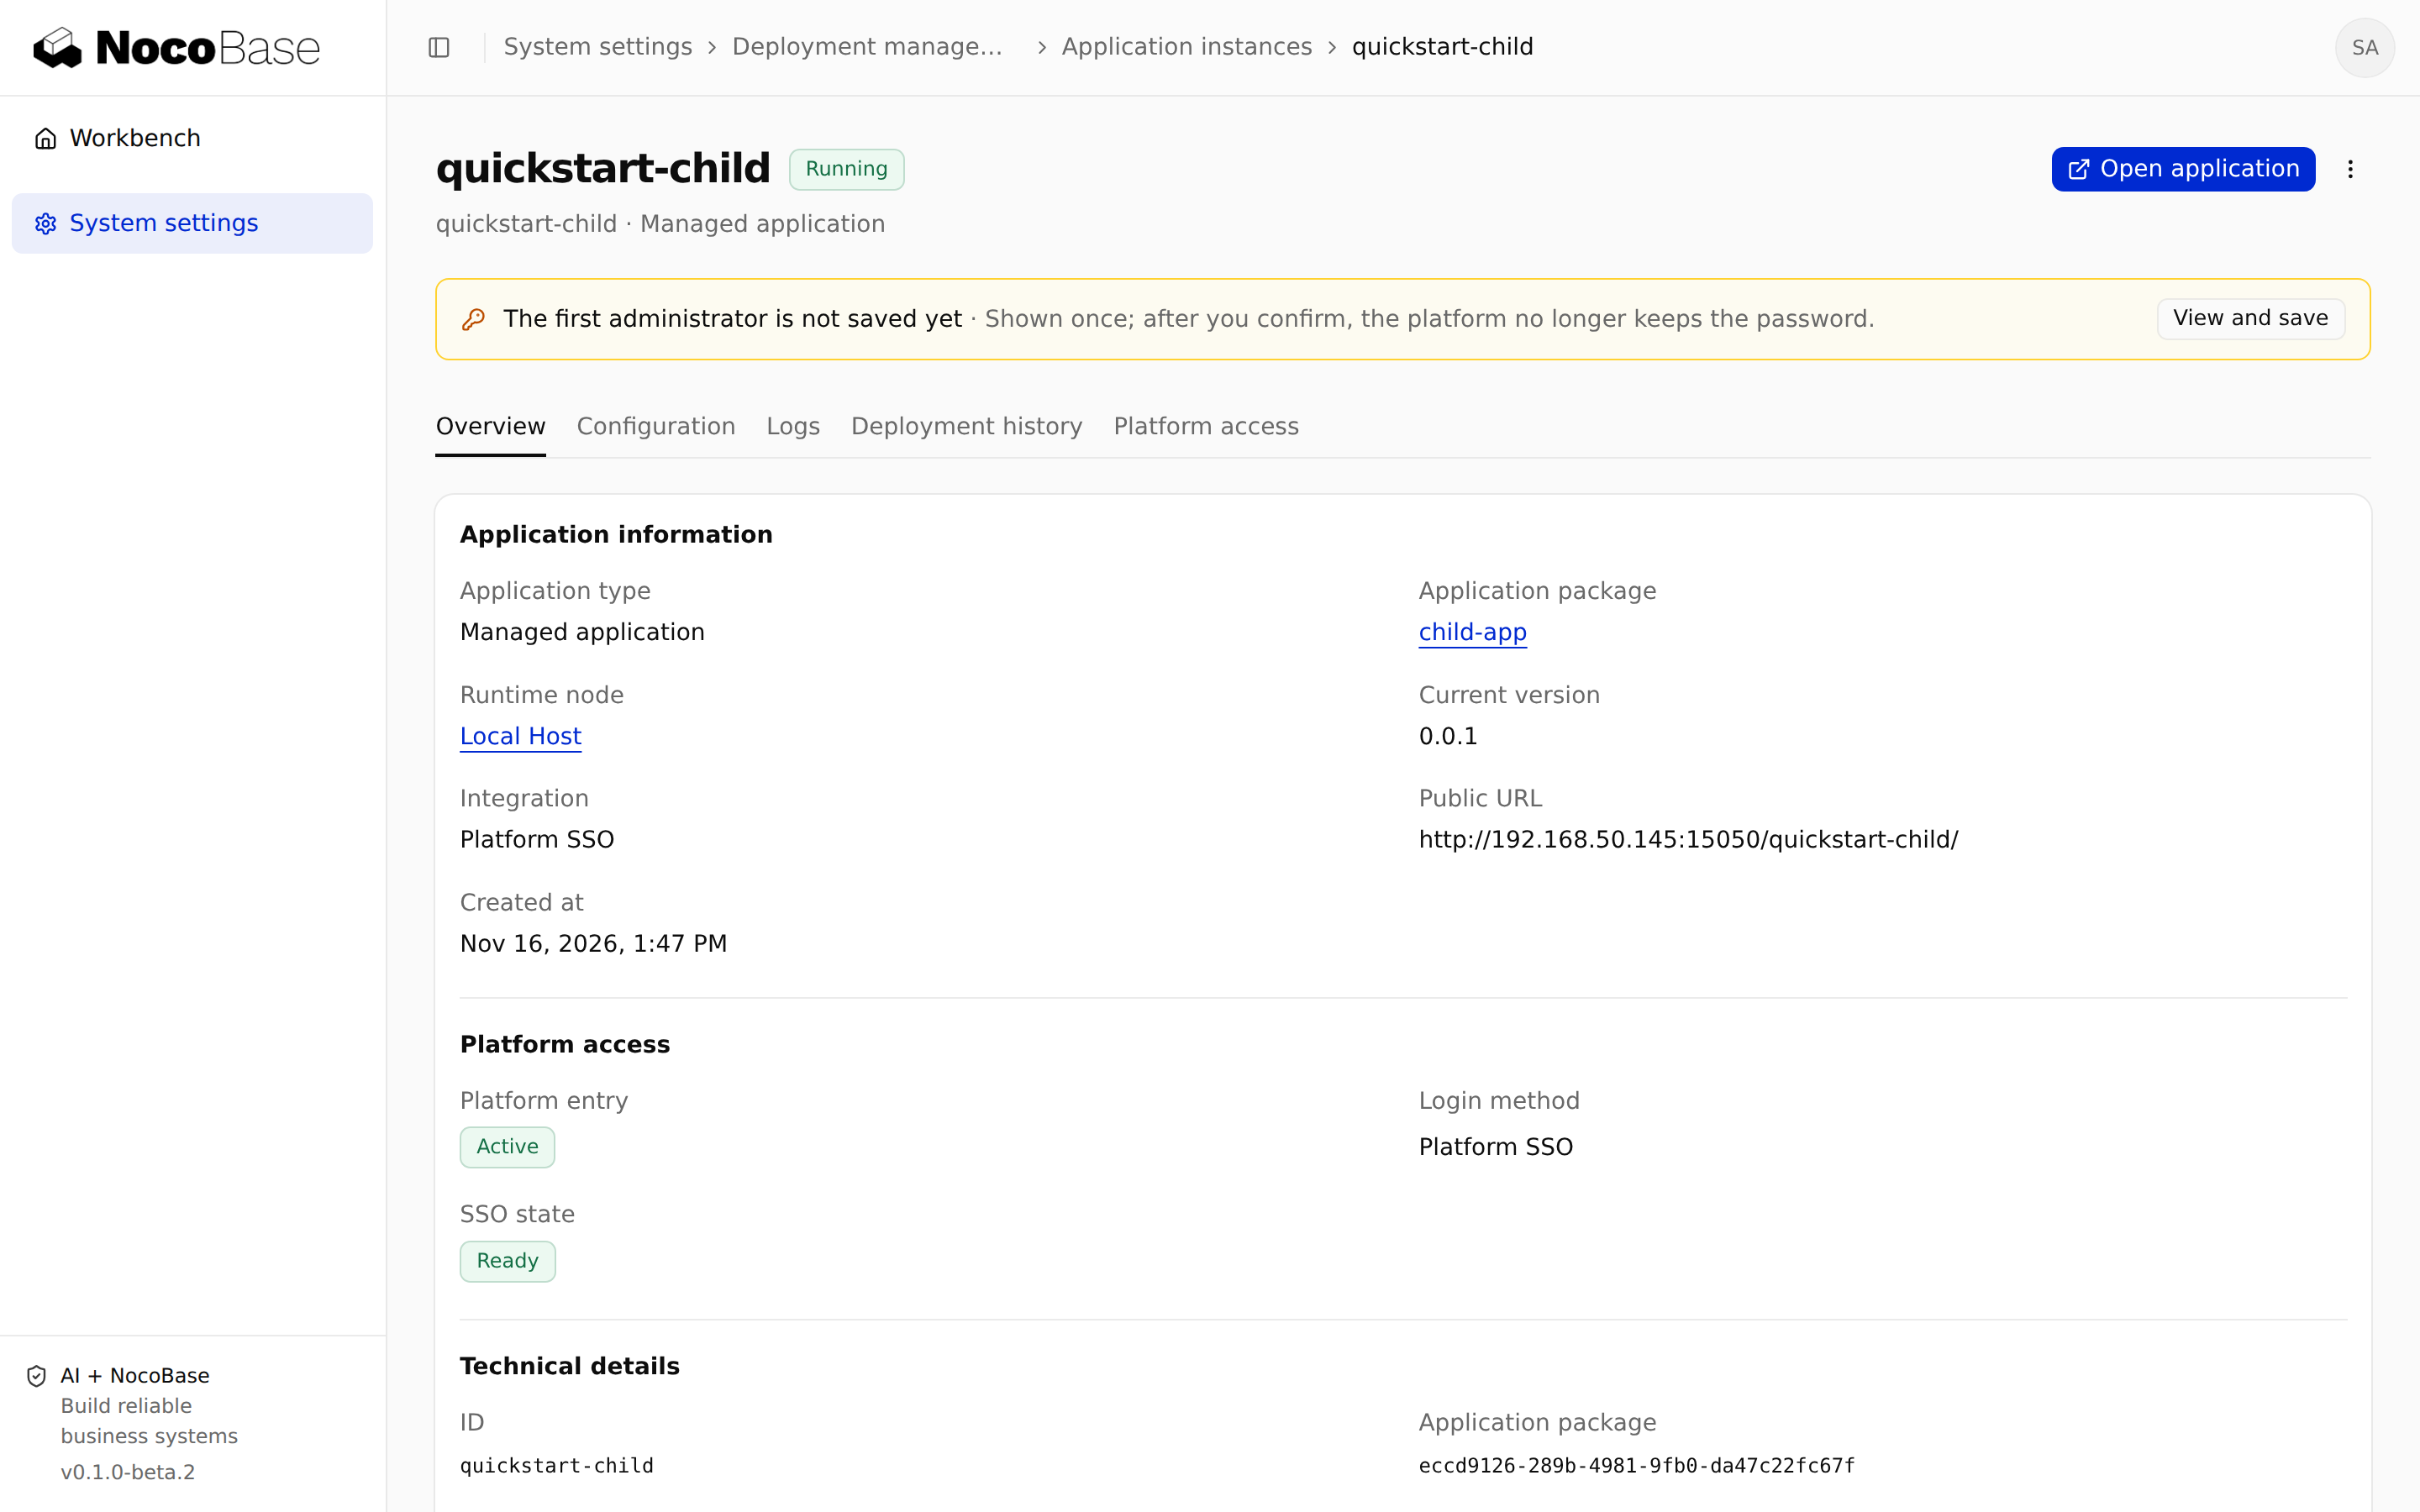
If the node requires approval, another authorized administrator must approve the operation in Main. After completion, check that quickstart-child is running under Application instances, with the expected version and access address.
Step 5: Enter the child and verify login and permissions
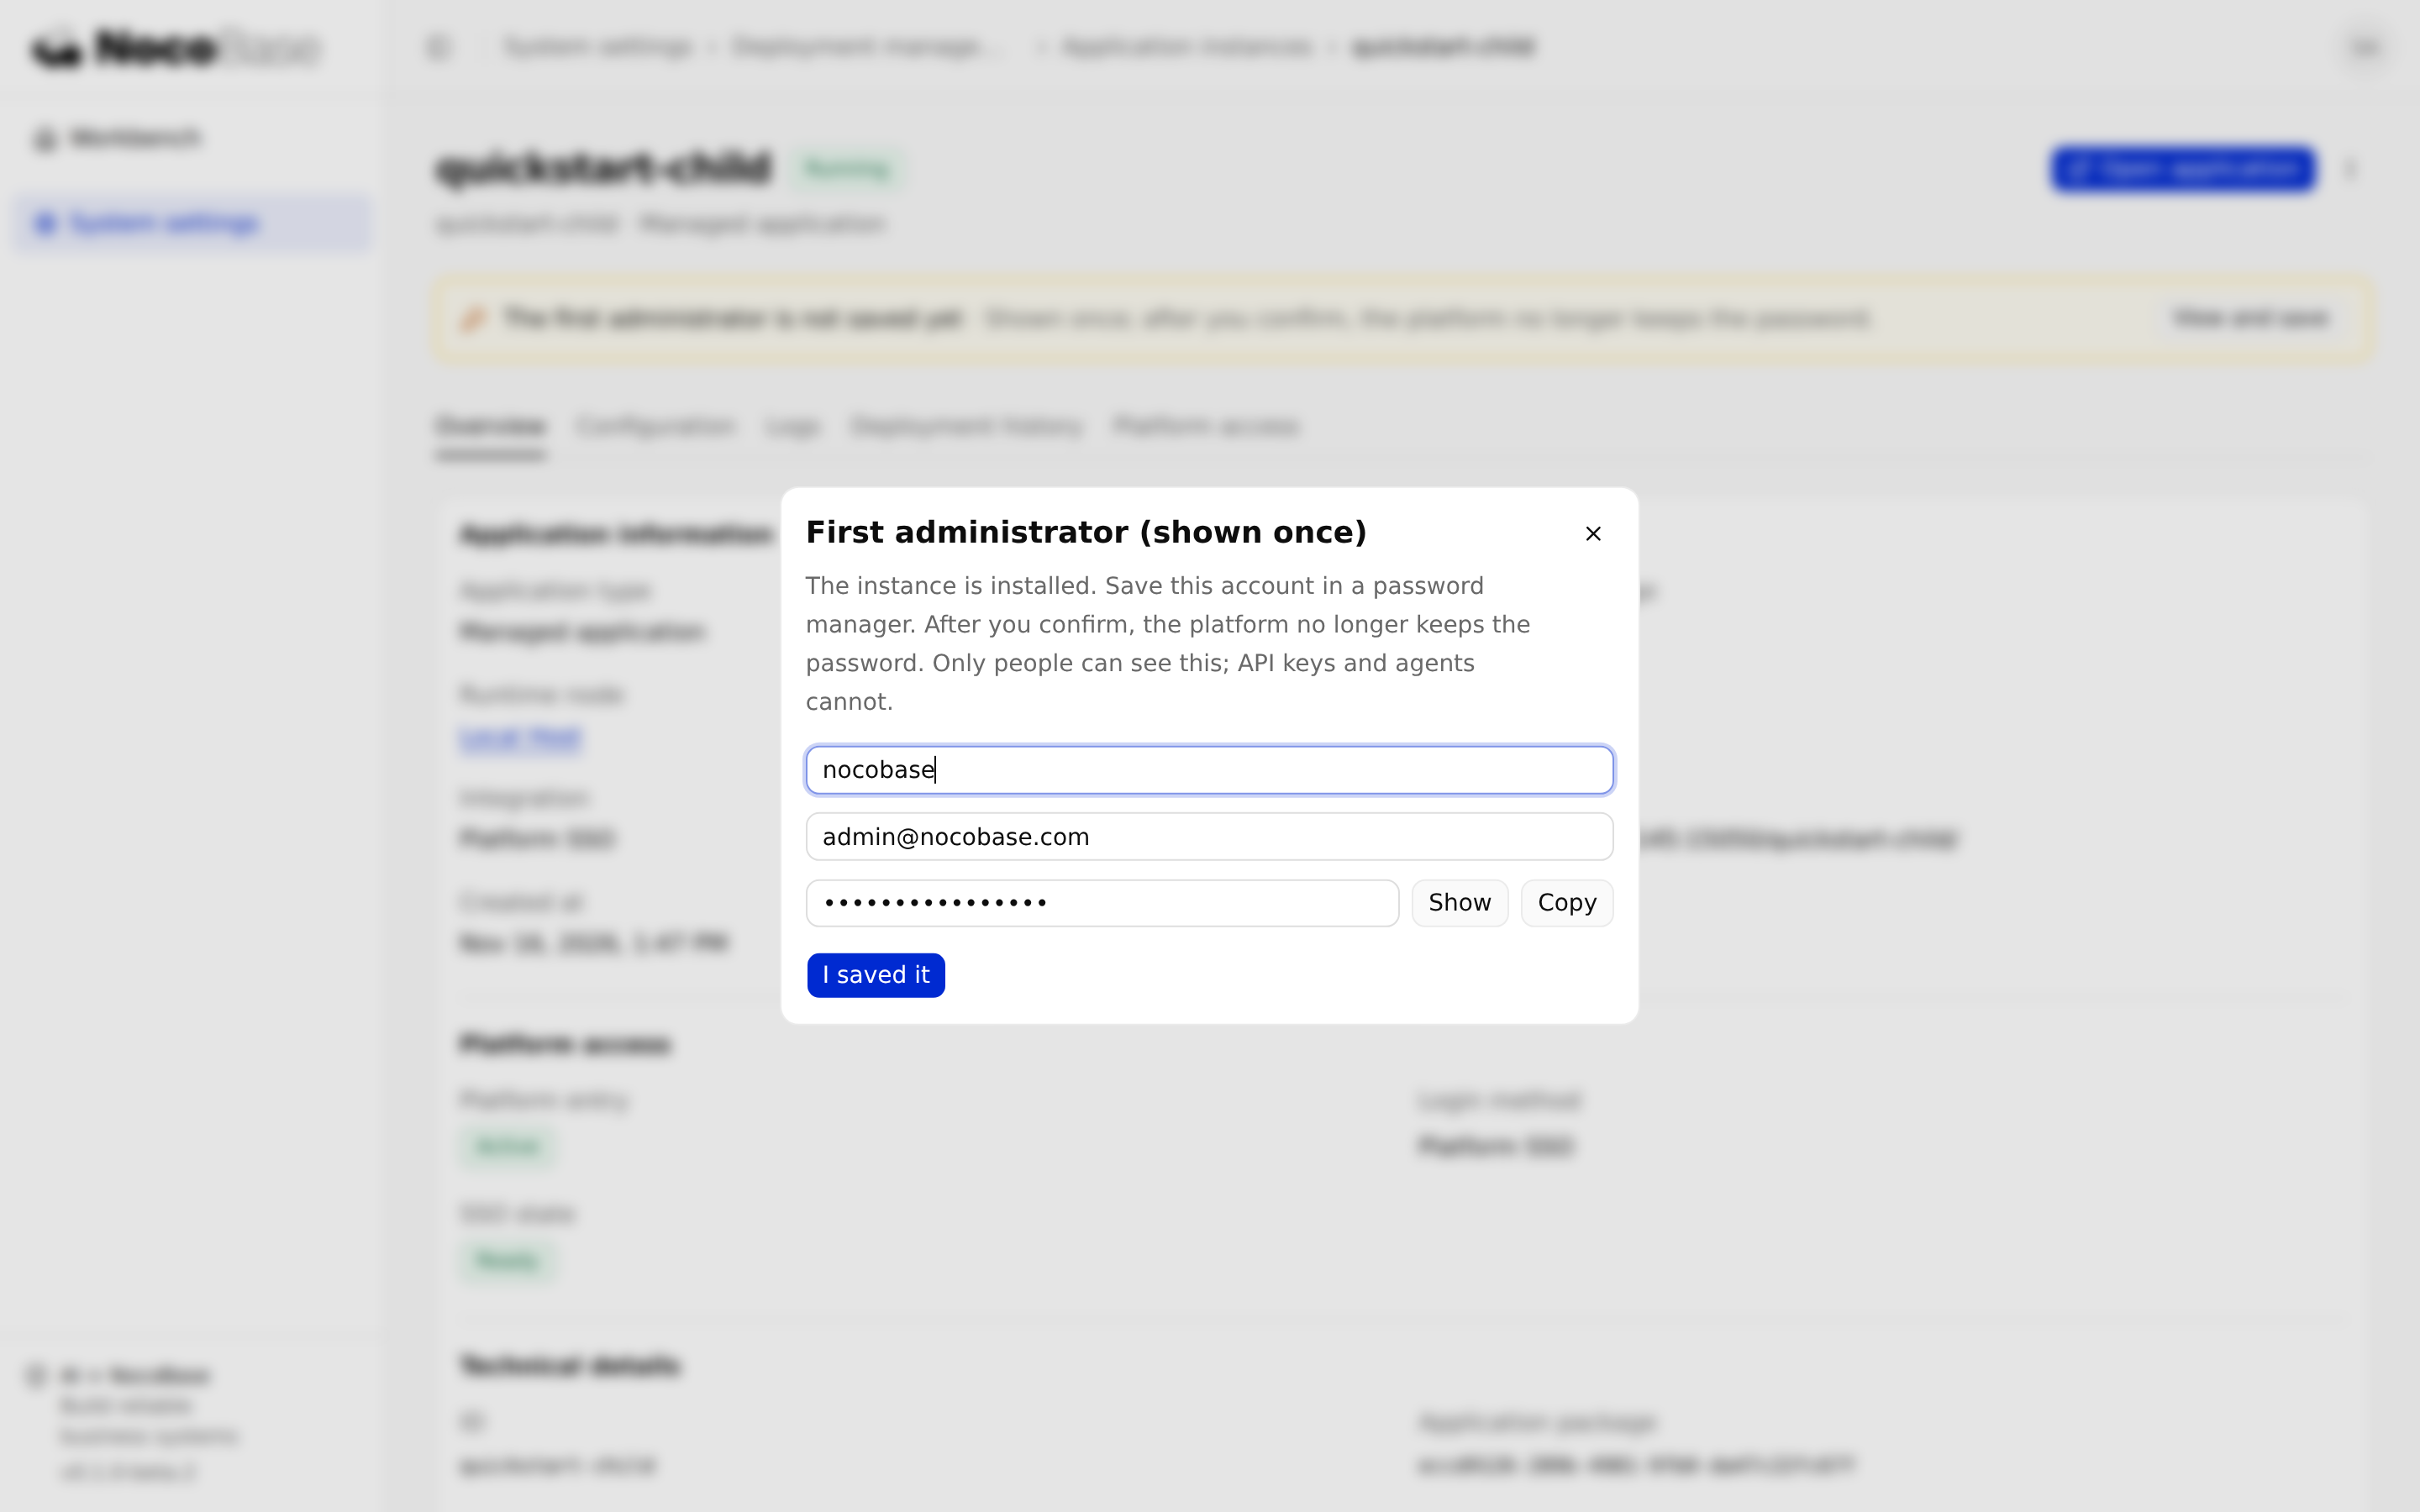
In the instance's initial administrator notice, select View and save. Store the credentials securely before confirming. Main no longer retains that password after confirmation; the CLI cannot read it either.
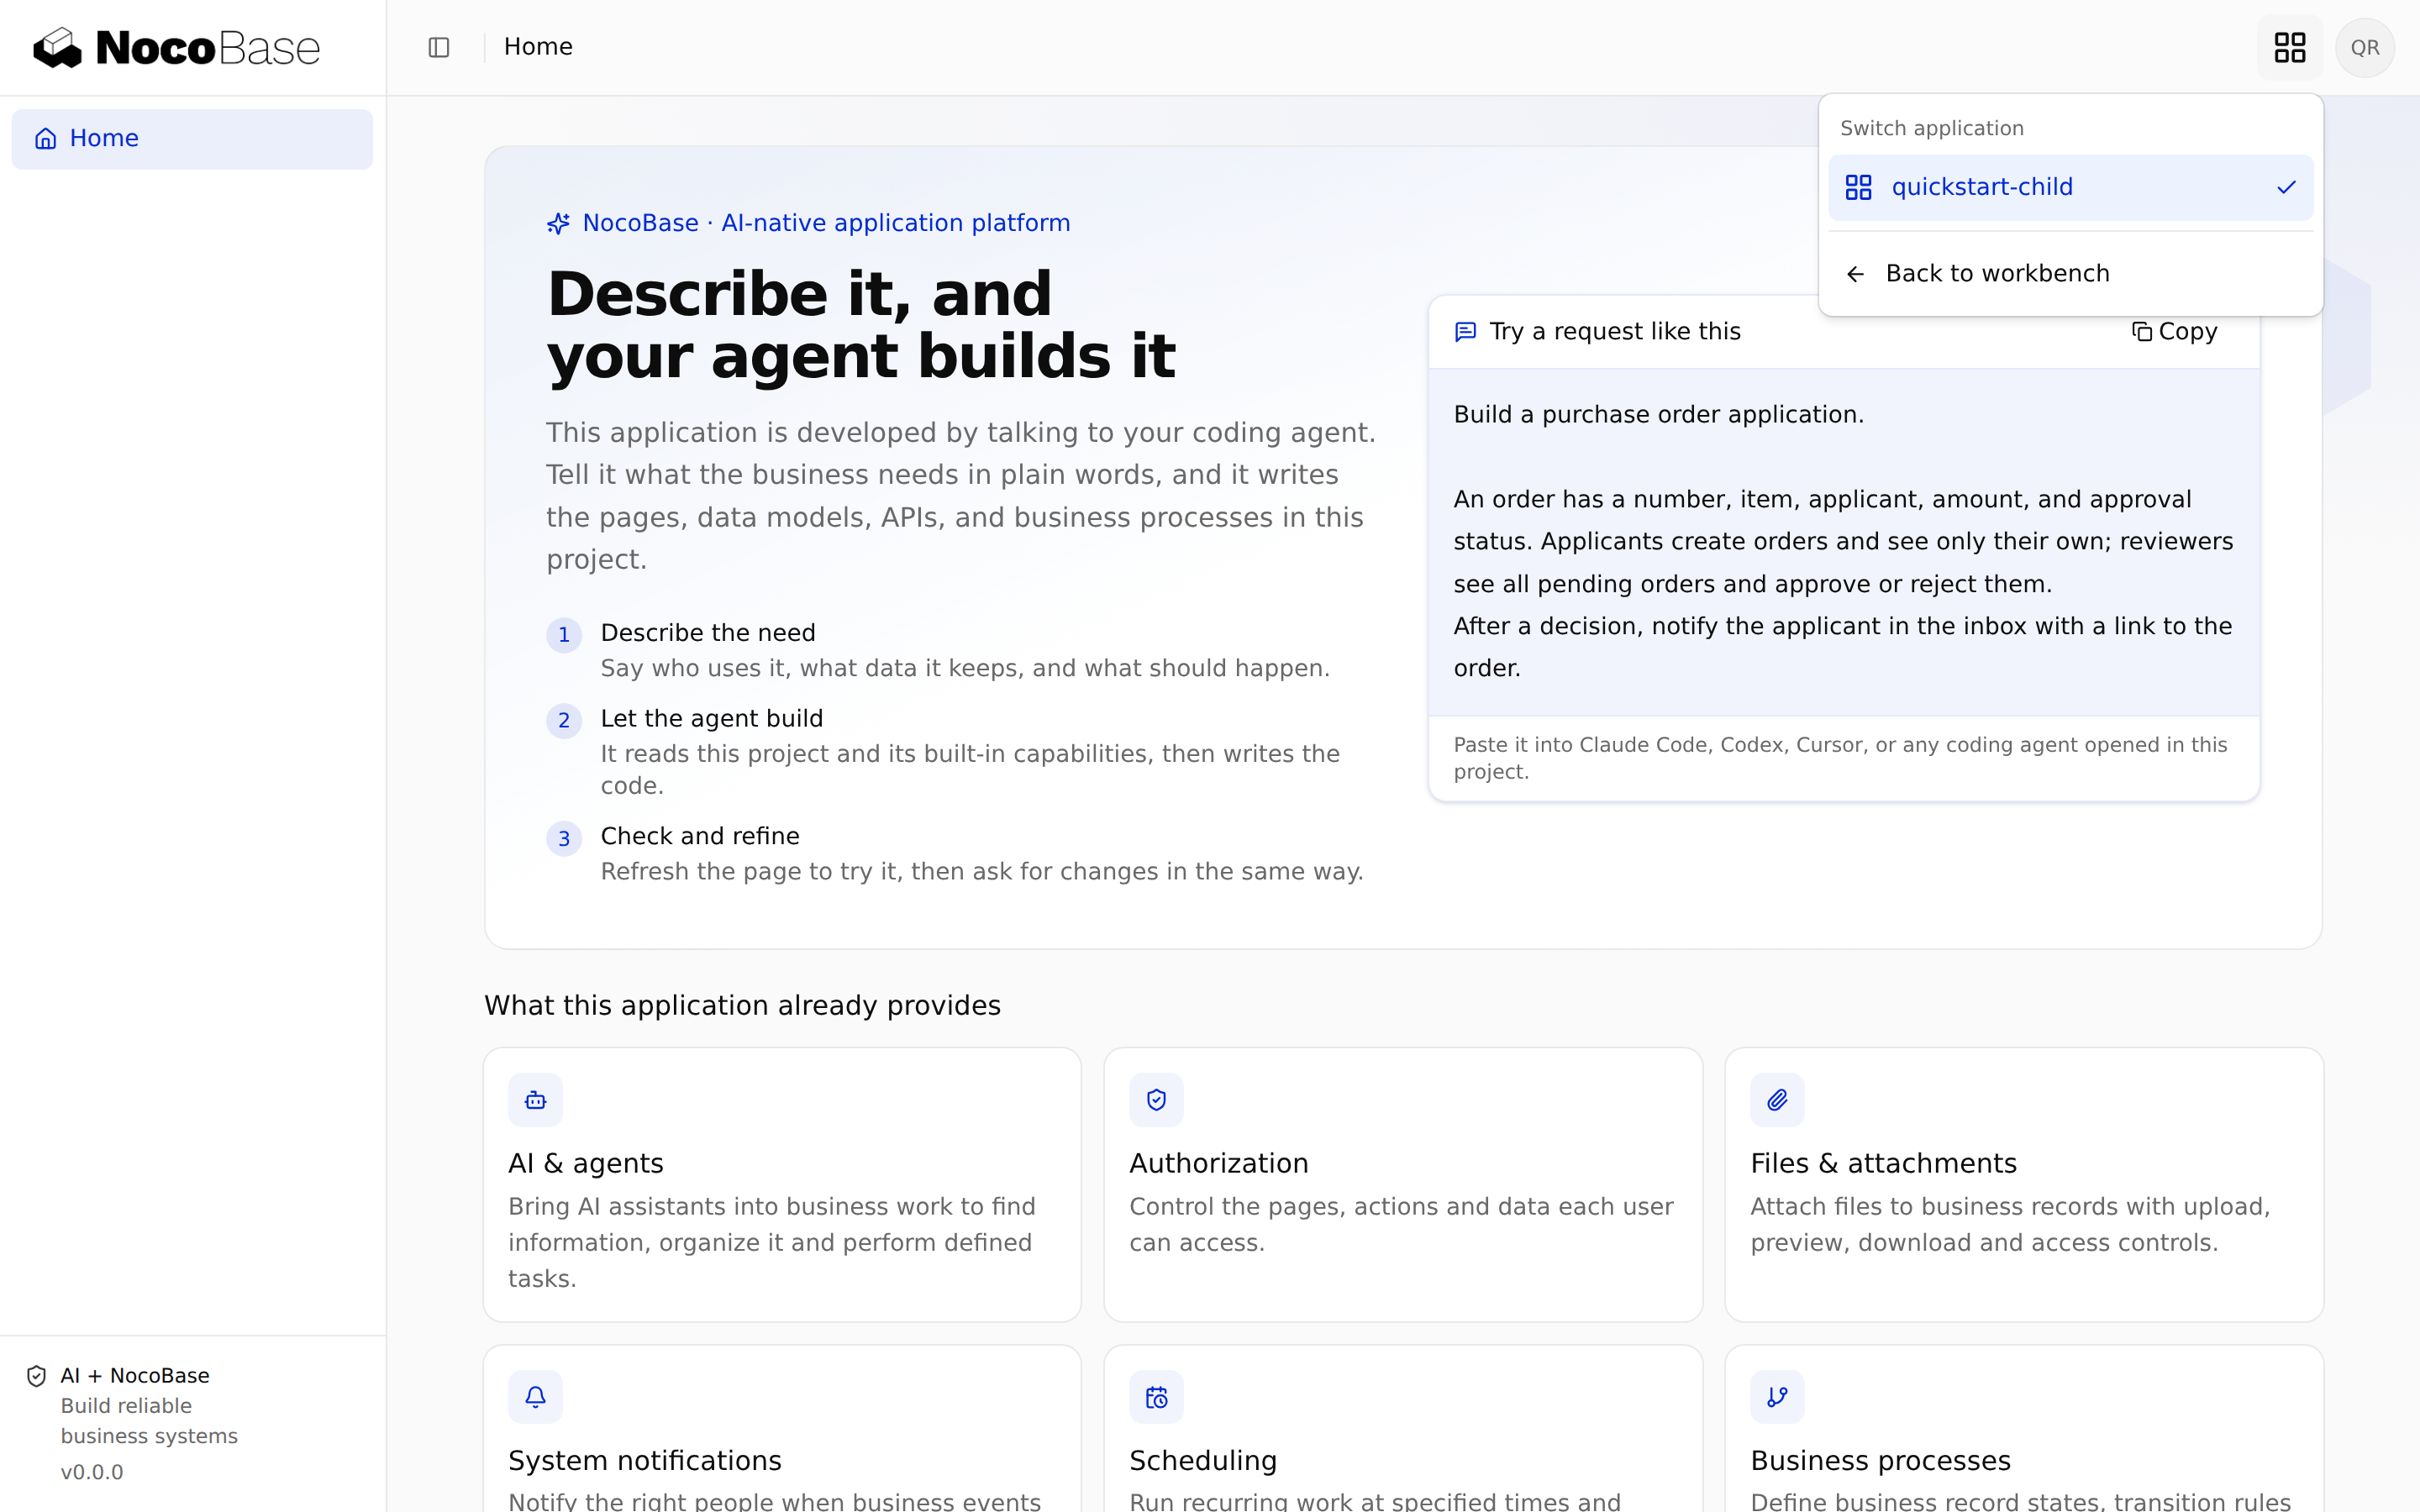
Select Open application from the workbench or instance detail. This example uses http://192.168.1.10:13230/quickstart-child/. Verify:
- A signed-in platform user reaches the child home page without entering another password.
- Open the application switcher and return to Main. If other accessible applications exist, test switching to one.
- Use an ordinary platform user to test business pages and operations. Successful login must not grant child administration rights automatically.
- Open the child's
/login?auth=localand confirm that its saved local administrator still works. Configure business roles inside the child.
For SSO_REDIRECT_NOT_ALLOWED, compare the HTTP origin configured in step 1 with the actual access address. Restart Main after editing it, then retry through the original deployment record. See Single sign-on and business permissions for other login failures.
Continue with Develop and deploy child applications for new versions, configuration updates and CI.