
Create a child project
Use a compatible template from your authorized package source:
pnpm create @nocobase/app@beta customer-app --template sub-app --template-tag beta
cd customer-app
pnpm nocobase config init
pnpm nocobase config check
sub-app is an independent business project with the deployment CLI and Platform SSO already integrated. Main does not generate its business features. See Developing apps for application development.
Local development and login
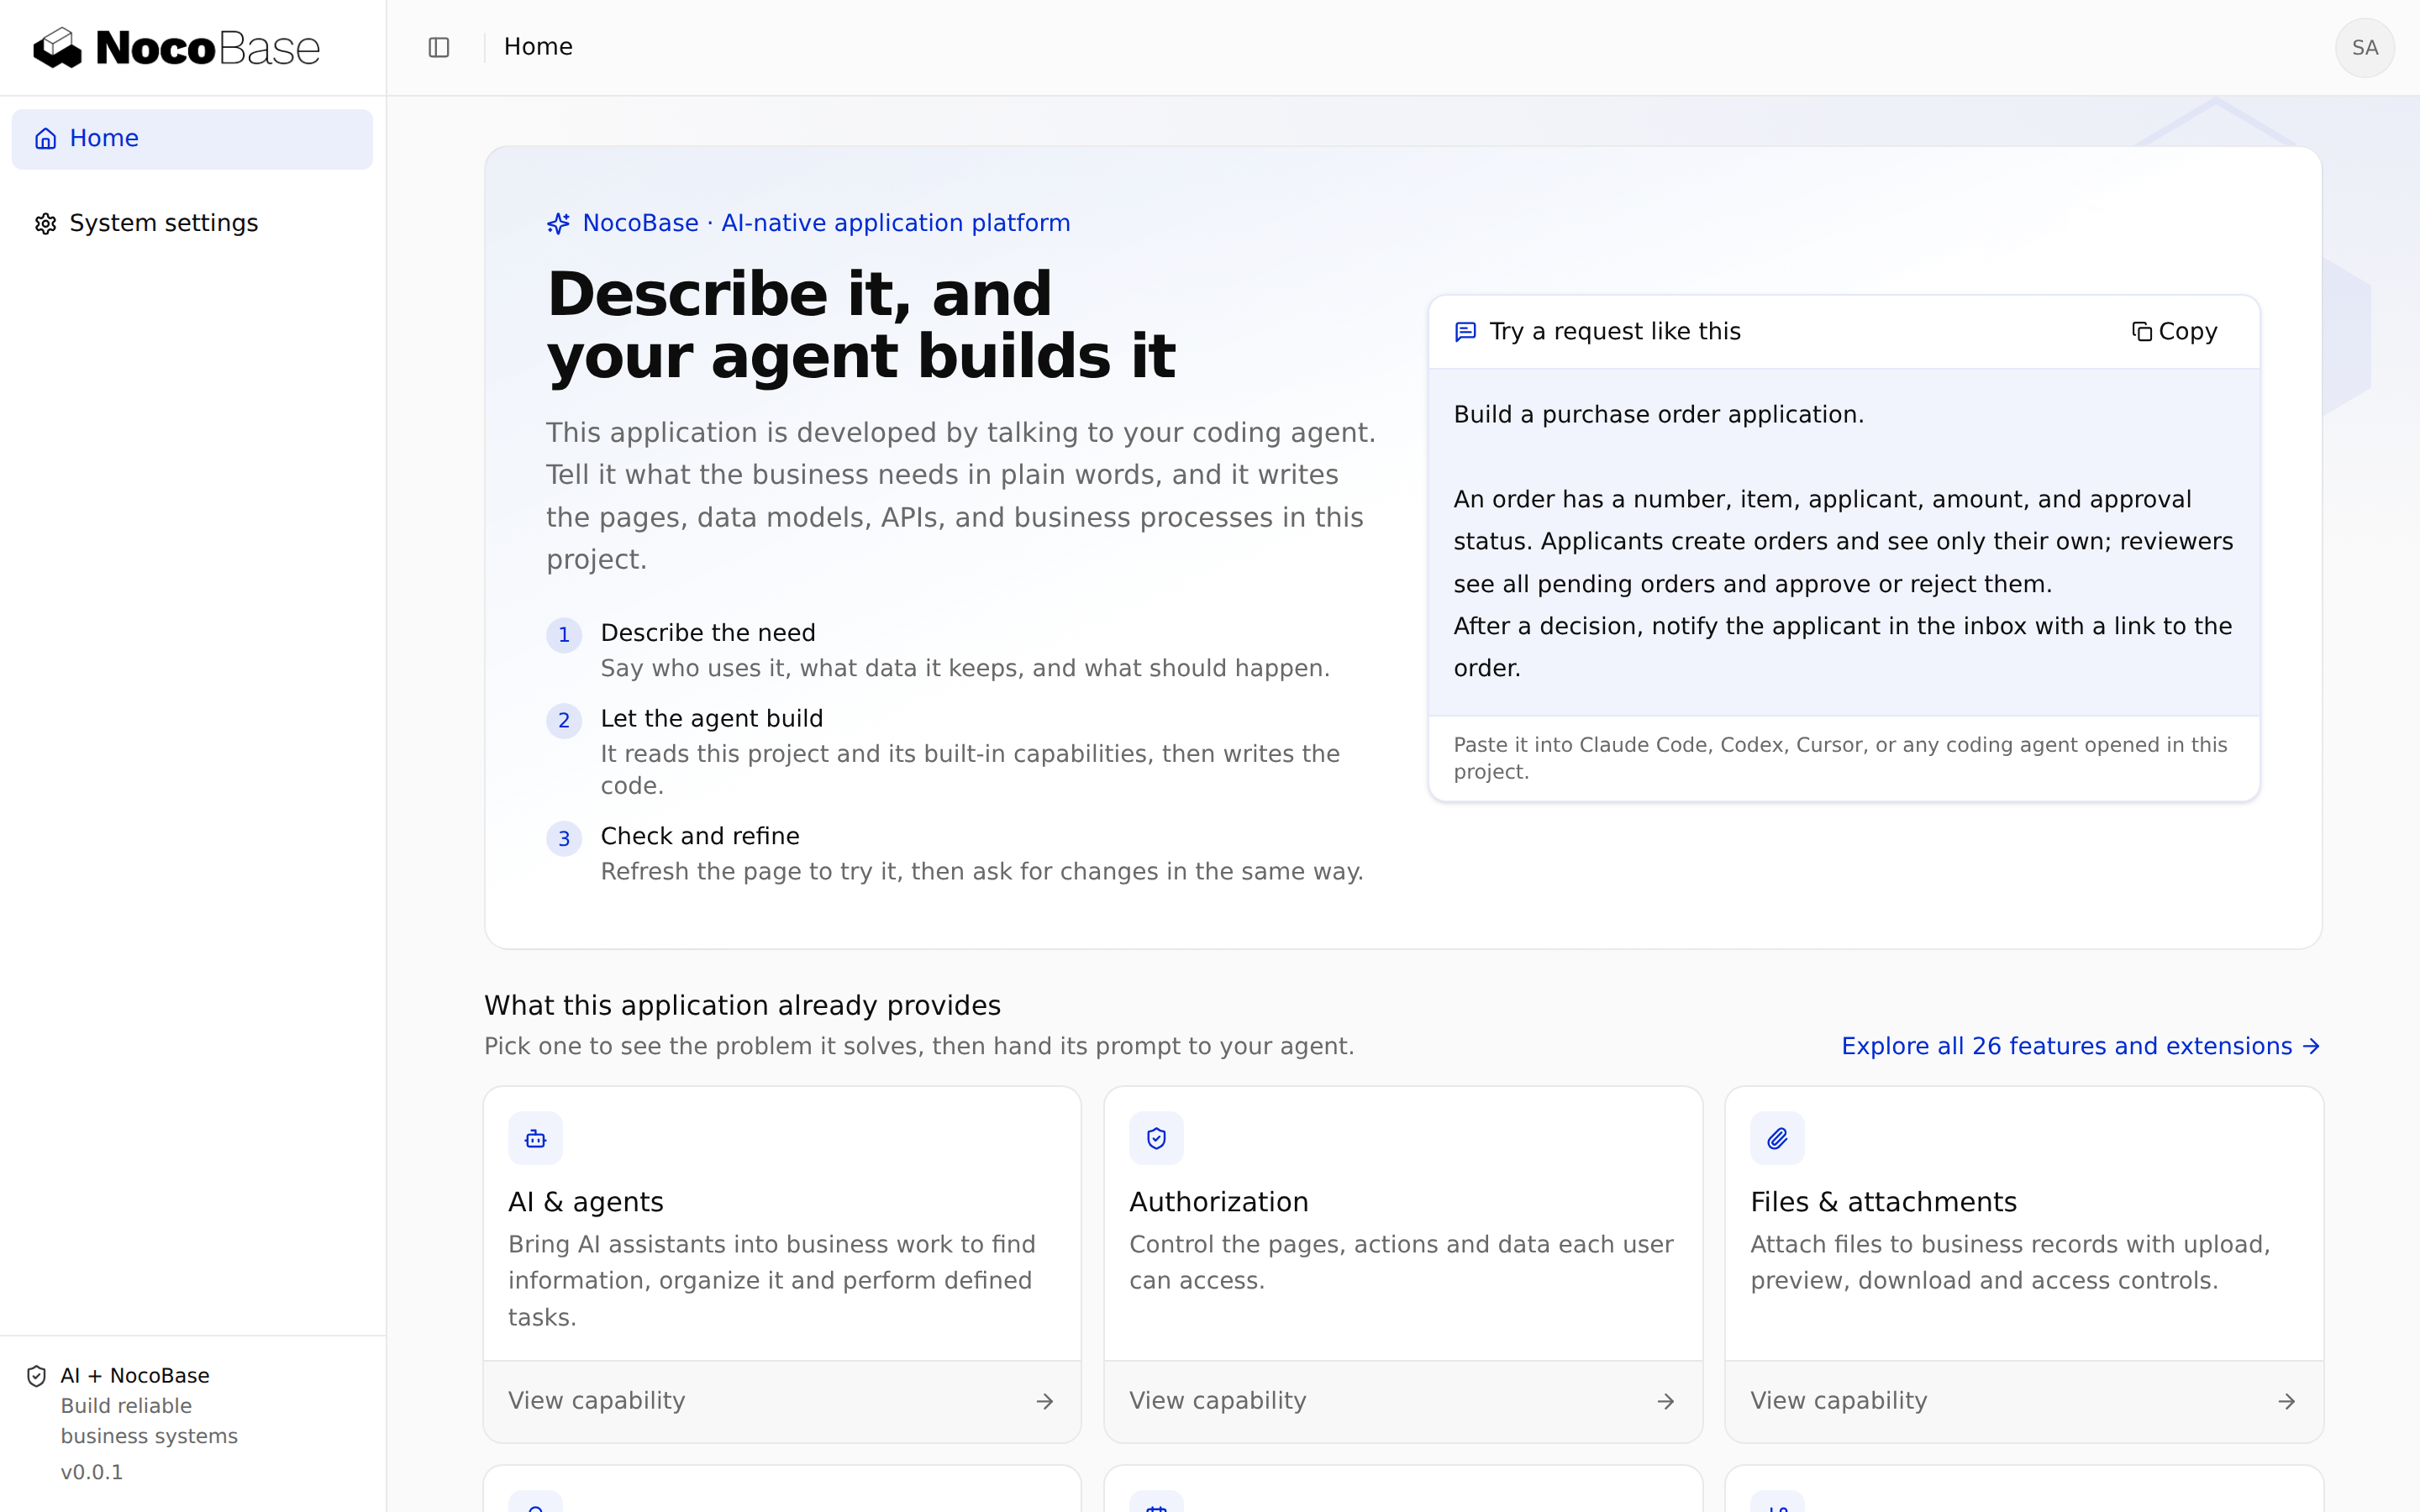
Configure a separate development database, public origin and initial administrator as in Quickstart. Start with an explicit development port and check the address printed in the terminal. Local and hosted instance administrators are initialized separately. Development data does not travel in the archive.
APP_SERVER_HOST=0.0.0.0 APP_SERVER_PORT=13240 pnpm devWithout platform credentials, the child uses local login. Do not copy a hosted instance's SSO secret into source or sample configuration as an integration shortcut.
Initialize deployment configuration
From the child project root:
pnpm nocobase deploy init --server https://apps.example.com/main --instance dev --id customer-dev --node local
pnpm nocobase deploy validate
This creates deploy.yml. Include Main's base path in its address. All instances in one file target the same Main. validate checks the file and referenced configuration locally, without contacting Main.
Authorize the project deployment CLI
pnpm nocobase deploy auth
pnpm nocobase deploy auth status
pnpm nocobase deploy doctor
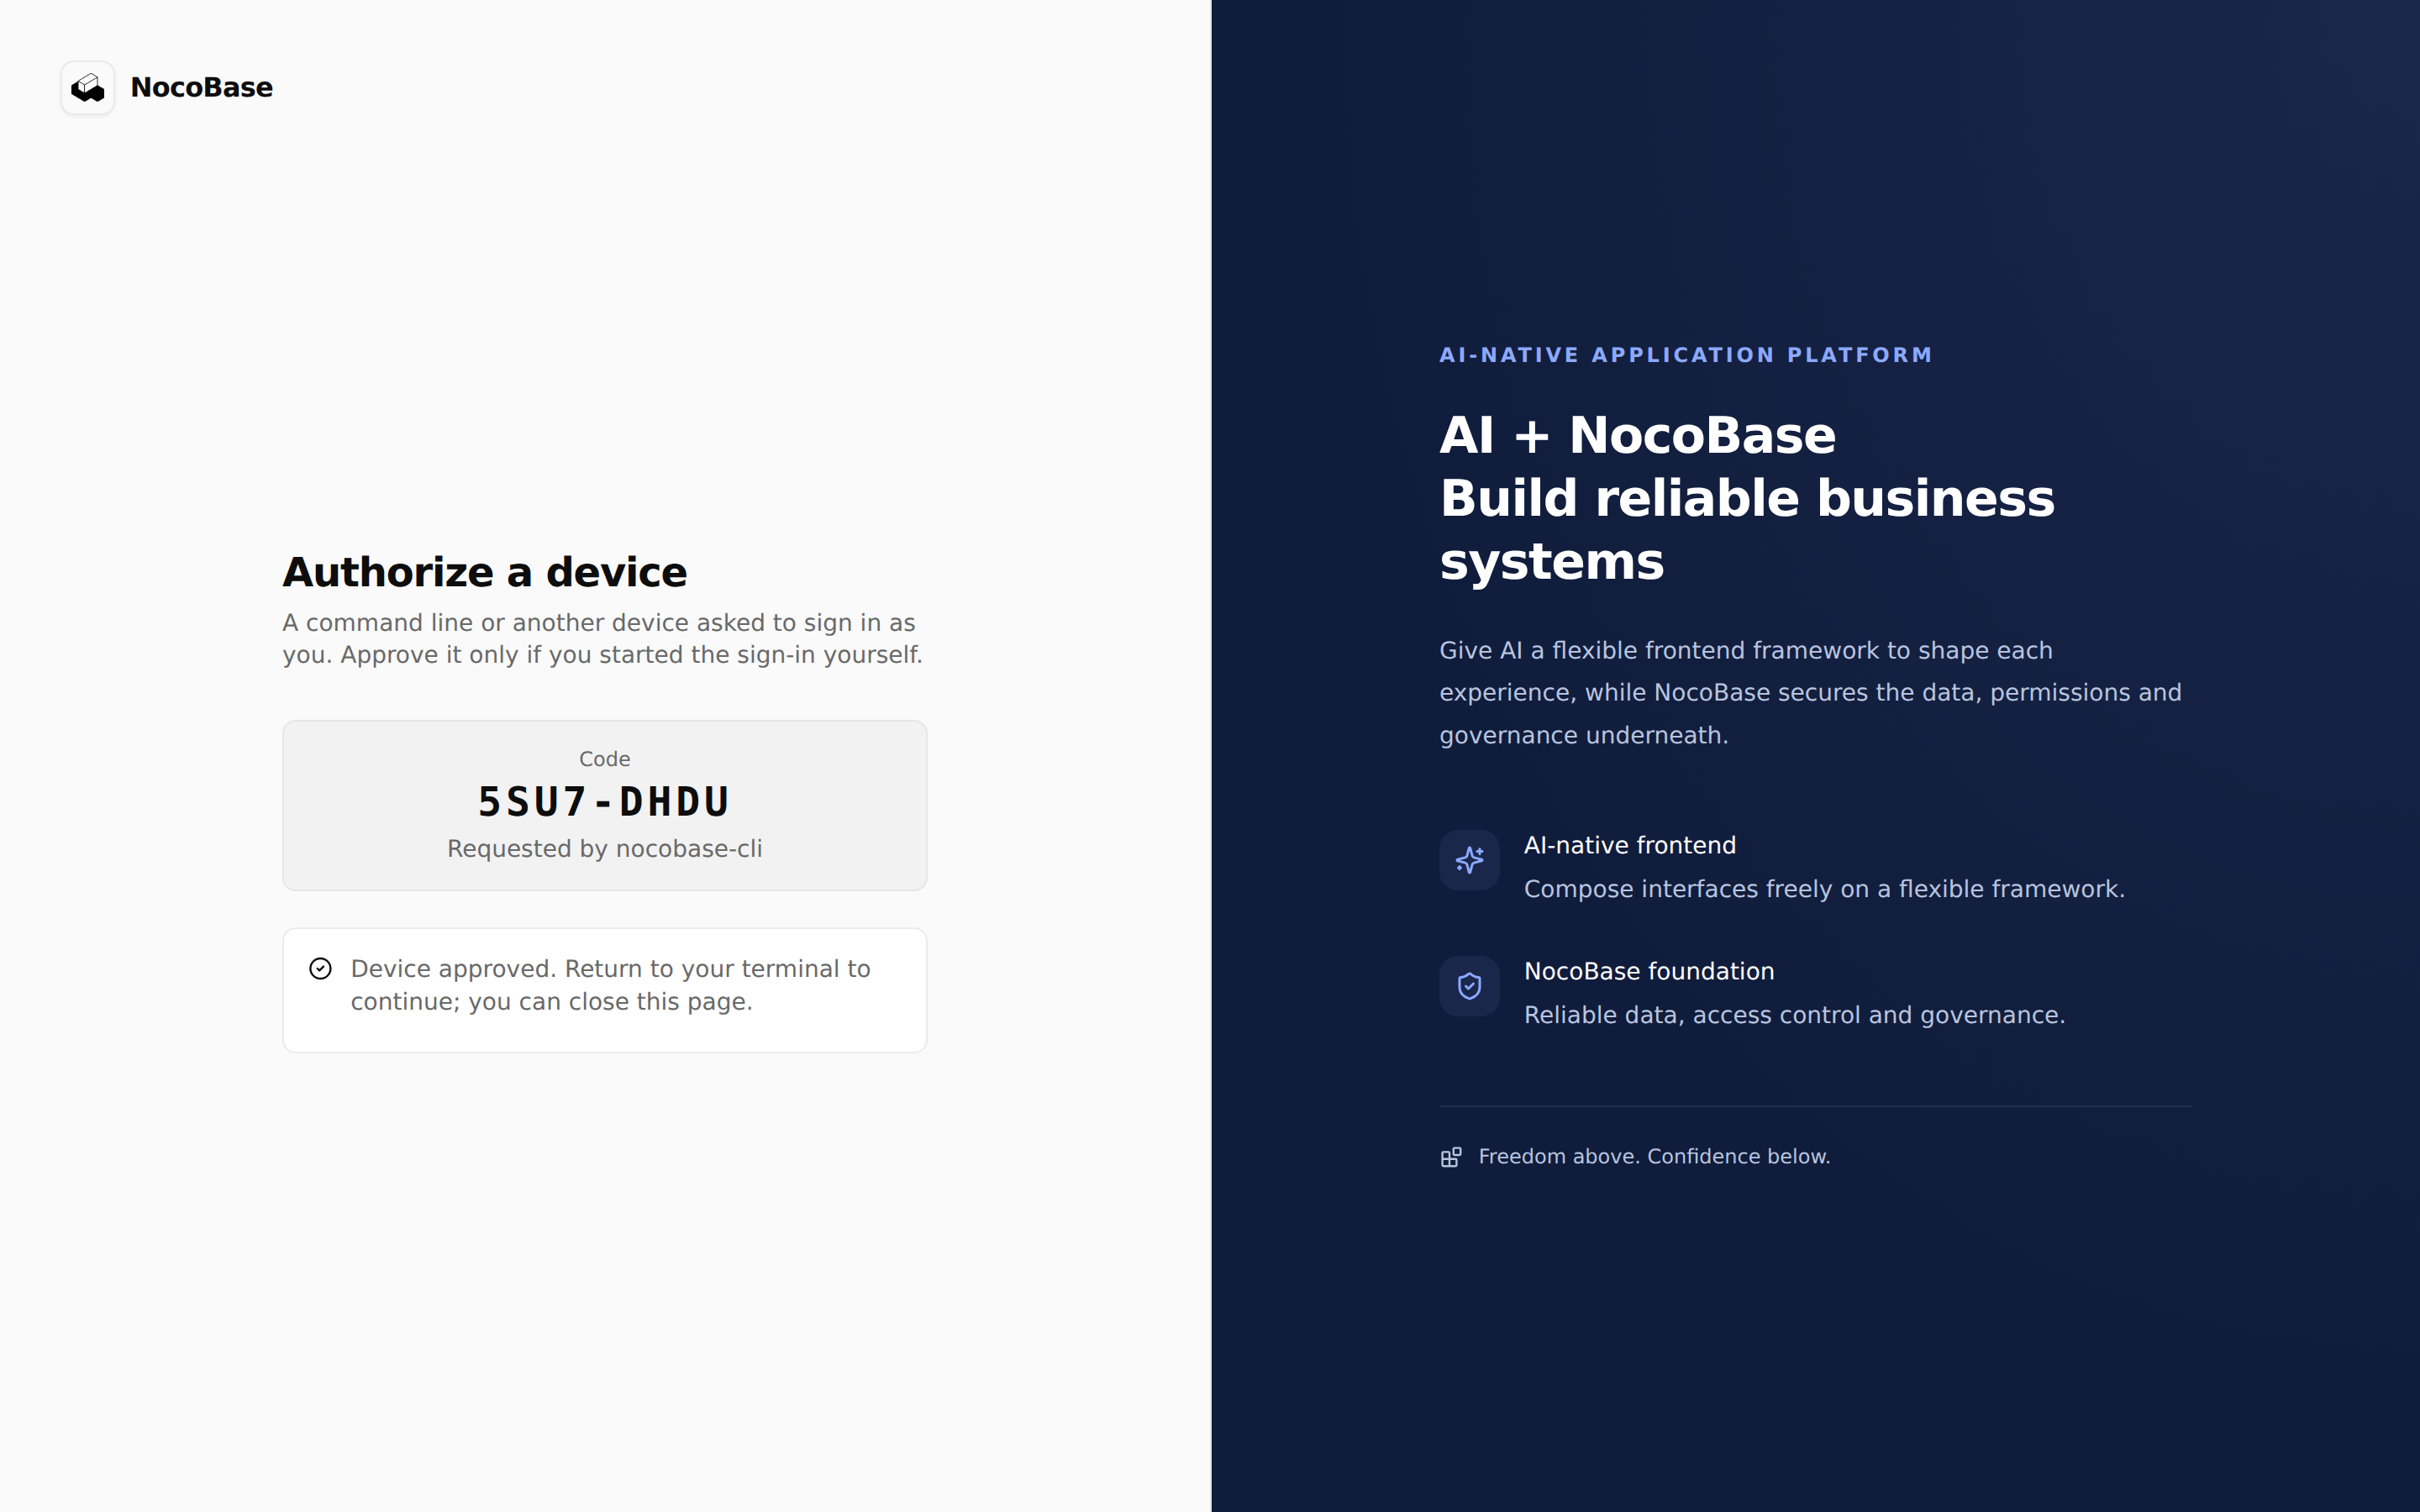
Approve browser authorization with a platform account permitted to deploy. Sessions are stored per Main; auth logout removes the local session for the current Main. Deployment authorization does not grant child business permissions.
doctor checks Node.js, configuration, Main connectivity, authorization, runtime nodes and an existing archive. For a new project, resolve connectivity and authorization first, then build and check again.
Configure target nodes and instances
A project can configure several instances in deploy.yml. This example uses SQLite:
version: 1
server: https://apps.example.com/main
build:
  platform: auto
instances:
  dev:
    id: customer-dev
    name: Customer Dev
    node: local
    database:
      dialect: sqlite
    access:
      platformSso: true
    admin: generated
    sampleData: false
    variables: {}
dev is the local key; id is the stable instance ID in Main. Do not use Main's reserved main ID. Set node to an explicit node ID or auto, which uses the same recommendation rules as the UI. Review its actual choice in the plan.
For an external database, provide a separate database connection and use passwordEnv: CUSTOMER_DB_PASSWORD, supplied to the CLI process. Reference instance settings with config: ./deploy/dev.config.yml. Use ${env:NAME} for secrets in that file and { env: NAME } for variables, never literal secrets.
Do not override owned fields through ordinary variables: this includes DB_*, INITIAL_ADMIN_*, PLATFORM_* and addresses managed by Main. Run pnpm nocobase deploy schema for the full schema.
Build and publish versions
pnpm nocobase deploy artifact upload --build --yes
pnpm nocobase deploy artifact list
The CLI builds, checks, uploads and publishes the archive. The package name comes from package.json.name; the version comes from the build. The first upload creates the package. Update the version before publishing changed code: published versions cannot be overwritten.
--build forces a new build. Without it, an existing archive may be reused. For a timestamped development version, use artifact upload --dev --build --yes; ordinary listings hide development versions by default.
The build platform is matched to target nodes. If cross-platform building fails, follow the diagnostics to choose a compatible build machine or target. Editing archive metadata does not fix binary incompatibility.
Preview and execute a deployment plan
pnpm nocobase deploy instance plan dev --action create
pnpm nocobase deploy instance create dev --plan <planId> --yes --wait
Replace <planId> with the first command's output. Plans are read-only and show the version, node, changes and blockers. Review them before execution. A plan binds the request and instance revision; changed targets or inputs require a new plan.
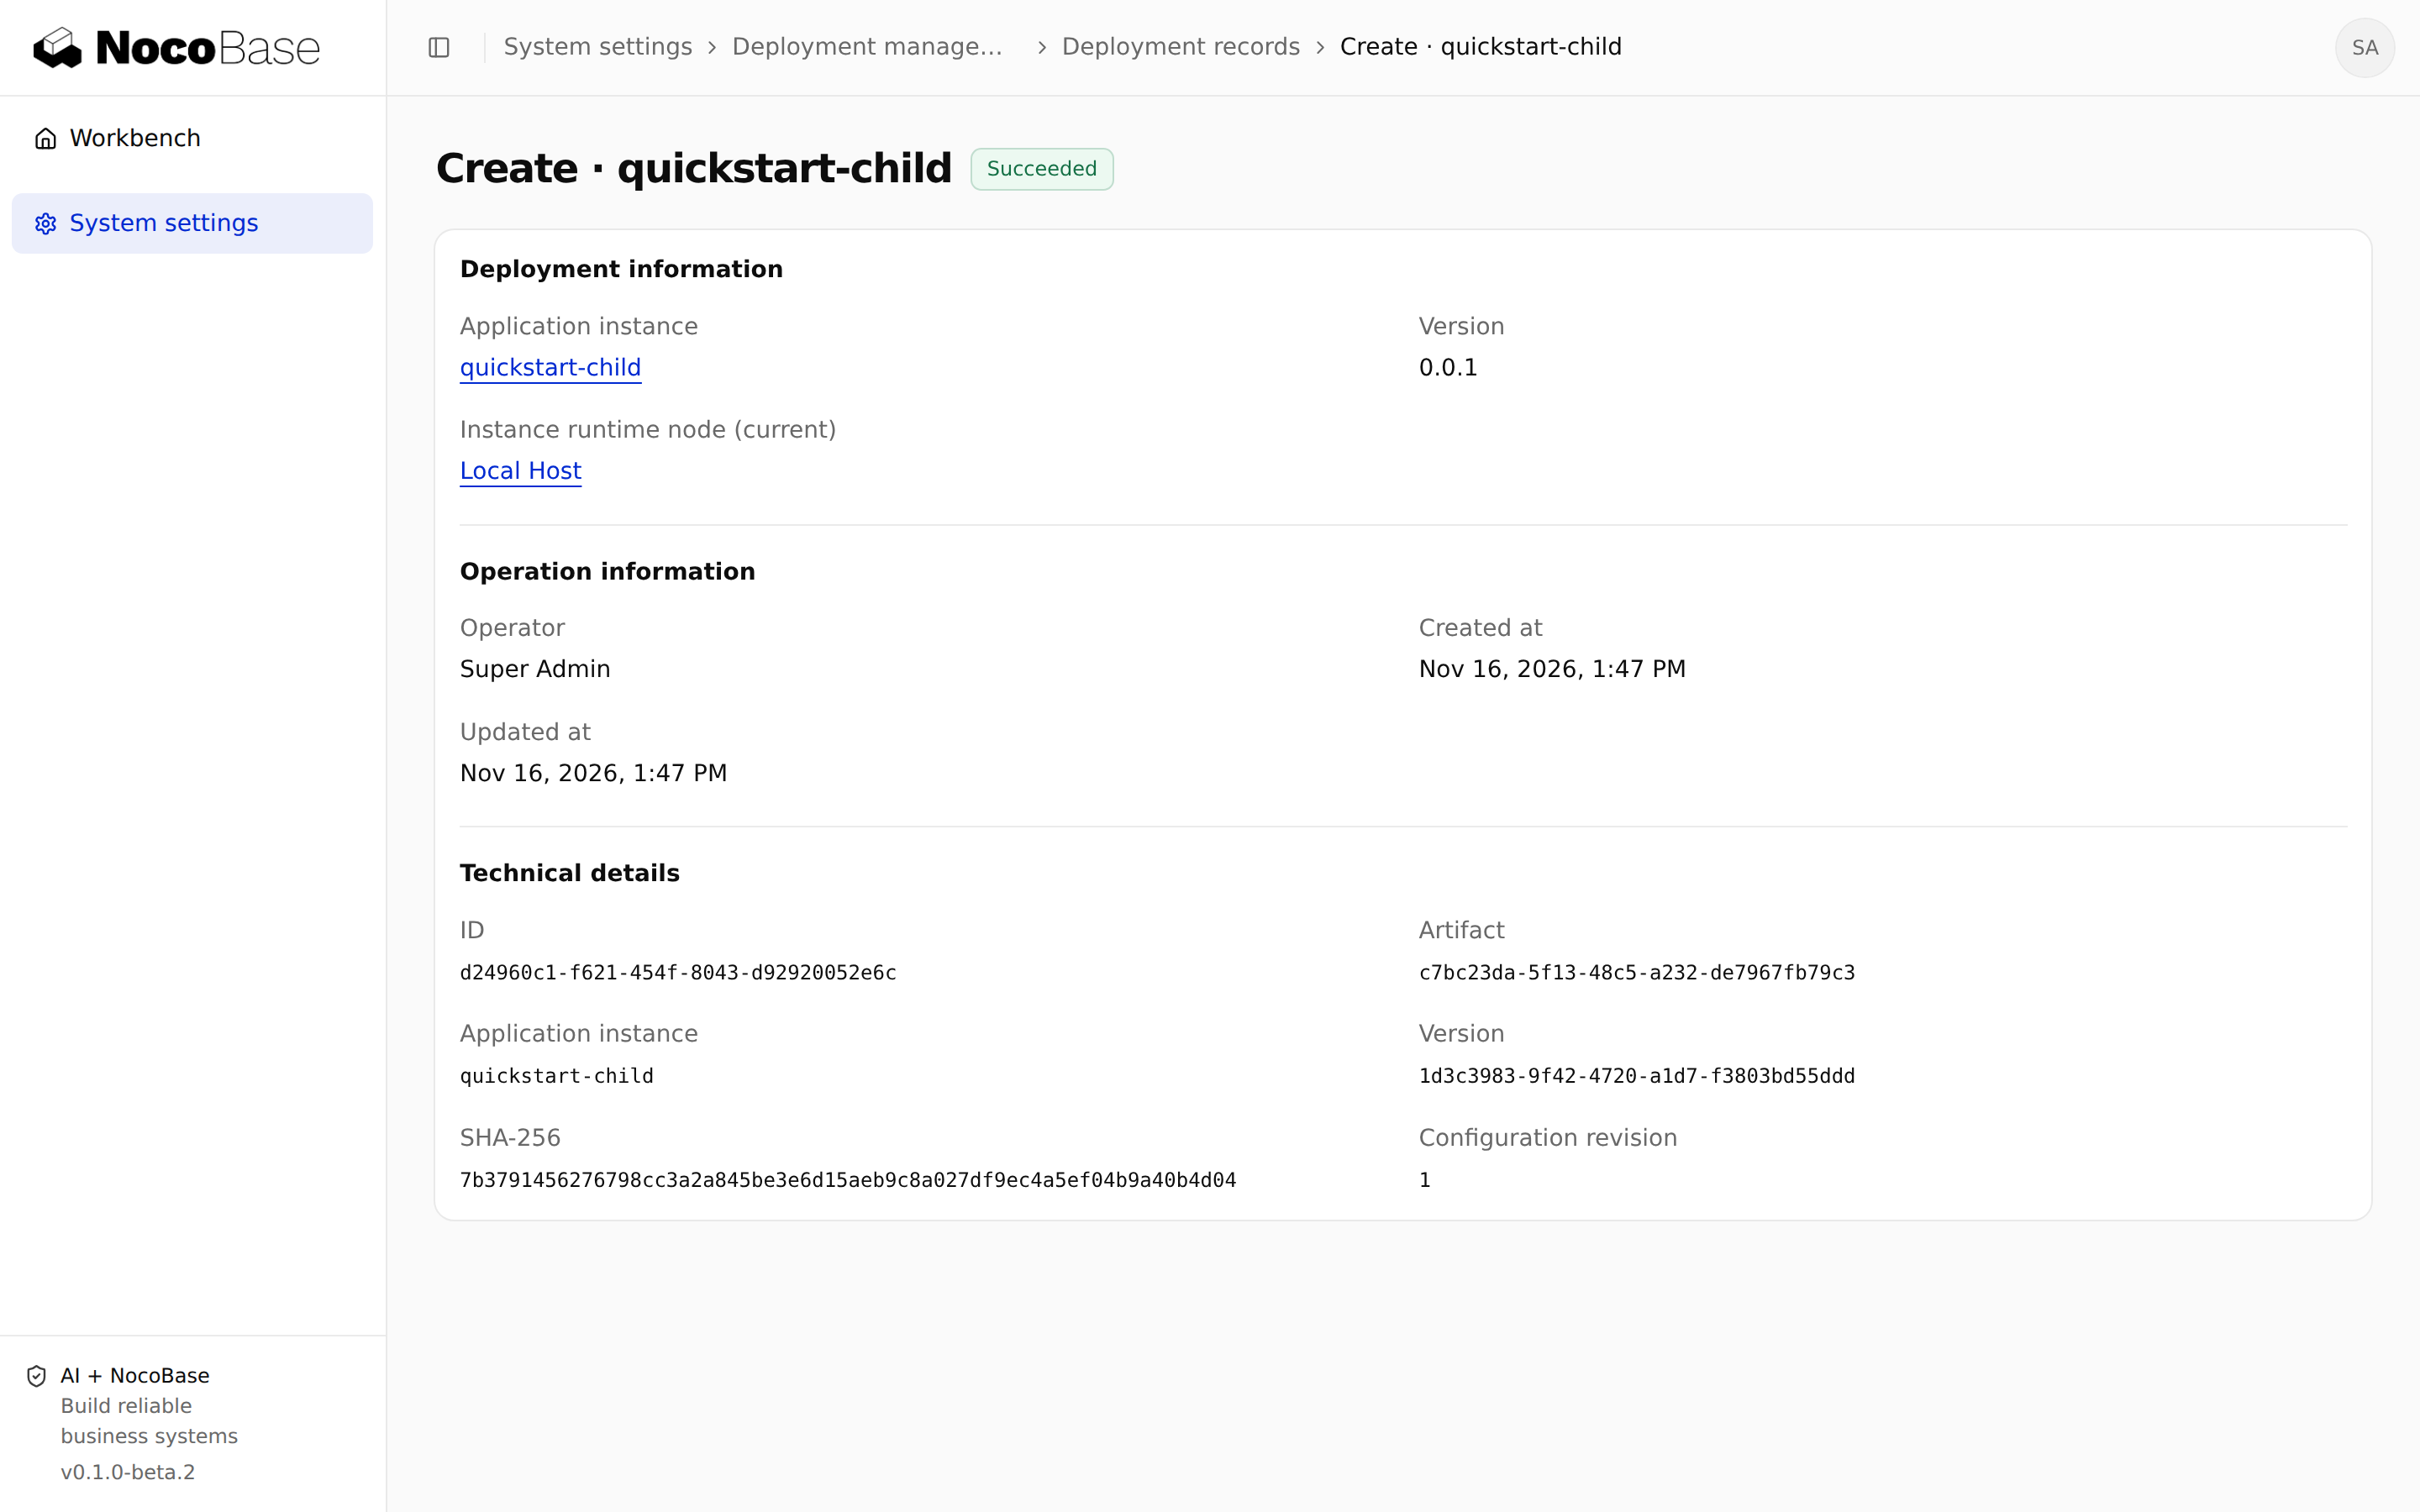
After deployment, run instance status dev, then verify login and business functionality at the real address. Pending approval, an unknown outcome or a process still starting is not success.
Update versions and synchronize configuration
After publishing a new version, preview its upgrade:
pnpm nocobase deploy instance plan dev --version 0.0.2Once you have confirmed backups of the database, files and configuration:
pnpm nocobase deploy instance upgrade dev --version 0.0.2 --plan <planId> --backup-acknowledged --yes --waitReplace the example version with your published version. Backup acknowledgement records your decision; it does not run a backup. Upgrades may execute migrations, and downgrading a version does not undo data changes.
After editing the instance configuration file or variables, preview with instance plan dev --action config, then apply with instance config dev --plan <planId> --backup-acknowledged --yes --wait. Applying configuration restarts the instance.
The CLI compares the last applied baseline, local configuration and Main's current values. Main-only edits are preserved; conflicting edits stop with CONFIG_DRIFT_CONFLICT. instance config dev --from-current retrieves current configuration as the baseline. It writes local configuration files, so preserve your changes first, merge what you need and plan again.
Deploy with Agents and CI
Agents can read the installed nocobase-deploy-cli Skill and query current commands with pnpm nocobase deploy commands --json. Split browser authorization into two steps:
pnpm nocobase deploy auth --start --json
# Continue after the user opens the returned address and approves.
pnpm nocobase deploy auth --resume --json
In CI, inject NB_DEPLOY_API_KEY and NB_DEPLOY_SERVER from secret storage. The server must match deploy.yml, and the key needs the relevant deployment permissions. Never commit it. Automation should use --json and check ok, error.code and the exit code.
| Exit code | Action |
|---|---|
0 | Command completed; verify runtime or business results as appropriate |
4 | Awaiting an authorized person's approval |
5 | Plan has blockers; nothing submitted |
6 | Unknown outcome; inspect status and the original receipt |
7 | Plan changed; preview again |
For unknown outcomes, start with instance status dev --wait --json. Keep operation receipts under storage/deployment/. Retry with unchanged input to resolve the original operation; do not delete locks or alter parameters to submit again. Backup acknowledgement, downgrades and data deletion require a person's explicit decision. An Agent must not add those confirmations by itself.